

Let's review transferring your website from Flywheel hosting to Nexcess hosting. At Nexcess, we offer several alternatives to Flywheel plans, including:
Each product has its own unique functionality and benefits. This guide will walk you through each of them in more detail to help you decide which is the right fit for your website.
Managed WordPress hosting at Nexcess vs. Flywheel hosting for WordPress
If you want to run a simple WordPress website, Nexcess-managed hosting has some great benefits over Flywheel’s single-site plan.
For instance, Flywheel’s basic managed hosting plan limits you to 5 GB of storage and 20 GB of bandwidth, which are only enough for a small website. In contrast, the cheapest managed WordPress hosting plan from Nexcess gives you 15 GB of storage and 2 TB of bandwidth.
What’s more, with the Nexcess managed hosting plan, you’ll receive access to a suite of features, such as multisite management, marketing tools, and unlimited email accounts — all of which are useful if you plan on running a small business site.
Managed WooCommerce hosting at Nexcess vs. Flywheel hosting for WooCommerce
WooCommerce is a very popular plugin for ecommerce on WordPress. Fortunately, because it is built for WordPress, there isn't much difference when moving a WooCommerce site to Nexcess hosting from Flywheel hosting. You can follow all of the WordPress steps covered to move your WooCommerce site to Nexcess, but an extra testing step would be to make sure your checkout process is still working how you and your customers expect before going live.
Both Nexcess and Flywheel offer managed WooCommerce hosting plans. That said, if you’re interested in running an ecommerce store without breaking the bank, Nexcess is the more cost-effective option.
In addition to its affordable plans, Nexcess includes Object Cache Pro for free with each of its WooCommerce hosting packages. This handy tool helps your website serve dynamic content without impacting its performance.
Add to that the rich features that come with Nexcess-managed WooCommerce plans, like smart monitoring alerts and cart abandonment tools, and it’s easy to see why you should choose Nexcess to support your online store:
- Nexcess Plugin Performance Monitor
- Nexcess WooCommerce Automated Testing
- Nexcess Sales Performance Monitor
StoreBuilder vs. Flywheel hosting
If you’re looking to build or refresh your ecommerce website’s storefront, then you should choose Nexcess StoreBuilder over Flywheel hosting. Using Flywheel to build out your online store, you’ll only have access to a single website format for WooCommerce.
Nexcess StoreBuilder, on the other hand, comes with various of pre-installed templates that make it quick and easy to design an online shop that sets your website apart from your competitors. Plus, this Nexcess product uses an intuitive drag-and-drop editor that is perfect for beginners who want to create an eye-catching store without learning how to code.
How to migrate your WordPress website from Flywheel hosting to Nexcess hosting
Now that you know the advantages of Nexcess hosting, it’s time to go over how to migrate your Flywheel site over to Nexcess.
Here are the available options:
- Option 1: Request a free migration
- Option 2: Use our custom WordPress migration plugin
- Option 3: Leverage the WordPress import/export tool
- Option 4: Complete the manual download and upload process
Option 1: Request free migration
Without a doubt, the easiest way to transfer your Flywheel hosting site to Nexcess is with our free migration service, which comes with all managed hosting plans.
Step 1a: Complete the migration request form
To request a complimentary site transfer, log into the Nexcess Client Portal and complete the migration request form. We’ll ask you for some details, like the domain name of the website you’d like transferred and its access credentials, so you should have those ready before making the request.
Step 1b: Let the Nexcess team complete your migration over the following week
Migrations are completed on a first-come, first-served basis and can take about a week. There may be a better solution for you if there a time-sensitive constraint involved with your project schedule. There is no skipping ahead in the queue.
No time to wait? No problem. You can transfer your Flywheel hosting website manually — and a few different ways to do it.
Option 2: Use our custom WordPress migration plugin
Liquid Web created a handy Migrate to Liquid Web & Nexcess plugin to help WordPress website owners transfer to Liquid Web and Nexcess hosting plans. If your WordPress version is 4.0 or higher, you’re good to go. Here’s how to get started on manual migration.
Step 2a: Create a Nexcess site
First, you’ll need to create a Nexcess site in the Nexcess Client Portal, so ensure you have your login credentials ready. After you sign up for a Nexcess hosting plan, a new website will be created for you. You can also create a site using the Add Site button.
Once you’ve added a site, go to the Site Dashboard. You’ll need some information from your dashboard for your migration, so keep this dashboard open.
Step 2b: Install the migration plugin
To install the migration plugin, you’ll first need to go to the dashboard of the site you want to migrate to Nexcess. Within the left-hand panel, scroll down until you see Plugins. Then, to add a new plugin, click Add New:


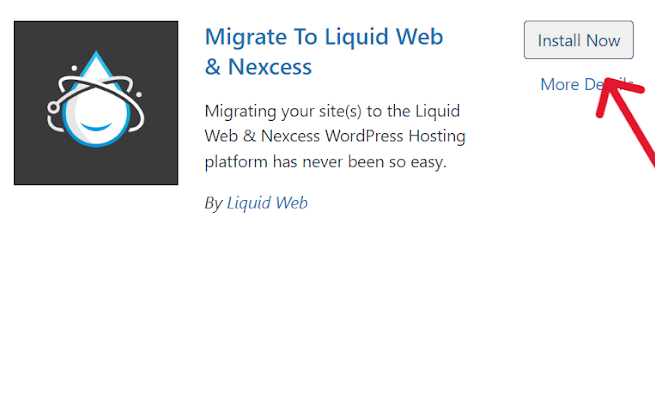
Type “Nexcess” into the search bar. The first search result should be the Migrate to Liquid Web & Nexcess plugin. Click Install Now:

Next, click Activate:


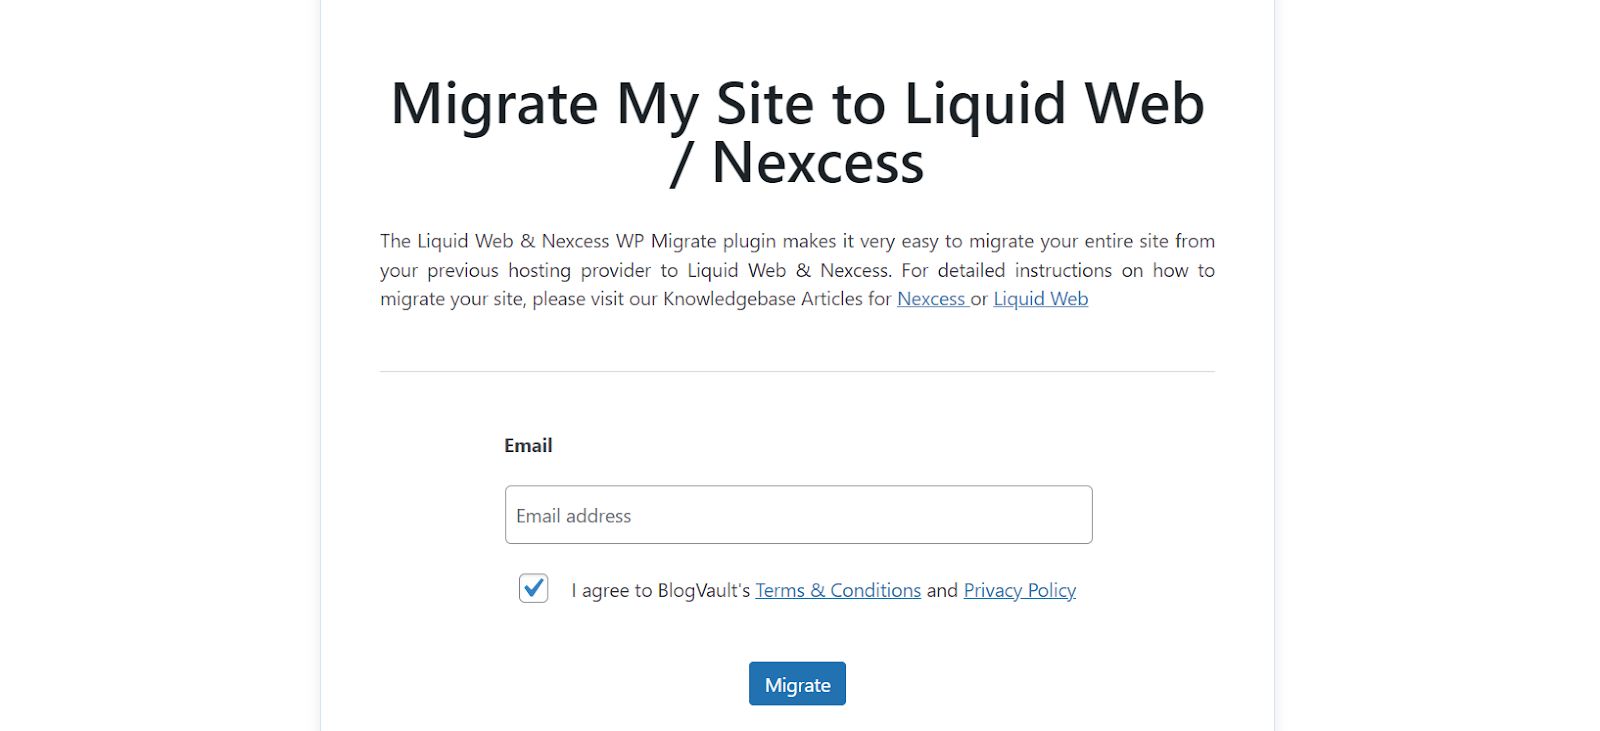
At this point, you’ll be prompted to enter your email address. After doing this, click the Migrate button:

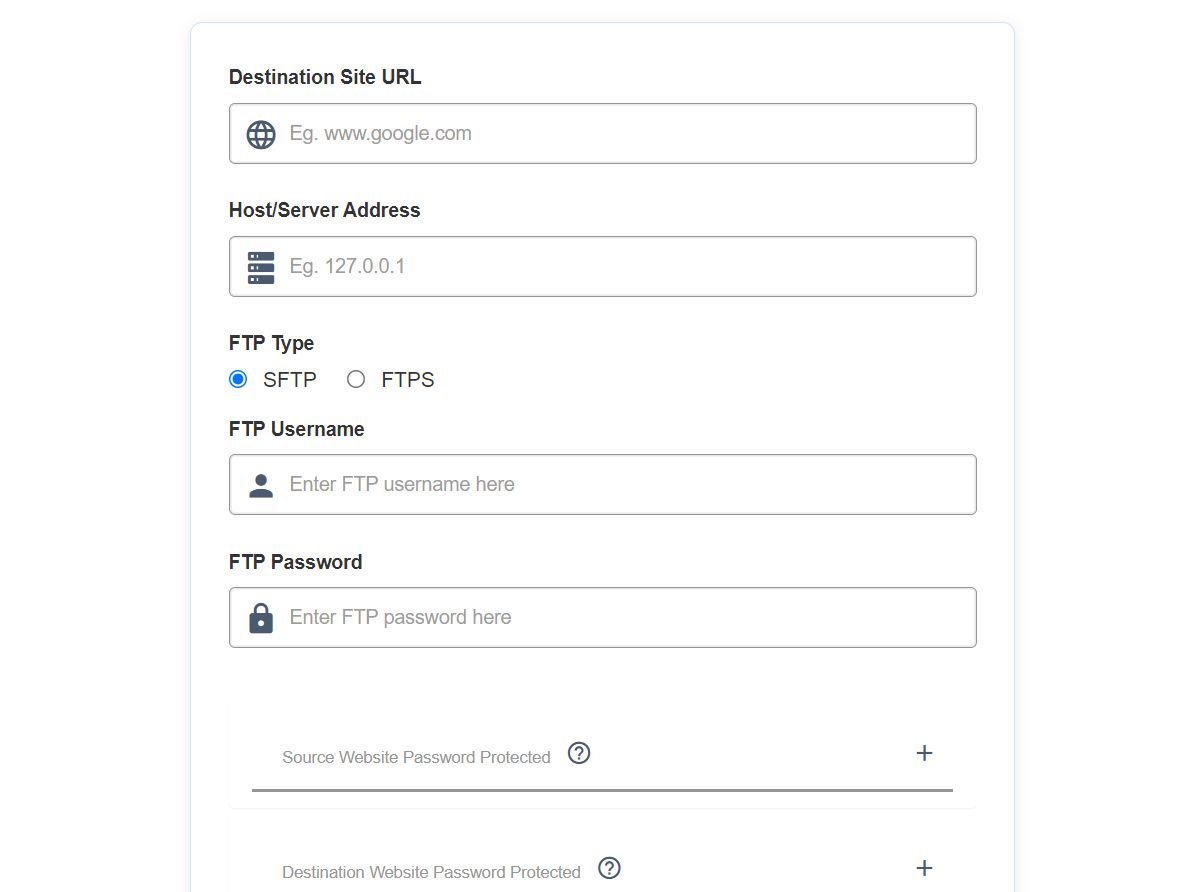
Add all the relevant details for site migration, such as the destination site URL and host/server address. Then, click Migrate:

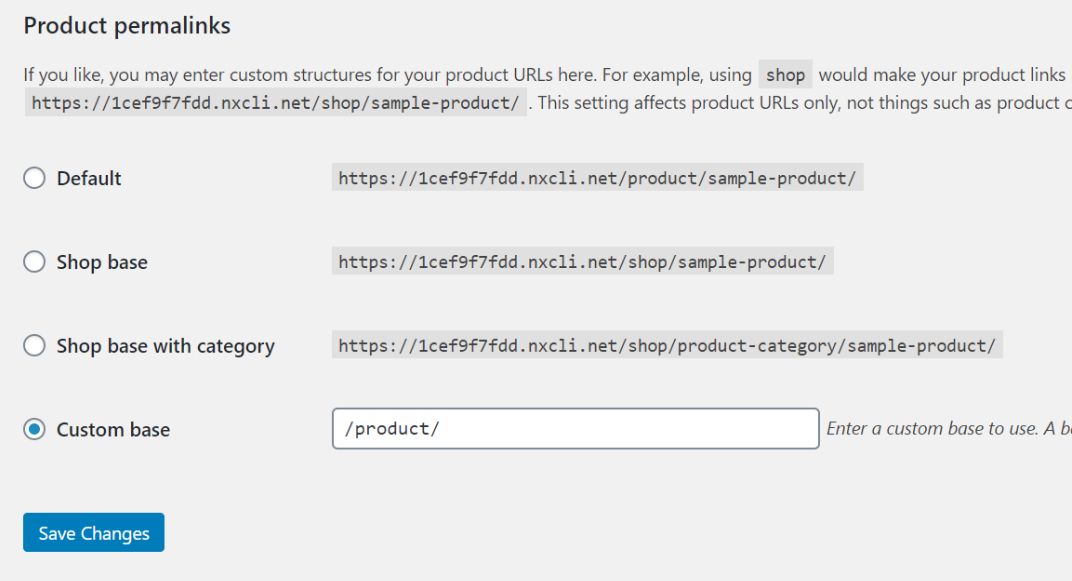
Step 2c: Update Permalinks
After the migration is complete, go to the wp-admin section of your WordPress site. Update your URL permalinks and click the Save Changes button:

Step 2d: Point your Domain Name Server (DNS) to the new Nexcess website
You must log into your Flywheel dashboard and point your DNS to the new website. You’ll have to find the section for custom nameservers in your Flywheel dashboard. Once you’ve located it, you’ll replace the current nameservers with the new ones you obtained from Nexcess when you set up your account.
Please note that pointing your DNS can happen pretty quickly sometimes, but the timeframe is based on several variables. This is also an excellent time to consider transferring your domain to Nexcess. After all, it’s much more convenient to use the same company for all aspects of your web services.
Step 2e: Turn off your old Flywheel hosting site
Now that you’ve successfully pointed your DNS, all your old site’s web traffic will be routed to your Nexcess website. Now, all that’s left to do is delete or cancel your Flywheel subscription. This can easily be done from your Flywheel profile.
Do you still have questions about migrating your Flywheel website to Nexcess? Check out our Nexcess Knowledge Base for many instructionals, how-tos, and step-by-step guides on all things WordPress and Nexcess. Also, you can always reach out to our Nexcess Customer Support Team for assistance.
Option 3: Leverage the WordPress import/export tool
Another option is to use the WordPress import/export tool.
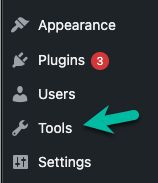
Step 3a: Hover over the Tools option from the WordPress admin page for an export
From the WordPress admin page on your existing Flywheel-hosted site, click or hover over the Tools option:

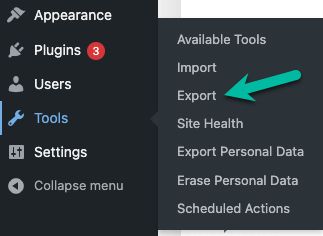
Step 3b: Export the site from Flywheel hosting
Then, click the Export option:

You can choose All Content from the screen or selected content, if you don't want to take it some of it with you. Then, click the Download Export File button:


Step 3c: Hover over the Tools option from the WordPress admin page for an import
Over in your new site with Nexcess hosting, click or hover over the Tools menu option:
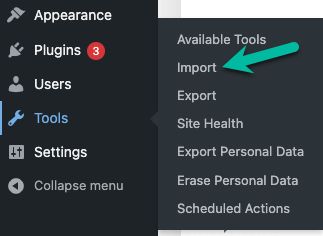
Step 3d: Import the site to Nexcess hosting
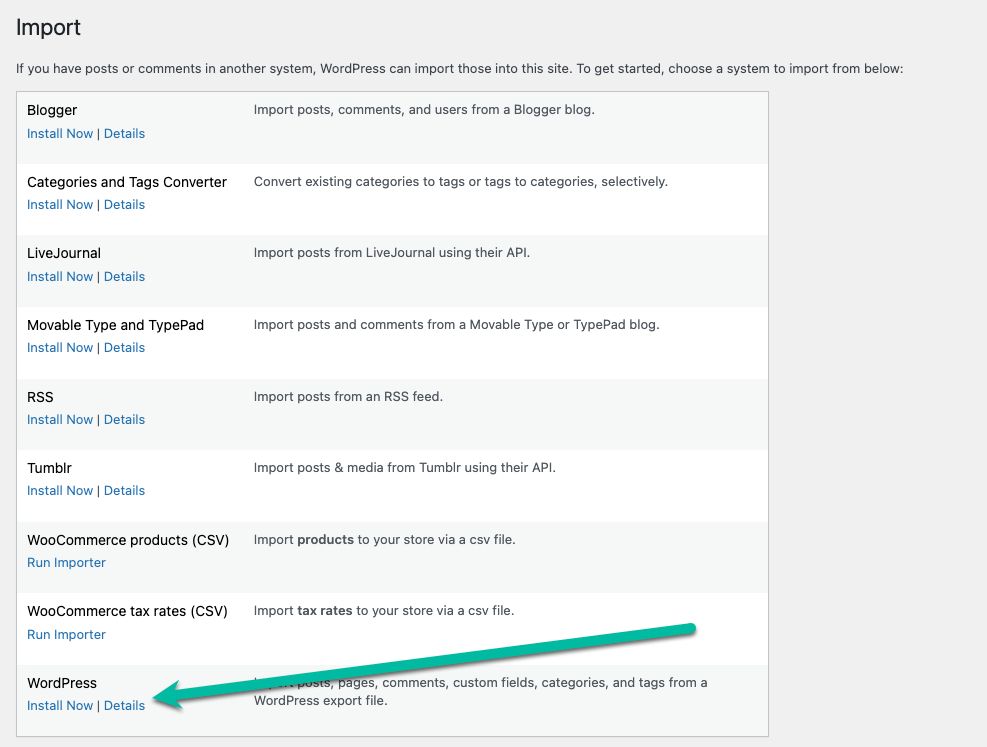
Then, click the Import option:
The file you're importing is a WordPress file, so on the resulting Import page, scroll down to WordPress and click Install Now:

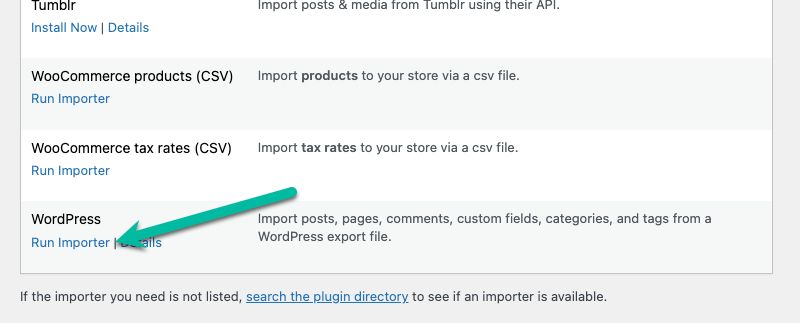
Step 3e: Run Importer
Once it has been successfully installed, click the Run Importer link:

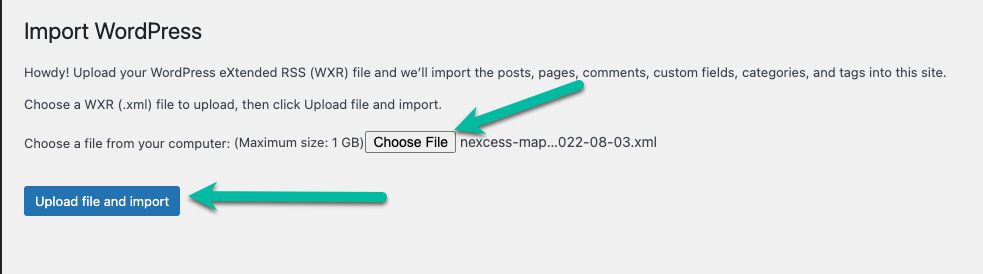
Click the Choose File button on the next page and select your previously exported file. Then, click Upload File and Import:

Step 3f: Review results
Once the import is complete, check over your site to see what may not have come over. This may be images, files, or any number of things. You want to make sure it's all there before going live. Test thoroughly!
Option 4: Complete the manual download and upload process
The final option is to manually download and export your existing site's files and the database. This part will take the most time of the options for you to undertake. This procedure will be followed by the upload and import second part of the process.
Step 4a: Make a backup of your site
Before getting started, take a backup of everything. This precaution is essential in case you run into an issue at any point.
Step 4b: Download a compressed ZIP file for your site
Log in to your Flywheel hosting account via your SFTP software (Transmit, WinSCP, Filezilla, or similar) and navigate to your WordPress install folder. Right-click on the folder with the WordPress files and select the option to compress the folder to a ZIP file.
Using compression will shorten the time it takes to download the folder, as it can get quite large. Once the new ZIP file is complete, drag it to your Desktop, Downloads, or another folder as long as you remember where you put it. Based on the size your site, it can take a good amount of time to download — even in the zipped file format.
Step 4c: Export your database tables
While that is downloading, you will need to export your database tables to import them into your new database in the next step. Log in to your database management tool — it will be something like phpMyAdmin, TablePlus, MySQL Workbench, or another database utility. Follow the steps for your specific software to export your database.
Step 4d: Import the database
Once the files and the database have been successfully downloaded, you can start the upload process. Starting with the database, log in to your database management tool of choice using your provided credentials in your Nexcess dashboard. Follow the steps of your application of choice to import the database.
Step 4e: Upload your WordPress files
The next step is to upload the zipped folder containing your WordPress install to its new location. Using the appropriate credentials from the Nexcess Client Portal, log into your chosen SFTP utility, and navigate to your content root.
In the folder that contains your content on Nexcess, upload your ZIP folder. While that is uploading, rename your content root folder [foldername].bak. If the folder is called html, the name would become html.bak. This removes the content from showing on your site and allows your currently uploading content to take over.
When the ZIP file is uploaded, unzip the folder. You will want to rename it to the same name as the previous folder. Using the previous example, you would name your newly uploaded and unzipped folder html. Now you'll need to update a few things. First, you need to update your env.php file to use the new database credentials that are provided in the Nexcess Client Portal.
Step 4f: Update Permalinks
Ensure that your permalinks are set up as they were in your previous WordPress install, and everything should be ready to go!
Step 4g: Test your site
Be sure to test thoroughly and make sure everything is as expected. If you have any questions, our helpful humans on our support team are here to help, 24/7/365. You can contact them via the Nexcess Client Portal or at nexcess.net.
Step 4h: Update your nameservers
After you are sure your site is ready to go live, your final step is to update your nameservers. The addresses for your nameservers can be found in the Nexcess Client Portal, within your list of plans.
Keep in mind, the change might be as long as 24 hours to point to the correct servers. If you are also moving your domain to Nexcess, you can find steps to complete that process in the How to transfer domains to Nexcess article.
Remember that there is a required 60-day window where a domain is not transferable. This waiting period requirement comes from ICANN, and all domain registrars must adhere to this rule. After 60 days, you can transfer the domain. This rule applies always, no matter the type of site.
Final thoughts — migrating from Flywheel hosting to Nexcess
While it may feel daunting, making the switch from Flywheel web hosting to Nexcess is pretty straightforward. It is most convenient to use the free migration service that Nexcess offers. Our team will walk you through the remaining steps after the request has been submitted using the form provided.
Free website migration services
You shouldn’t have to work hard to migrate your site. That’s our job. Get free migrations, managed by experienced, dedicated professionals.
If you’d like to handle the transfer process yourself, you can use the free Migrate to Liquid Web & Nexcess plugin, which is available on WordPress.org. You can implement the plugin on your site and follow the instructions above to migrate your site over to your new hosting plan.
At Nexcess, we pride ourselves on offering Managed WordPress hosting plans optimized for feature functionality, performance and security. To learn more about the benefits of managed hosting with Nexcess, reach us to our helpful humans with any questions.


