


Magento has a lot of security tools to help protect your ecommerce website from online attacks. One of these tools, CAPTCHA, ensures that people, not robots, engage with your website.
If you’ve ever been asked to identify hard-to-read text or match images before viewing a website, that was CAPTCHA doing its job.
How to set up and configure Magento 2 reCAPTCHA
Now, an even more secure option is the Google reCAPTCHA extension. Setting up reCAPTCHA in Magento 2 is vital for preventing spam bots and malicious actors from accessing your online store. This article will explain how to set up and configure reCAPTCHA by Google in your Magento 2 store.
Why is the Google reCAPTCHA extension required for your Magento 2 store?
Google reCAPTCHA and Magento 2 CAPTCHA serve the same purpose, but the Google extension enhances your website’s security even more.
The Google extension helps reduce irrelevant advertisements, suspicious registrations, and spam-filled email lists. In addition, it displays human-friendly questions users can quickly answer.
It also cuts out malicious and fraudulent order attempts during checkout. As a result, spam and fraudulent purchases decrease. Plus, it helps with website maintenance.
Features of the Google reCAPTCHA extension for Magento 2
So, what can the Google reCAPTCHA extension do for your Magento store?
For starters, it:
- Works on multiple pages in both the front and back end.
- Can implement both invisible and visible reCAPTCHA.
- Can implement both reCAPTCHA v2 and v3.
- Can serve various forms for your store.
- Has good compatibility with other Magento plugins.
How to enable and disable reCAPTCHA in your Magento 2 store
You can integrate Google reCAPTCHA into your website's back end to protect your storefront, login pages, and forms from bots and malicious brute-force attacks. Setting up and configuring reCAPTCHA for your Magento 2 store is straightforward. Here’s how to do it.
Generating the Google reCAPTCHA API keys
To enable Google reCAPTCHA in your Magento 2 store, you'll first need to generate Application Programming Interface (API) keys. You can obtain these keys for free by visiting the reCAPTCHA website.
Here are the steps to follow:
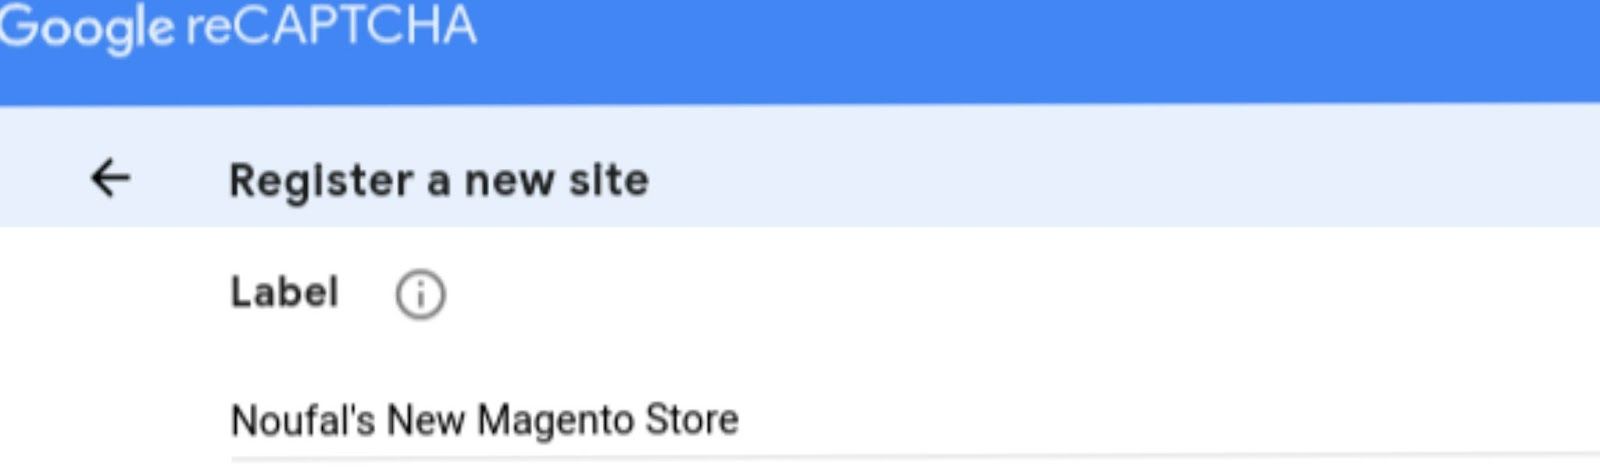
1. Go to Google’s reCAPTCHA setup page. From here, you’ll register your website, choose the reCAPTCHA type, and give this reCAPTCHA a label. Here’s also where you accept the terms and conditions of using these APIs.
2. Enter a unique name in the Label box. This unique name you provide gives you a unique identifier for the key pair and is for internal reference:

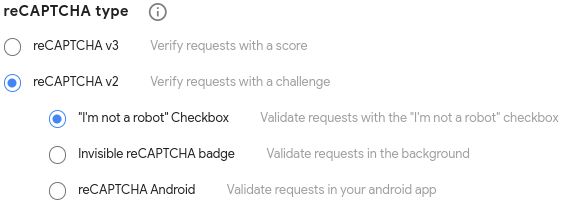
3. For the reCAPTCHA type, select the ideal option for your use case. For example, Google reCAPTCHA v3 uses a score to identify a person. And Google reCAPTCHA v2 allows you to select one of three options:
- “I’m not a robot” checkbox
- Invisible reCAPTCHA badge
- reCAPTCHA Android (smart phone)
The “I’m not a robot” option is a checkbox. The Invisible reCAPTCHA option validates the user in the background. And the reCAPTCHA Android option uses phone verification:

4. Use your Magento 2 store’s domain (that is, yourdomain.com as a pseudo code example) as the For domain value you enter:

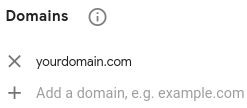
If you have multiple Magento 2 stores, you must enter each unique web address on a separate line. For testing purposes, you can add any staging domains, local virtual machine domains, and sub-domains.
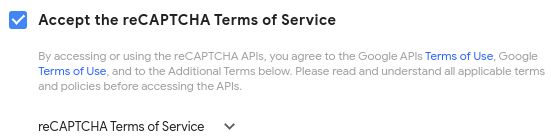
5. To finalize the process, accept the Terms of Use:

6. Next up, check the Send Alerts to Owners checkbox, which allows Google to notify you when it finds any problems or suspicious activity.


7. To finish your registration and access your keys, click Submit.


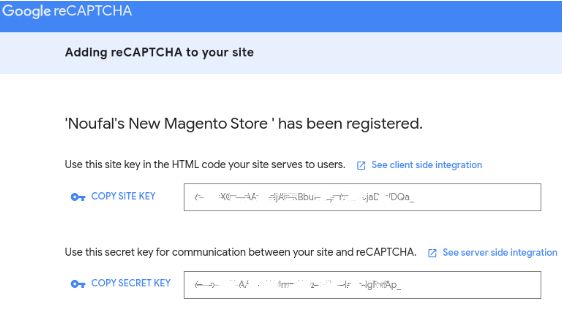
Once you click the Submit button, Google will automatically generate your chosen website's the public and private key pair. Here is the sample output:

Configuring Google reCAPTCHA v2 and v3 for your Magento 2 Admin Panel
There is a slight difference in how to set up Google reCAPTCHA v2 and v3. We’ll explain the difference below.
Follow these steps:
1. Log in to access your Magento Store Admin Dashboard.
2. On the left sidebar of the dashboard, select Stores > Settings > Configuration.
3. To continue, first set Default Config to Store View on the top-left side of the configurations page.
4. Next, expand the Security menu option from the left sidebar and select Google reCAPTCHA:

Implementing Magento 2 reCAPTCHA v2 — “I am not a robot” checkbox
To use Google reCAPTCHA v2’s “I am not a robot” checkbox, follow these steps:
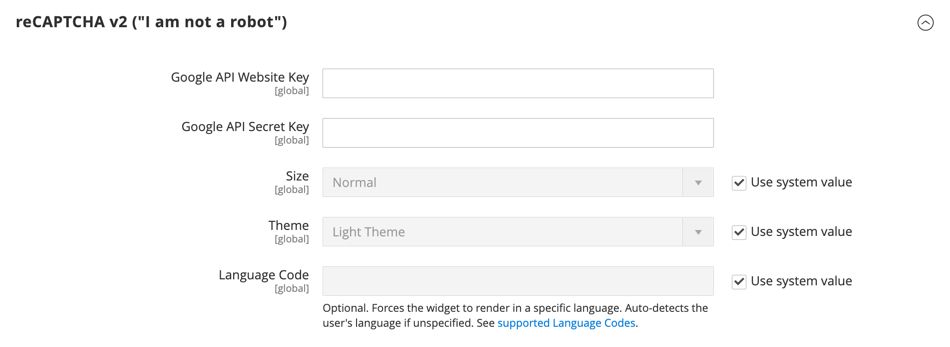
1, Under the General tab, expand to show the Google reCAPTCHA API text boxes. Where appropriate, enter the public and private API Keys. Then, under the reCAPTCHA type dropdown, select the reCAPTCHA v2 (“I am not a robot”) option.
Note: Untick the Use System Value checkbox for each field to be configured.
2. Under the Backend tab, set the following options where necessary:
2a. Enable: Select Yes.
2b. Theme: Select either Light or Dark.
2c. Size: Select either Normal or Compact.
3. Under the Frontend tab, add Google reCAPTCHA to customer accounts. By default, reCAPTCHA is active for the following pages:
3a. Login and Forgot Password pages.
3b. Contact page.
3c. Create User page.
3d. Review page.
3e. PayPal PayflowPro Payment Form page
3f. Invisible reCAPTCHA in the Newsletter page.
3g. Send to Friend page.
4. Save to secure these changes:

Implementing Magento 2 reCAPTCHA v2 or v3 — Invisible reCAPTCHA
To use v2 or v3’s Invisible reCAPTCHA, follow these steps:
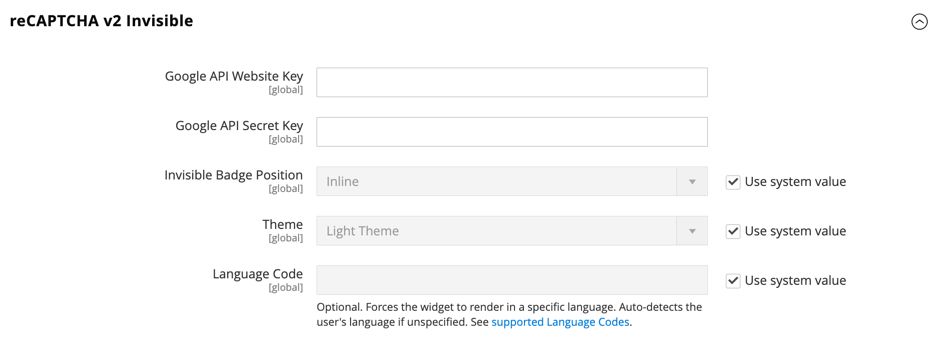
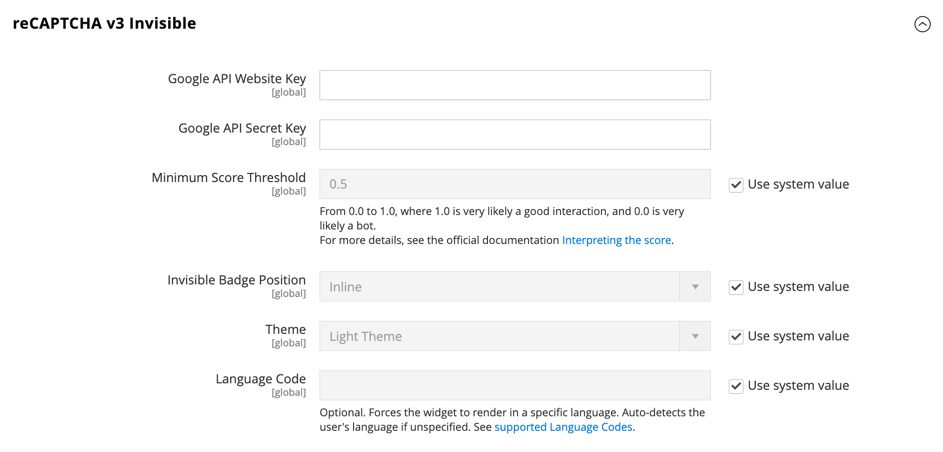
1. Starting from the General tab (after entering the private and public API keys), select Invisible reCAPTCHA (v2 or v3) under the reCAPTCHA type dropdown menu.
2. Expand the Backend tab and set the options. Uncheck the Use System Value checkbox to set your own parameters for every field you want to configure:
2a. Enable: Select Yes.
2b. Invisible Badge Position: (Select your preferred option.)
2c. Minimum Score: Insert a value from 0.0 to 1.0. 1.0 represents the likelihood of a positive human interaction, where the value of 0.0 represents the likelihood of a bot interaction.

3. Under the Frontend tab, add Google reCAPTCHA to customer accounts. Invisible reCAPTCHA defaults to the same pages as “I am not a robot.”
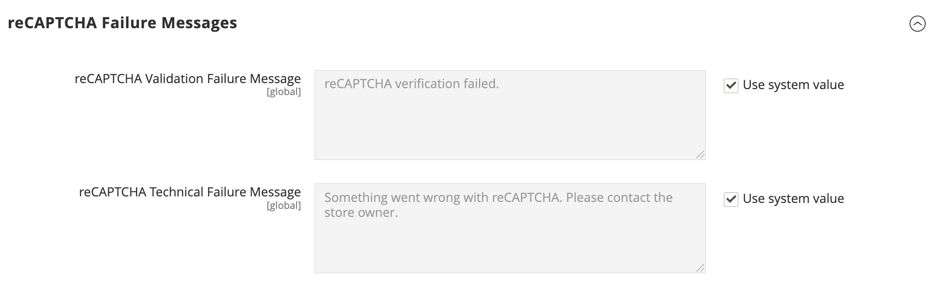
Setting up custom reCAPTCHA failure messaging
To set your own failure messages, expand the reCAPTCHA Failure Messages tab and add custom messages that will display if a validation failure is detected, or validation can’t be completed:

Disabling reCAPTCHA
To disable reCAPTCHA, expand the Admin Panel section. You will see the following fields:
- Enable for Login: Set Enable for Login to your preferred reCAPTCHA type.
- Enable for Forgot Password: Set Enable for Forgot Password to the preferred reCAPTCHA type to use when a user requests a password reset.


To disable reCAPTCHA in Magento 2, you can set No for Enable for Login and save the configuration changes.
About the Magento 2 reCAPTCHA checkout process and setup
By default, Magento 2 will let unregistered users and guest visitors check out using CAPTCHA (or Google reCAPTCHA if you’ve installed the extension). However, you may prevent checkout without registration to collect additional customer information.
By following these steps, you can disable reCAPTCHA checkout in Magento 2 for guest visitors:
1. From your Magento admin panel, go to Stores > Settings > Configuration.
2. Under the Sales tab, click on the Checkout option.
3. Untick the Use System Value checkbox in the Allow Guest Checkout field and choose No from the dropdown.
4. Save the changes.
If you want to re-enable reCAPTCHA checkouts in Magento 2 for guest customers, check Yes in the Allow Guest Checkout field or tick the Use System Value option.
Configuring Magento 2 reCAPTCHA validation for the storefront
You have the option to make your checkout process more secure using reCAPTCHA validation. The sections below cover enabling and disabling reCAPTCHA validation for checkout as needed.
Enabling reCAPTCHA in Magento 2 for the checkout/placing order
Below are the steps you should follow to configure reCAPTCHA in Magento 2 for your storefront:
1. Choose Google reCAPTCHA storefront under Security.
2. Next, fill out the area for each type of reCAPTCHA you want to 3. implement in your storefront.
3. Expand the reCAPTCHA validation failure messages section and type in a message that will appear in the storefront if validation fails or can’t be completed.
4. Expand the Storefront area in the user interface, untick the Use System Value checkbox, set Yes for Enable for Checkout/Placing Order to enable reCAPTCHA:

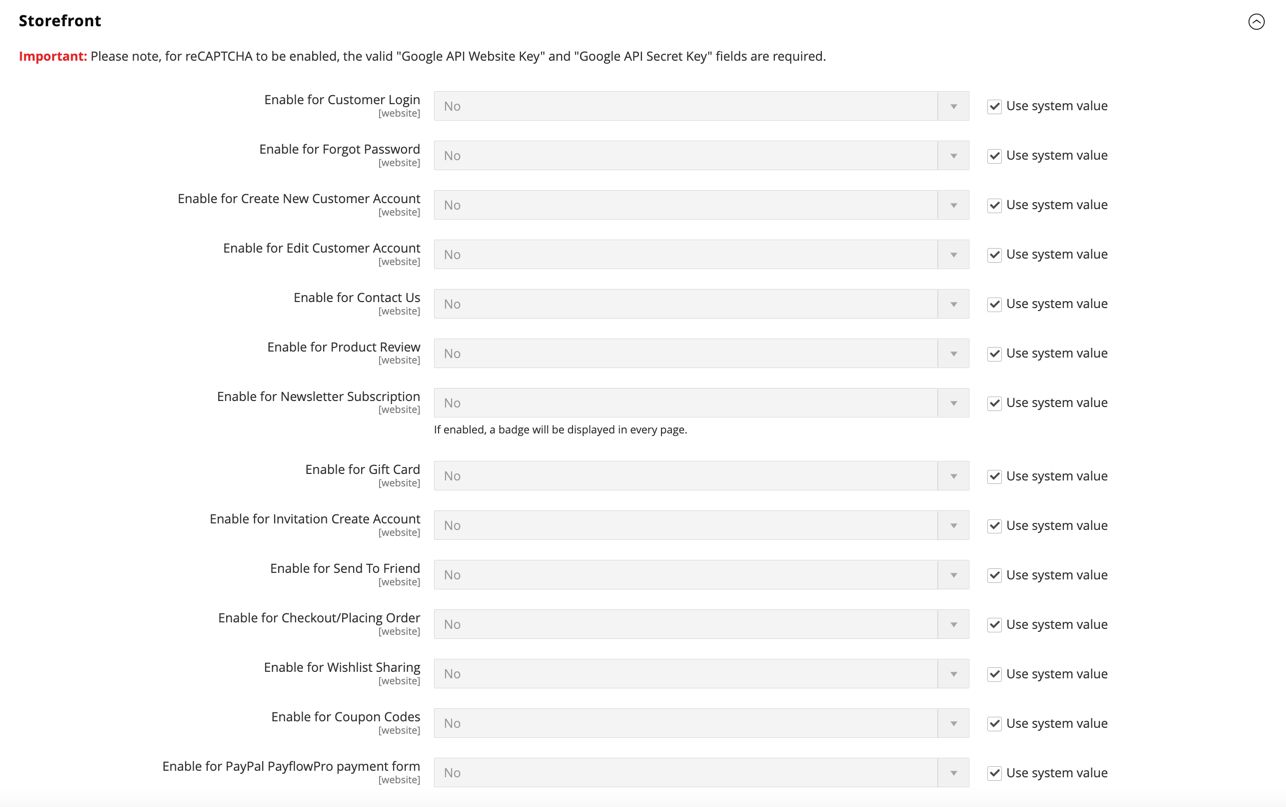
Note: You can untick the Use System Value checkbox for each field and enter the value you want to use for your Magento 2 store.
Disabling reCAPTCHA in Magento 2 for the checkout
To disable reCAPTCHA in Magento 2 for the checkout process, follow these steps:
1. Select No for the Enable for Checkout/Placing Order field and save.
2. Next, click Cache Management and clear the Magento cache to refresh any invalid cache data.
What’s next after configuring Google reCAPTCHA in Magento 2?
Now that you can set up and configure Google reCAPTCHA, you might be ready to tackle some other Magento 2 issues. Check out our Magento 2 Frequently Asked Questions (FAQ) to learn more about a variety of Magento 2 topics. Review our Magento 2 launch checklist to better understand the things you should keep in mind to prepare your store to go live.
All the features and capacity you love in Magento hosting, without the hassle
Nexcess promises powerful Magento hosting that accelerates your online store's potential, without the ongoing maintenance.
Before going live, you also need to choose a hosting provider. Are you looking for a fast and reliable Magento host? At Nexcess, our fully managed Magento hosting plans provide outstanding security features and a cutting-edge CDN service. In addition, you can enjoy high performance and instant autoscaling to support businesses that are growing rapidly.
You can also custom-build your Magento solution with the help of our exceptional customer support and cloud capabilities.
Recent articles
- Convert MyISAM to InnoDB tables for database performance
- How to optimize Magento performance
- Adding a secondary domain in the Nexcess Client Portal


