

Website speed and performance are essential to user experience, especially for ecommerce websites. Slow website speeds can lower overall traffic, poor search engine rankings, and negative user experiences.
More than half of shoppers expect pages to load in three seconds or less and will leave if their shopping cart takes too long to load. Caching mechanisms help reduce server execution time, speeding up the overall load time of a webpage and boosting your website performance.
About using the WP Super Cache plugin with the Nexcess CDN
You can improve your website speed and performance using the WP Super Cache WordPress caching plugin with the Nexcess CDN (Content Delivery Network). We’ll include step-by-step instructions for setting up and configuring the plugin and CDN.
Overview of WordPress caching plugins and how they work
A cache stores copies of recently accessed pages temporarily. This way, your pages will load faster when a user returns to your website. WordPress provides a wide variety of plugins for caching.
Besides WP Super Cache, some of the top WordPress caching plugins include WP Rocket, Cache Enabler, and LiteSpeed Cache. A caching plugin helps reduce the load on your WordPress hosting servers and improves your website's speed and performance.
When a page on your website is accessed by a visitor, their web browser connects to your hosting server to request the various components, such as HTML files, CSS style sheets, JavaScript, and photos. The user's browser receives these resources from your server, which are then built, creating a webpage that appears on their screen.
If you’ve enabled WordPress caching on your website, certain information from your webpages will be stored locally on the end user’s device. So, when a user revisits your website, some of that information will be pulled from their device’s local storage and not your web server.
By default, whenever a user accesses a page on your WordPress website, a lot of activity occurs in the background, including multiple database queries and code executions.
A WordPress caching plugin creates a static version of your content, eliminating many processes involved in dynamically generating a page. This static webpage leads to quicker loading times and content traffic.
Implementing the WP Super Cache plugin and WordPress caching
WP Super Cache is a web performance plugin that will help you manage the caching behavior of your website via the WordPress dashboard.
The way it works is simple: In place of PHP scripts (which are heavier), it creates static HTML files and serves them. One of its notable features is “garbage collection,” which lets you remove old, cached files that build up over time. As a result, your website maintains optimal speeds.
Setting up the WP Super Cache plugin
Before starting, we assume you’ve already created a WordPress website. Also, if you have already installed another caching plugin, you’ll need to deactivate it before using WP Super Cache to avoid any conflicts.
You can set up the WP Super Cache plugin via the WordPress Admin Panel by following the below steps.
1. Log in to your WordPress Admin Dashboard.
2. Go to the left-hand menu and select Plugins.
3. Enter WP Super Cache in the search bar.
4. Click Install Now.
5. Select Activate.
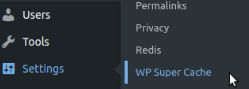
6. Now, go to Settings > WP Super Cache:

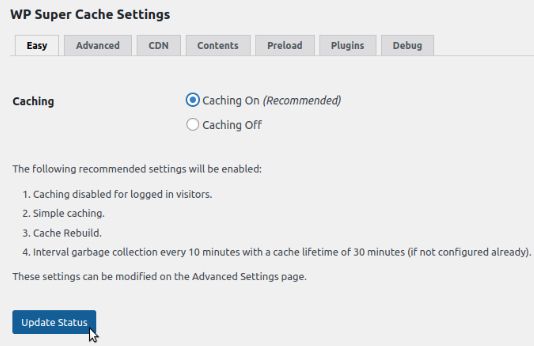
7. Under the Easy tab, select the Caching On option to enable WordPress caching. Then, click the Update Status button:

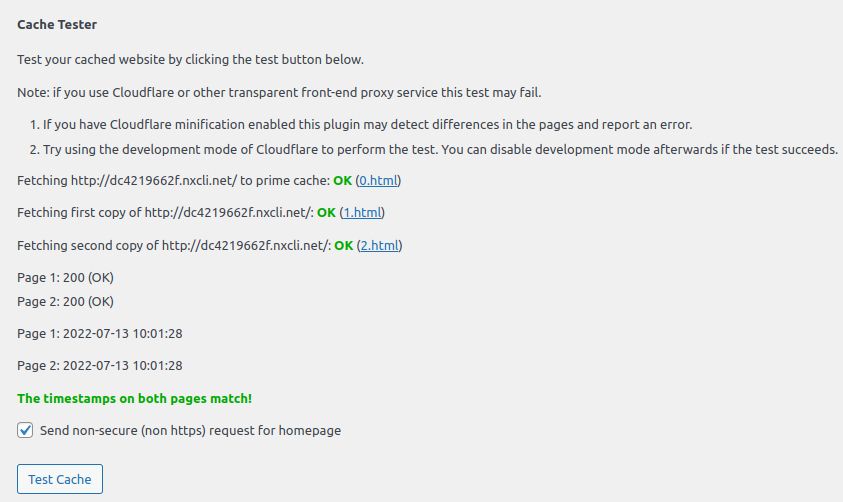
8. Once you’ve enabled caching, click Test Cache to see if it works:

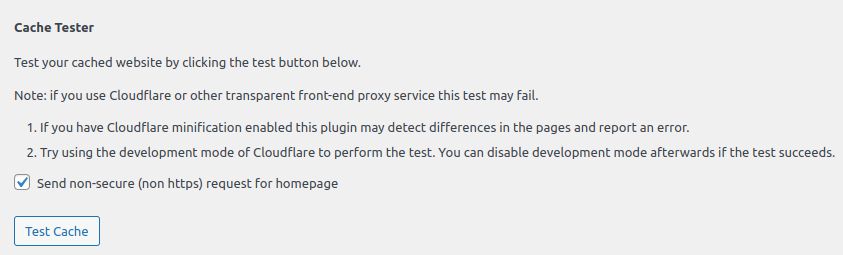
9. The plugin will fetch two copies of your website and display the timestamps of each. If the timestamps match, that means you’ve successfully configured caching:

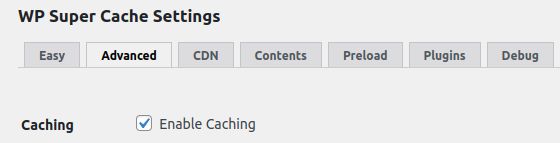
10. You’re also able to configure advanced caching settings. We will discuss these settings later in the subsequent sections:

Note that Nexcess-managed WordPress and WooCommerce plans also come with full-page caching. And as mentioned earlier, a website that loads quickly is critical for ecommerce success — and this outcome is facilitated by our full-page caching feature.
Enabling the Nexcess CDN
Before enabling CDN support with WP Super Cache, you’ll need to enable and configure the Nexcess CDN. As with caching, a CDN enhances your website’s speed. A CDN is made up of a group of web servers distributed worldwide that cache your content. It accelerates delivery by bringing your content closer to where users are located.
Nexcess provides a built-in CDN, giving easy access to this feature. It’s available in our managed WordPress and WooCommerce plans as well as our flexible cloud plans. Once you activate the CDN, you can enhance your website’s page load times.
You can enable and configure the Nexcess CDN from your Nexcess Client Portal by following these steps.
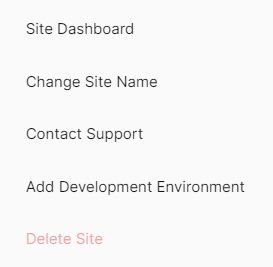
1. Log into the portal. On the left vertical menu, click Plans. Next, select WordPress and then click the three dots icon on the far right. From here, choose Site Dashboard:

2. The Nexcess CDN tab will appear on the left-hand menu. Click it.
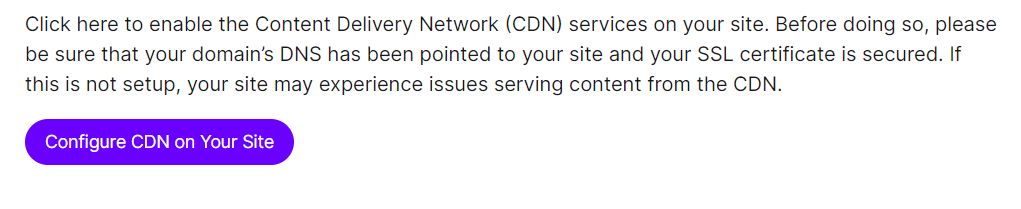
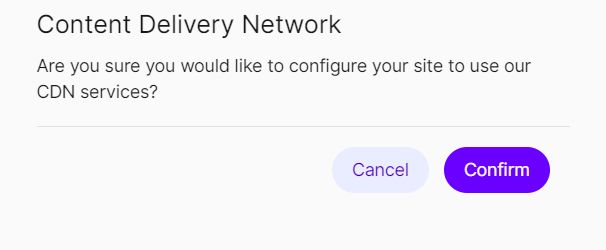
3. Next, select the Configure CDN on Your Site option:

4. Click the Confirm button:

5. You will be presented with the following message on the top left of the Nexcess Client Portal:

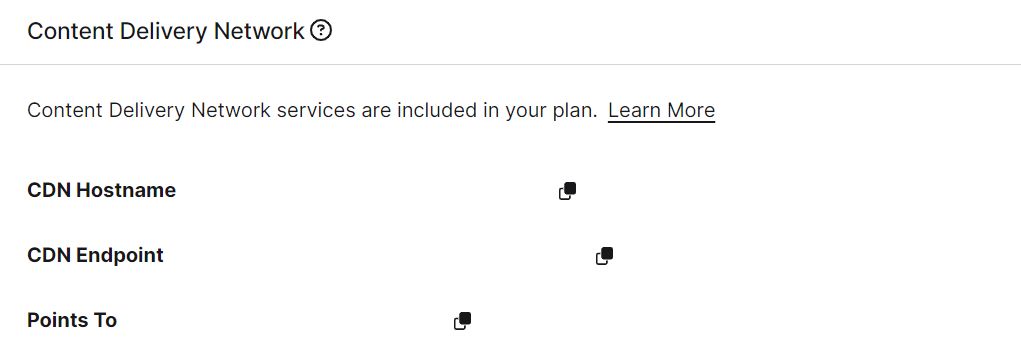
6. Once it’s completed, this is what you’ll see:

Enabling CDN support in the WP Super Cache plugin
To turn on CDN support with the WP Super Cache plugin, follow the steps below:
1. Navigate to the CDN tab:


2. Select the Enable CDN Support option and add your CDN URL to the Off-Site URL field. You can add more CNAMEs to boost performance:

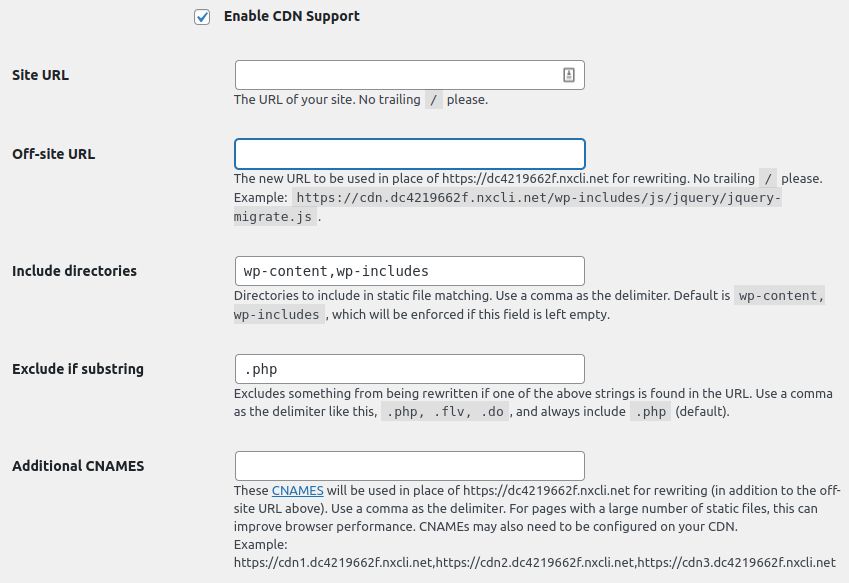
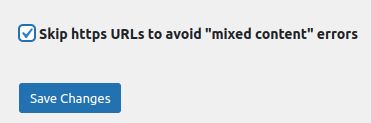
3. Check the Skip HTTPS URLs to Avoid “Mixed Content” Errors checkbox and then save the changes:

Serving cache files with WP Super Cache
One of WP Super Cache’s main selling points is its different caching modes. It can serve cached files using Simple mode (PHP) and Expert mode (mod_rewrite):
1. Under the Advanced tab, choose your preferred cache delivery method and select the Update Status button:


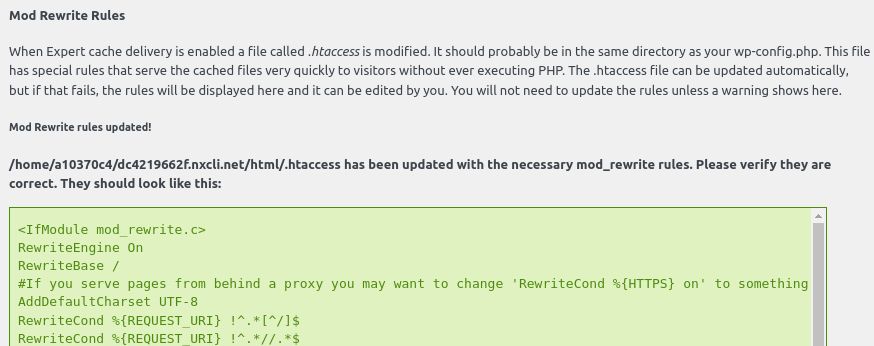
2. If you choose Expert mode, scroll down and select Update mod_rewrite rules. The .htaccess file will be modified, resulting in end users receiving cached content much faster:


3. Note that the file will update automatically. But if this doesn’t happen, you’ll get access to the rules and can edit the file yourself:

4. However, when making changes, you’ll must be familiar with the .htaccess file. If anything goes wrong, it could break your website.
5. All in all, Expert mode is fast because it doesn’t use PHP — that is to say, it bypasses PHP.
6. Simple mode is easier to configure since it was designed with beginners in mind. Another advantage of Simple mode is that it supports dynamic caching for specific parts of your page. Although it isn’t as fast as Expert mode, you’ll still reap the benefits that come with caching.
Compressing pages in WP Super Cache
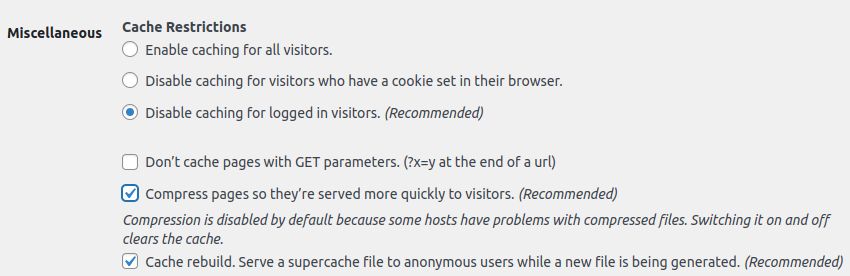
WP Super Cache gives you the option of compressing your cached files. This results in quicker page load times and a better browsing experience for end users.
You can find the compression option in the Miscellaneous section under the Advanced tab. From here, check the checkbox that states, “Compress pages so they're served quickly to visitors.” It��’s that easy!

Activating dynamic caching in WP Super Cache
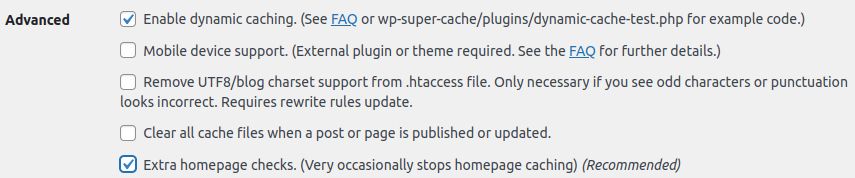
With WP Super Cache, you’re also able to configure dynamic caching. This feature is particularly useful for pages with dynamic content, as it won’t negatively impact page speed. That stated, dynamic caching is only available in Simple mode (as mentioned earlier). Expert mode doesn’t enable this option.
To configure dynamic caching, go to the Advanced tab and navigate to the Advanced settings section, where you can check the “Enable dynamic caching” checkbox:

Configuring the expiration time and garbage collection
Now let’s look at the expiry and garbage collection settings:

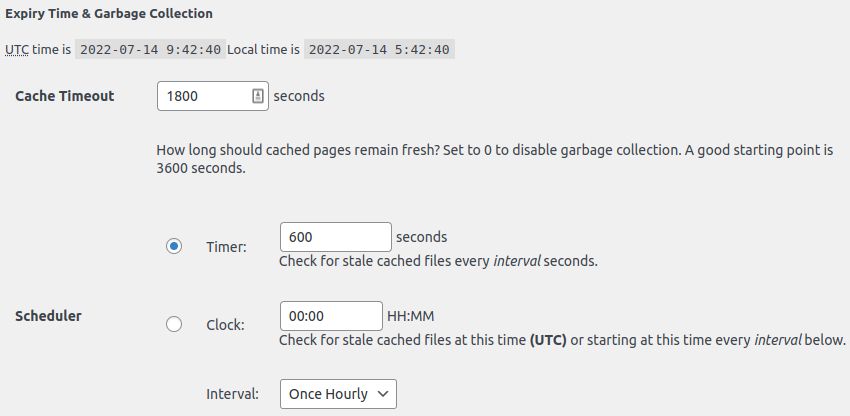
You can use the Cache timeout section to configure how long cached pages stay fresh (before a new copy is created). You’ll find it set at 1,800 seconds or 30 minutes, ideal for websites that witness heavy traffic.
You can set the time to 3,600 seconds or more for new websites or those with less traffic. You are able to set the time for when the plugin should look for stale cached files and delete them. Put another way: You'll choose how often you want old, cached files to be removed.
There you go — you’ve enabled the Nexcess CDN with WP Super Cache.
Speed up page load times with WP Super Cache and the Nexcess CDN
Data caching is an excellent approach to speed up load times. The Nexcess CDN and the WP Super Cache plugin make this solution much more accessible.
Find elevated WordPress web hosting
Hosting optimized for WordPress. Speedy, secure, scalable, and more PHP workers than any other provider.
You should notice a reduction in loading times when you enable WP Super Cache because it has some optimization features turned on by default. The Nexcess CDN is built into our platforms to be used quickly and with minimal configuration.
If you want assistance with setting up and configuring the Nexcess CDN and choosing a suitable managed hosting plan for your website, don't hesitate to contact our experts anytime.


