

Since Magento 1 reached its end of life in June 2020, it’s no longer supported. Unfortunately, this means no more updates, security patches, or new extensions. That’s why even its most loyal users are undergoing a Magento 1 to Magento 2 migration.
We realize how scary upgrading Magento 1 to 2 can seem, so we decided to make it easy. Just follow our guide for a clear and smooth migration experience.
Keep reading to learn how to migrate Magento 1 to Magento 2.
Why should you upgrade?
Still not convinced? That’s OK. Here’s a list of the top reasons why you should upgrade and migrate Magento 1 to Magento 2:
- It’s more secure.
- It performs faster.
- The theme design is more responsive.
- It supports PHP 7.
- The interface is more user-friendly.
- It’s better for SEO.
- The checkout process was improved.
Migrate Magento 1 to Magento 2: the process and puzzle pieces
When upgrading Magento 1 to 2, we must keep these three puzzle pieces in mind. These are themes and extensions, custom code, data, and settings.
Migrate Magento 1 to Magento 2: migrating the themes and extensions
The structure of Magento 1 and Magento 2 is very different. For example, it doesn’t allow for the cross-installation of themes or extensions. That’s why it’s essential to find suitable alternatives before you upgrade.
Migrate Magento 1 to Magento 2: migrating custom code
If your Magento 1 website has custom code, there’s a tool called Code Migration Toolkit. The link provided will take you to the official guide for this objective of migrating your custom code. The good news is that a lot of custom code is cross-compatible.
Migrate Magento 1 to Magento 2: migrating the data and settings
For this step, we will use Magento’s official Data Migration Tool. Just follow our instructions to complete it in no time.
Step #1: Migrating the data and settings
Start with a fresh Magento 2 installation. Move the media files from Magento 1 to Magento 2:
rsync -avh /path/to/magento1/pub/media /path/to/magento2/pub/media
Step #2: Migrating the data and settings
Now check your Magento store version:
php bin/magento --version
Step #3: Migrating the data and settings
Install the same version of the Data Migration Tool. Here’s an example for Magento 2.4.0:
composer require magento/data-migration-tool:2.4.0
Step #4: Migrating the data and settings
It will ask you to provide your authentication keys. You can find these in the Magento Marketplace under Access Keys. If you haven’t created them yet, just click the Create a New Access Key button.
Step #5: Migrating the data and settings
Now run the upgrade command as you would after installing any module:
php bin/magento setup:upgrade
Step #6: Migrating the data and settings
Now that you’ve installed the tool, you need to configure it. See the configuration files below.
There are three directories you should be aware of. The first one you can use for Open Source to Open Source migration. You would use the second one for Open Source to Commerce migration. Last but not least, you have the one for Commerce to Commerce migration:
/vendor/magento/data-migration-tool/etc/opensource-to-opensource
/vendor/magento/data-migration-tool/etc/opensource-to-commerce
/vendor/magento/data-migration-tool/etc/commerce-to-commerce
Step #7: Migrating the data and settings
Rename the “config.xml.dist” file to “config.xml” like below:
/vendor/magento/data-migration-tool/etc/opensource-to-opensource/1.9.0.0/config.xml
Step #8: Migrating the data and settings
Provide the database info of the source (Magento 1) and the destination (Magento 2). Then set the crypt_key. You can find it in /path/to/magento1/app/etc/local.xml:
<source>
<database host="localhost" name="magento1-database" user="magento1-username" password="magento1-password"/>
</source>
<destination>
<database host="localhost" name="magento2-database" user="magento2-username" password="magento2-password"/>
</destination>
<options>
<crypt_key>magento1-key</crypt_key>
</options>
Step #9: Migrating the data and settings
You’re now ready to migrate Magento settings with the following command:
php bin/magento migrate:settings --reset /vendor/magento/data-migration-tool/etc/opensource-to-opensource/1.9.0.0/config.xml
Step #10: Migrating the data and settings
Once complete, move on to migrating Magento data:
php bin/magento migrate:data --reset --auto /vendor/magento/data-migration-tool/etc/opensource-to-opensource/1.9.0.0/config.xml
If you experience any errors during this time, check the official troubleshooting page.
Step #11: Migrating the data and settings
Now, rerun the upgrade:
php bin/magento setup:upgrade
Step #12: Migrating the data and settings
Refresh the indexes:
php bin/magento indexer:reindex
Step #13: Migrating the data and settings
Flush the cache:
php bin/magento cache:flush
Step #14: Migrating the data and settings
Finally, make sure to set the proper permissions for media:
php bin/magento setup:upgrade
Completion: Migrating the data and settings
And voila, the migration process is now complete. Congratulations on making it this far.
Note: If you’d like a more theoretical overview of this process, you can read our The Ultimate Magento 1 to Magento 2 Migration Guide article.
Migrate Magento 1 to Magento 2: alternative method via LitExtension
There is an alternative way to migrate the data, settings, and customizations. It’s called LitExtension, and automatically does everything for you for a price. Is this the right solution for you? Great, that’s why we wrote the following guide.
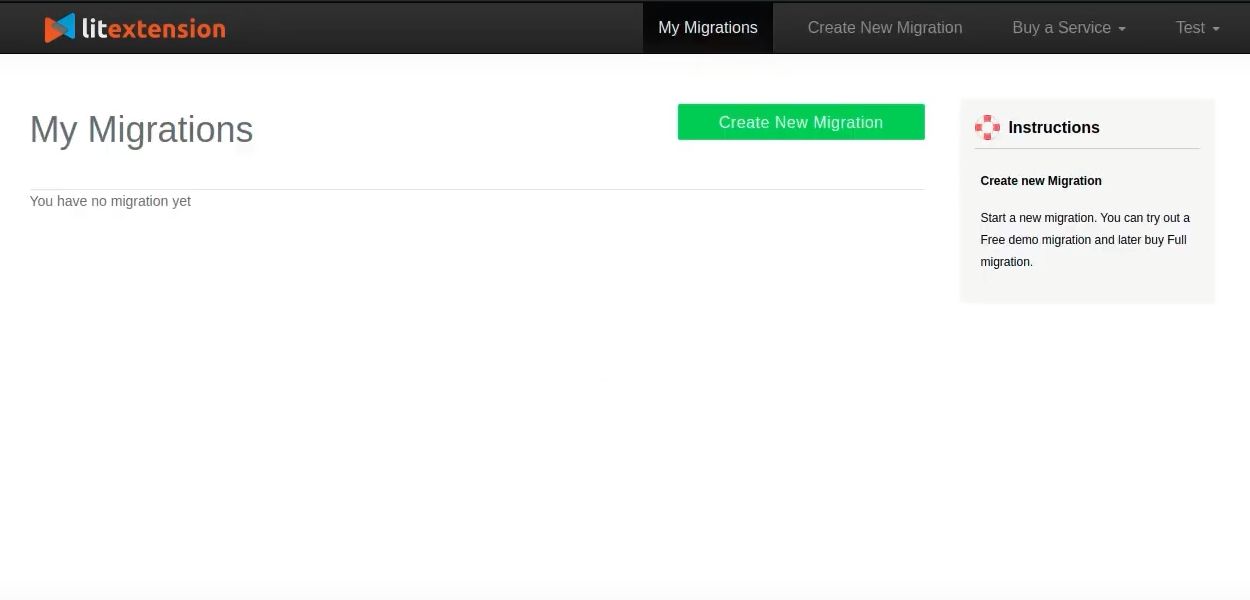
Step #1: Using the alternative method via LitExtension
Once you visit the official website and log in, just press the Create New Migration button:

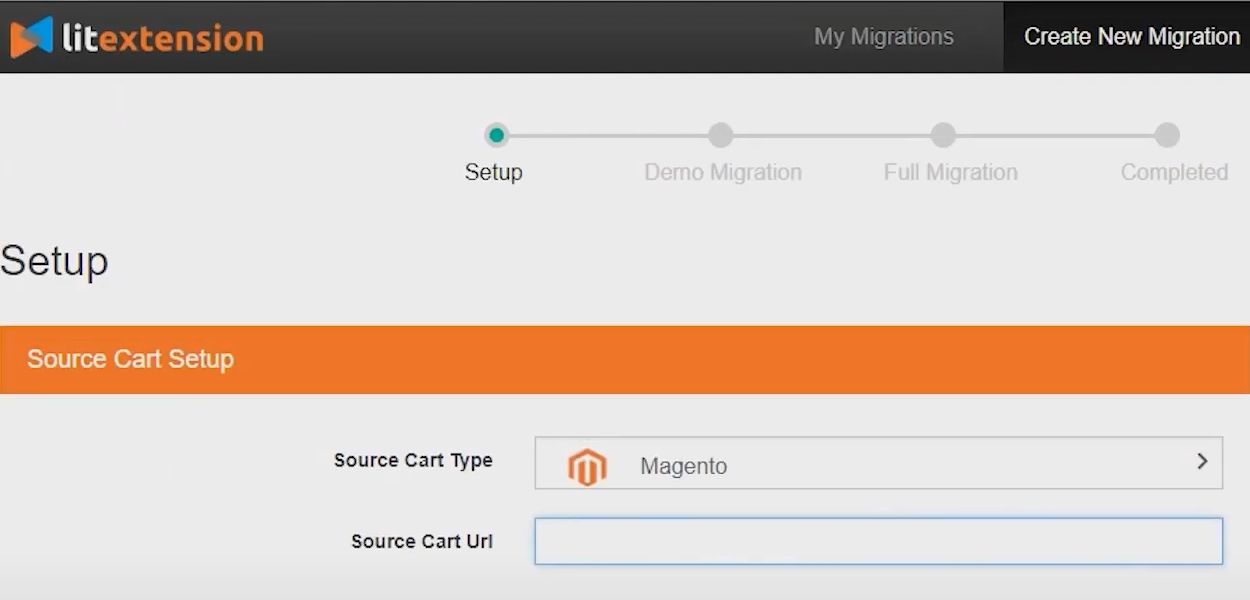
Step #2: Using the alternative method via LitExtension
Now, enter your source cart URL. For example, https://mydomain.com/store/:
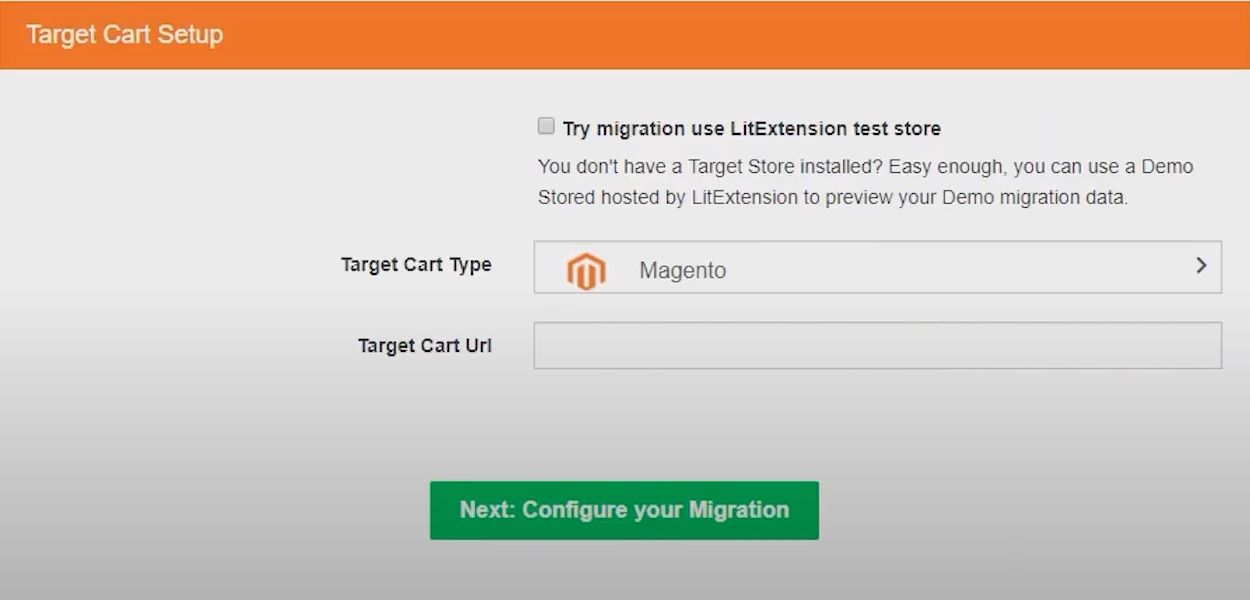
Step #3: Using the alternative method via LitExtension
Then enter your destination cart URL. For example, https://mydomain2.com/store/:
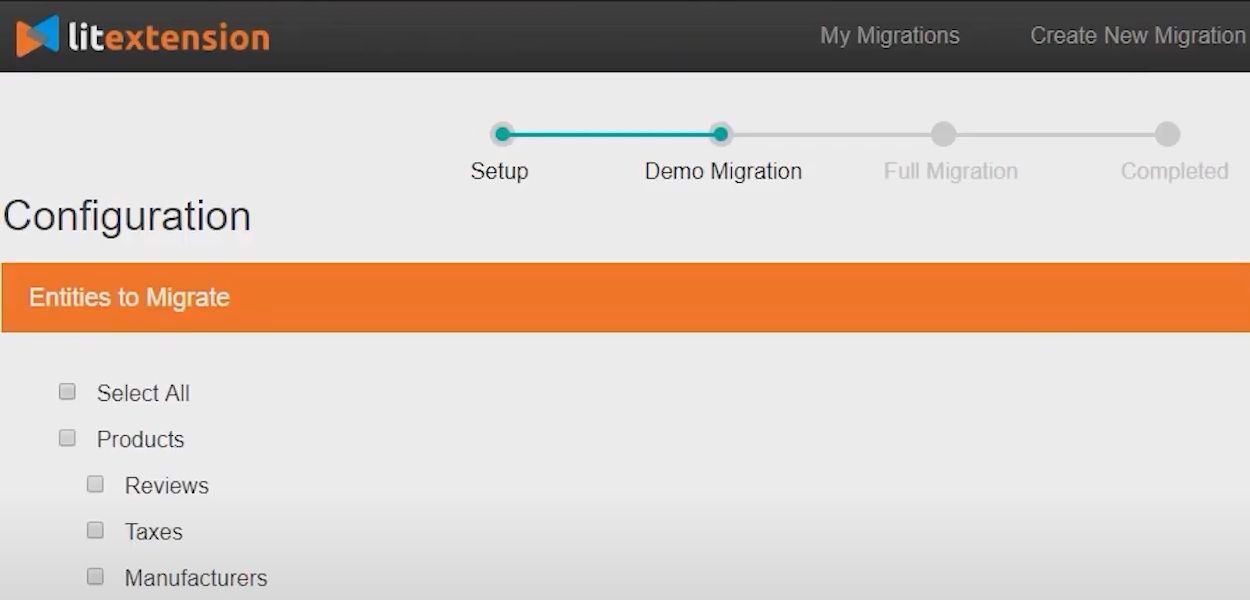
Step #4: Using the alternative method via LitExtension
Now, you're ready to configure the migration. Select everything that you wish to migrate from the list:
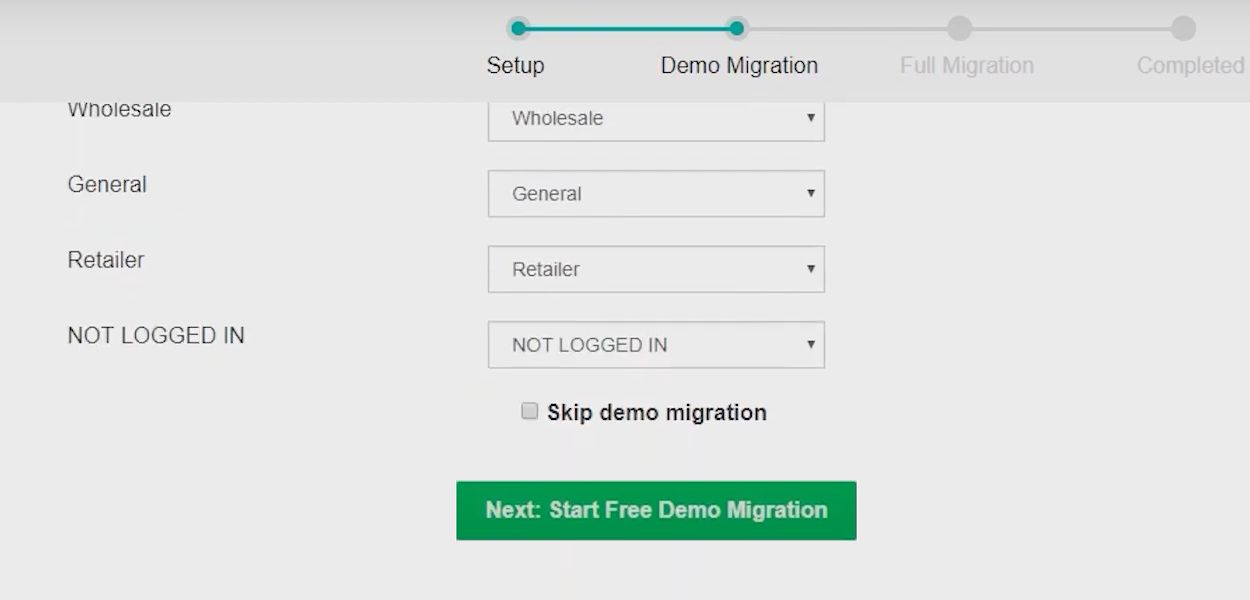
Step #5: Using the alternative method via LitExtension
When you’re ready, run the migration demo:
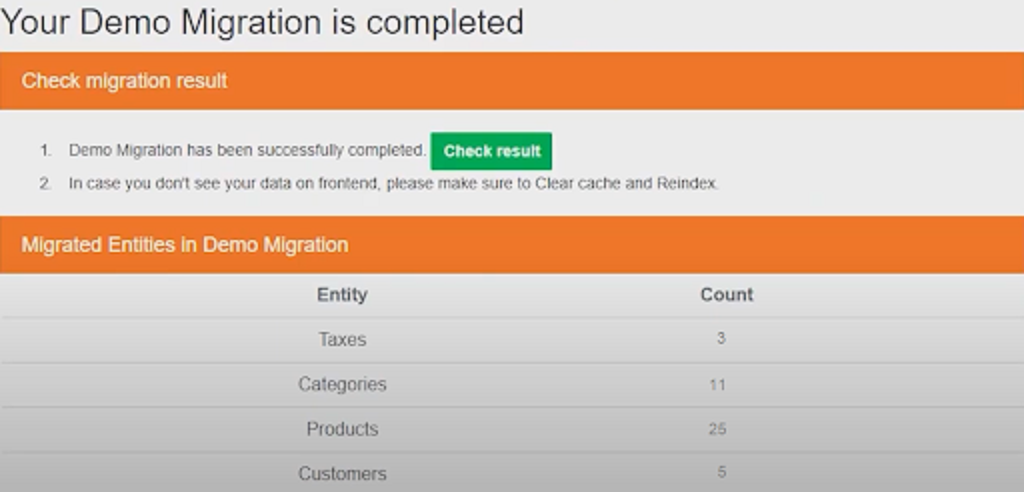
Step #6: Using the alternative method via LitExtension
Once complete, check your results:

Step #7: Using the alternative method via LitExtension
If you’re happy, consider purchasing the service and running the complete migration.
Make sure everything is working fine
Now that you’ve finished upgrading let’s ensure it works as expected. Imagine if, in three weeks, you realize a vital product page is broken. It would be very frustrating, to say the least. That’s why it’s essential to check for issues immediately after you migrate Magento 1 to Magento 2.
Step #1: Check your Google Analytics
You should see similar results when comparing the analytics data before and after the upgrade. Otherwise, something might be off. For example, check if some pages are suddenly receiving significantly lower traffic.
Step #2: Check your SEO rankings
If you’re using SEO tools, ensure your pages are still ranked as before. Any downturn in SEO performance could mean that something is broken. it would be best if you investigated further.
Step #3: Check your sales
Compare your sales before and after upgrading. If you notice a revenue loss, we suggest manually testing the checkout process on all devices.

What Nexcess can do for you
You just learned how to upgrade and how to migrate Magento 1 to Magento 2, so it’s time to take action. We hope everything goes smoothly when you're upgrading Magento 1 to 2.
To further support you, Nexcess can optimize your Magento ecommerce store for speed, security, and scale with managed Magento hosting.
Hosting with Nexcess gives you access to staging sites, dedicated IP addresses, instant auto-scaling, performance testing, our lightning-fast CDN, always-on security monitoring, and of course 24/7/365 support from Magento experts.
Still not ready for Magento 2, but concerned your Magento 1 store is at risk? We’ve got just the solution for you. Nexcess Safe Harbor allows you to keep your store on Magento 1. It does this with daily malware scans, patches against emerging vulnerabilities, and more. So don’t hesitate to secure your website today.
Check out managed Magento hosting and Safe Harbor today.
Migrate Magento 1 to Magento 2: sources referenced and helpful resources
- https://www.tigren.com/blog/migrate-magento-1-9-x-to-2-4-x/
- https://www.cloudways.com/blog/migrate-from-magento-1-to-magento-2/
- https://www.mageplaza.com/blog/magento-1-to-magento-2-upgrade.html
- https://devdocs.magento.com/guides/v2.4/migration/bk-migration-guide.html
- https://devdocs.magento.com/guides/v2.4/migration/migration-tool-install.html
- https://onilab.com/blog/magento-2-migration-guide/
- https://meetanshi.com/blog/migrate-from-magento-1-to-magento-2/
- https://serverguy.com/magento/migrate-magento-1-magento-2-guide/
- https://www.mgt-commerce.com/tutorial/how-to-migrate-magento-1-to-magento-2/
Recent articles
- MariaDB Performance Tuning Tips at Nexcess
- WordPress multi-site management using different domains
- Website Backups and the Nexcess Data Backup Policy


