

People have used WordPress to build websites for a while now, but WordPress has had its limitations in the past. The headless WordPress trend has solved many of these shortcomings and has created a more developer-friendly experience. In addition, a headless WordPress site can improve site performance and security.
Two frameworks can speed up the dev process: GatsbyJS and NextJS.
Keep reading to learn the difference between GatsbyJS vs. NextJS, and how to use NextJS with WordPress.
What is Headless WordPress?
Headless WordPress means you are “decoupling” the front end and back end of your website. Think of the backend as all of the data and content your site stores, such as blog posts, page content, website settings, and anything else your site may contain. The front end is how all of this information is presented to the user.
Some advantages are more flexibility in the development of the website, faster loading times, and higher security. Downsides? You’ll need to know multiple programming languages since JavaScript will power the front end. Also, more maintenance could be required, again leading to the fact that a somewhat experienced developer would be required to get it working properly.
In this article, we’ll be focusing on the options available for headless WordPress sites, but you can read more in-depth about the topic of in the Headless WordPress: What Is It? article.
How Does a Headless WordPress Site Work?
Headless WordPress provides your content as data using a Representational State Transfer (REST) Application Programming Interface (API). You can access your content by sending a network request to the built-in REST API endpoint in WordPress. This solution provides freedom to present all of your content usinga custom front end.
What are the Cons of a Headless WordPress Site?
Headless WordPress sites are more complex to maintain and build. These complexities make them a more expensive. There is a cost-benefit tradeoff analysis to be made when considering a headless WordPress site, given the extra financial costs involved.
Overview of GatsbyJS vs. NextJS
You can technically build the front end of your headless WordPress site however you’d like, but two highly popular frameworks can speed up the development process and offer features to make your site even better. These two options are GatsbyJS and NextJS. Keep reading to learn more about these two frameworks, and understand the differences between GatsbyJS vs. NextJS.
About GatsbyJS
GatsbyJS is a static site generator framework built in React. Its most significant selling points are that it is insanely fast, it is easy to get started with, and it provides the developer with plenty of tooling to build out complex features.
GatsbyJS has excellent documentation, but, in addition, the Nexcess team has also created an easy-to-follow guide on How to Use GatsbyJS with Your WordPress Site.
Some GatsbyJS-built website examples include those for Affirm, ReactJS Docs, and Little Caesars.
About NextJS
The other popular framework is NextJS. NextJS has seen massive growth over the past couple of years. The React community has gotten behind the framework, which only continues to improve. It’s geared towards creating a site that is easy to develop and deploy to production without complications.
NextJS falls under the “Jamstack” umbrella, essentially using JavaScript, APIs, and HTML markup to build a website. For example, when building a headless WordPress site with NextJS, the JavaScript would be NextJS/React, the APIs would consist of WordPress’s REST API or the WPGraphQL plugin, and the HTML would be how the markup is displayed on the screen.
One significant advantage of using NextJS with your WordPress site is that you’re not limited to only a statically generated website. Although you’ll still see the most speed and SEO benefits from a statically served page, there are instances where you’ll want to load parts of your website dynamically. NextJS makes it easy to take advantage of both features, allowing you to make the most of a Jamstack-style website while leveraging the benefits of a server-side rendered site.
Some NextJS-built website examples include those for Hulu, IGN, and the Netflix Careers website.


Getting Started with NextJS WordPress
Now that we’ve covered the benefits of using NextJS let’s take a look at how easy it is to start building a headless WordPress site with a NextJS frontend.
Step #1: Set Up Your WordPress site
First, you’ll want to have a WordPress website set up to serve the data. This website can be an existing site, or you can create a new one. You can check out Managed WordPress Hosting by Nexcess for a quick and easy way to set up a WordPress site.
Step #2: Install & Configure WPGraphQL
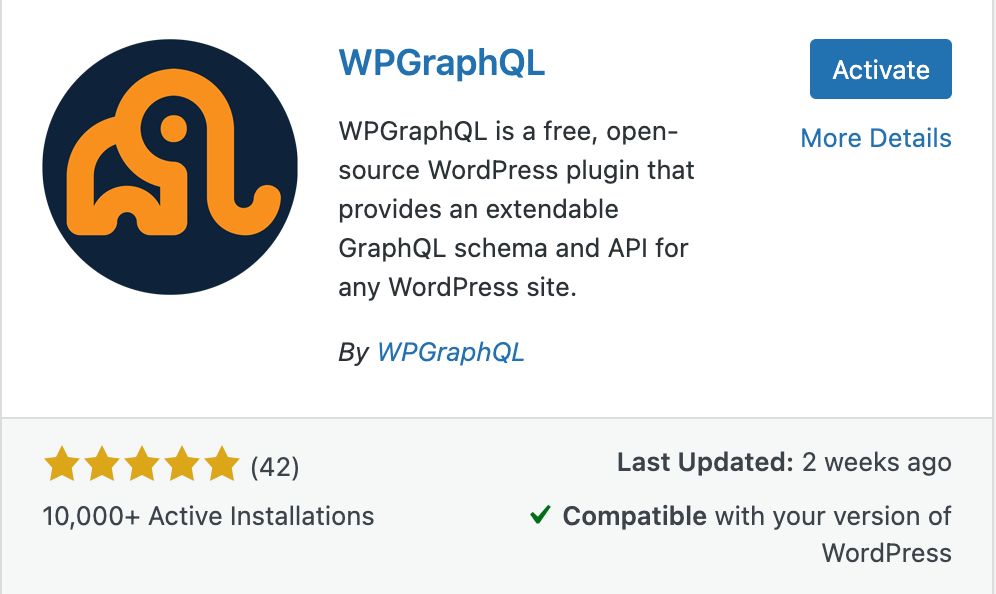
We'll use GraphQL instead of WordPress’s Rest API in this example. Doing so makes it easy to get started right away with our chosen framework. First log in to your WordPress site and install the WPGraphQL plugin. This free, open-source plugin can be installed in the WordPress Admin Dashboard:

Once that plugin is installed, you should see a new setting tab in the left sidebar titled GraphQL. This functionality will open up a playground inside your WordPress Admin Dashboard that you can use to run different queries. You can also verify it’s working by going to the “yoursite.com/graphql” URL. You should get an error message indicating that the query needs at least one of the two required parameters. This message means the WPGraphQL endpoint is working as expected.
Step #3: Create a NextJS App
You’ll need to have a basic understanding of the command line to get started with NextJS and have Node installed. Open your CLI tool of choice and navigate wherever you want to install NextJS onto your machine. Once you’re in the directory you’d like, enter:
npx create-next-app@latest
Enter your project name when prompted, then hit enter. NextJS should then work its magic and install all of the necessary dependencies. Once that’s finished, change to the app’s directory using:
cd your-app-name
Then, you can start your app with:
npm run dev
You should be able to see the NextJS starter site in your browser at this point. Now, let’s get your WordPress content to show up.
Step #4: Basic NextJS Configuration
As a basic example, we’re going to create a homepage with the titles of our posts. These next steps will give a broad overview, but you can follow a more detailed example in this WP Casts video, “Getting Started with Headless WordPress with NextJS & WPGraphQL” if needed.
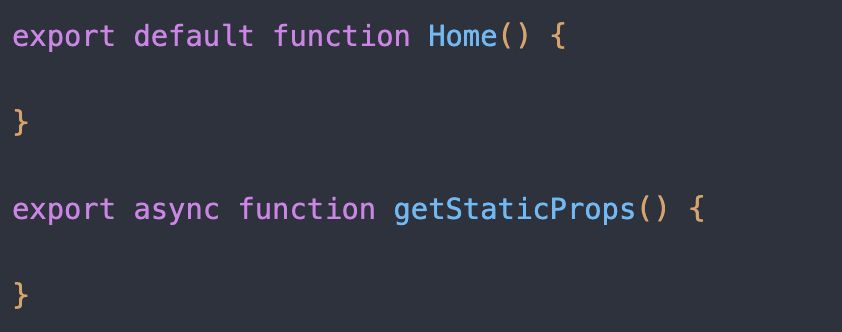
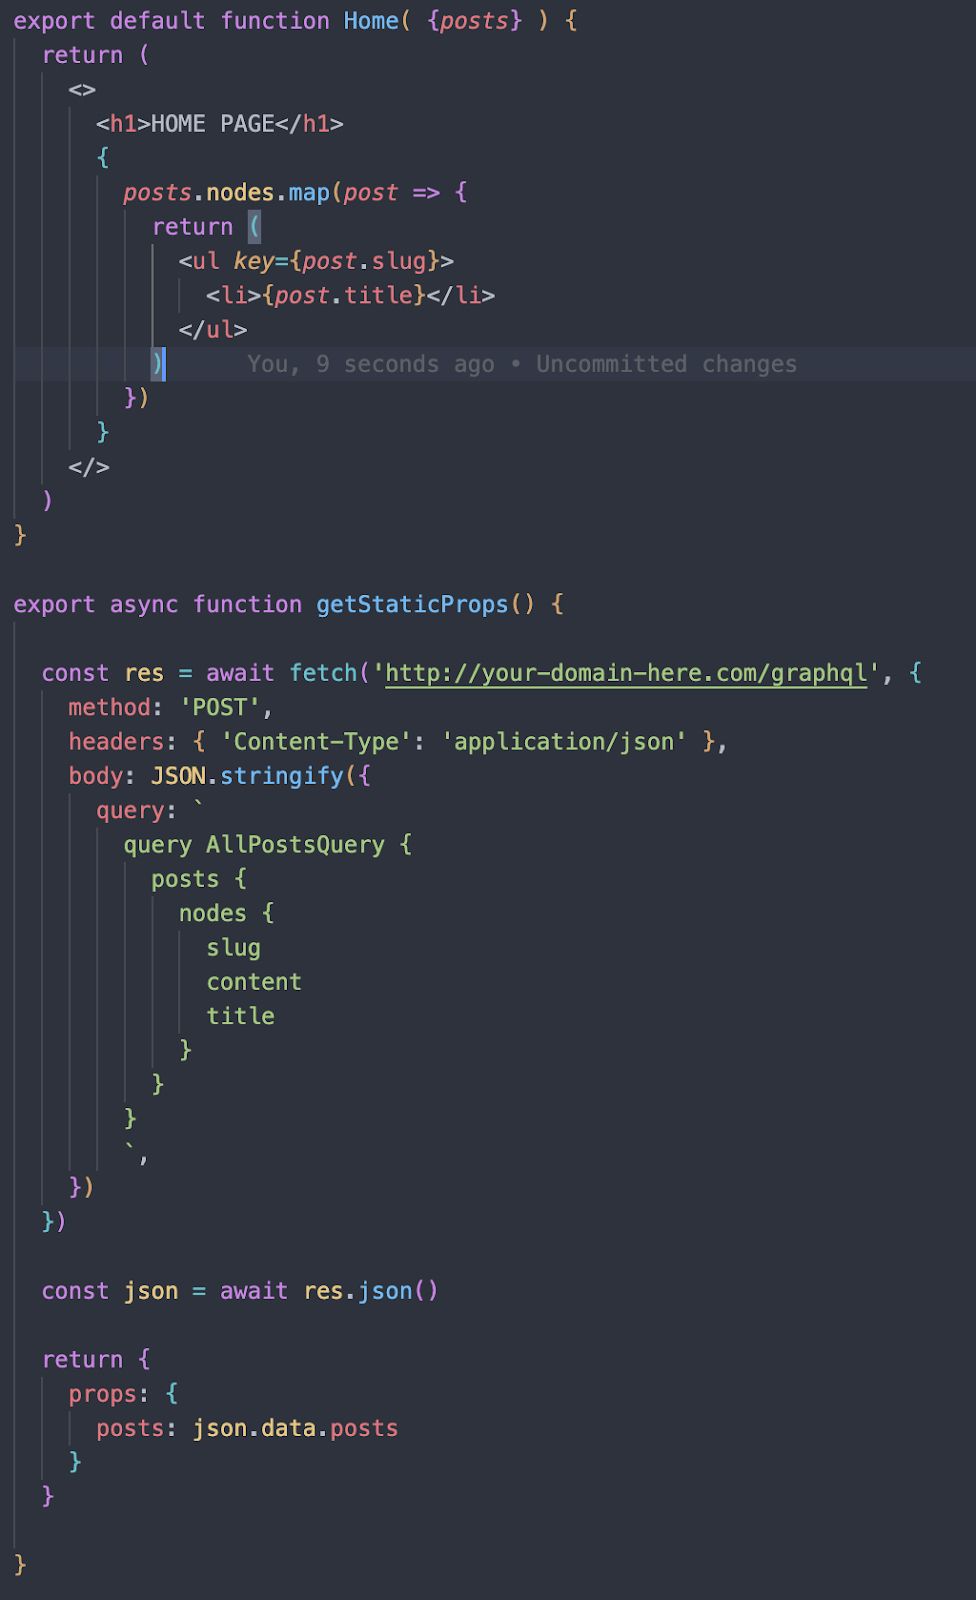
Open the 'pages/index.js' file in the code editor of your choice. You should see the code for the default NextJS starter page. Go ahead and delete all the code inside the 'Home' function. Then underneath, create a new exported function called 'getStaticProps()'. This function is a NextJS-specific function, so it needs to follow the same name. Your code should look like this:

Step #5: Get Data from WordPress
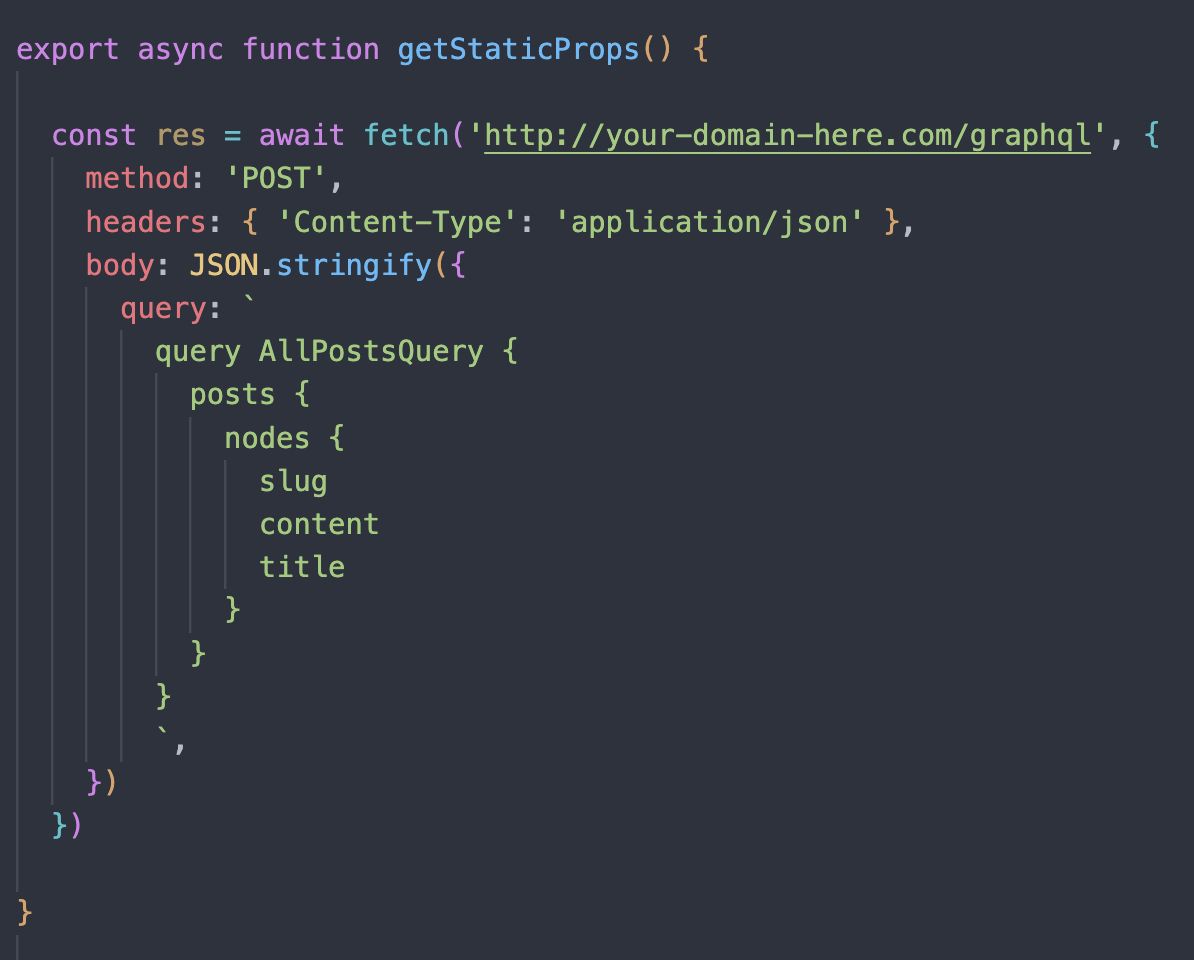
Now that we have our NextJS app running, we’ll want to populate it with the content from our WordPress site. To do this, we’ll utilize the Fetch API. First, we’ll create a GraphQL query that will get the slug, content, and title of each post on the site. This example below is what the code will look like inside our function:

You can play around with different queries in your WordPress Admin Dashboard using the GraphQL IDE.
Once we have the query we need, we’ll return that data in an object which we can then pass to our Home function using props:

Taking this action will now output a list of all the titles of posts to your NextJS homepage. And just like that, your WordPress site is hooked up to your NextJS app.
Where you go from here is entirely up to you. You can create queries to get post content, create links, add images, and add any other content to your site. The official WPGraphQL Docs are an excellent resource for learning how to work with GraphQL and figuring out how to pull WordPress data into your site. There are also NextJS GitHub examples showing actual production code on the Vercel/NextJS GitHub.
Wrapping Up
As mentioned above, the GatsbyJS vs. NextJS argument mostly comes down to what is most important in the site you’re building. They’re both really fast frameworks with tons of tools and features. However, if you know some pages or posts will require server-side rendered content, or if you’re looking for a solid front-end framework for your WordPress site, NextJS is a great choice.
Consider Managed Hosting with Nexcess
Although you can host your NextJS front end on Vercel, you’ll still need hosting for your WordPress site and data. Managed WordPress hosting with Nexcess is the perfect choice to power your headless WordPress site.
Your site will be blazing fast and easy to set up with fully managed hosting. Make the most of that added front-end speed by using a top-tier web host like Nexcess.
And with 24/7 support, you can rest assured knowing you’ll have the Nexcess team to help you with any step of the process.
Check out our plans to get started today.
Recent Articles
- Using MAMP with WordPress for Local Development
- How to Use XAMPP for Local WordPress Development
- Laragon: Best Local Development Environment for WordPress


