

It can be frustrating when you are not a technical person but reading very detailed information from big companies that make the software your online store uses. Let's clear up some confusion for Magento 2 store owners!
The Magento 2 platform requires that a supported search engine be installed as a part of using the Magento platform. This fact is true whether it is the Adobe Commerce version or the Community Edition (also referred to as the Magento Open Source version) of Magento 2.
OpenSearch vs. Elasticsearch: why Nexcess customers are not required to use OpenSearch
Users of Elasticsearch — including all Nexcess customers — are not required to move to OpenSearch. In other words, they are free from engaging in the OpenSearch vs. Elasticsearch comparing and contrasting effort if they so choose.
Nexcess will continue to use and install Elasticsearch as the default for all Managed Magento customers; there is no cause for concern with the release of OpenSearch. Furthermore, there are no current plans within Nexcess to offer Managed Magento plans that include OpenSearch.
However, these developments do bring the forefront a need for the OpenSearch vs. Elasticsearch comparison. A summary is of the historical events that led to this juncture are provided in the next couple of sections. However, this article will primarily take a look at how Nexcess customers can use the Elasticsearch technology, by taking a deep dive into the configuration steps involved.
How the OpenSearch vs. Elasticsearch debate came to life
OpenSearch is the Amazon forked version of Elasticsearch, setting up the discussion of OpenSearch vs. Elasticsearch. Forked means that Amazon decided to take Elasticsearch's existing open source code and expand upon it, creating a new product, OpenSearch, within the context of their Amazon Web Services (AWS) platform:
"OpenSearch project, a community-driven, open source fork of Elasticsearch and Kibana. We are making a long-term investment in OpenSearch to ensure users continue to have a secure, high-quality, fully open source search and analytics suite with a rich roadmap of new and innovative functionality. This project includes OpenSearch (derived from Elasticsearch 7.10.2) and OpenSearch Dashboards (derived from Kibana 7.10.2)."
~ Amazon Web Services Blog Post, April 21, 2021
About the events that led up to the current OpenSearch vs. Elasticsearch debate
Previously, there was an open source release of Elasticsearch, separate from the paid version. The open source version is no longer in development. This kind of stoppage in development is fairly common, and now Amazon (by way of AWS) is picking up that torch to continue where the open source version of Elasticsearch left off.
Elasticsearch is still a great search engine for your website. It's fast, focused on ecommerce needs, and has a great "fuzzy search" capability, so even misspelled searches show relevant results.
Configuring the Magento 2 Elasticsearch setup for the Community Edition (Magento Open Source)
Now that we've cleared up the confusion let's walk through the steps to get your Elasticsearch for Magento 2 (for the Magento Open Source version) configured for your website.
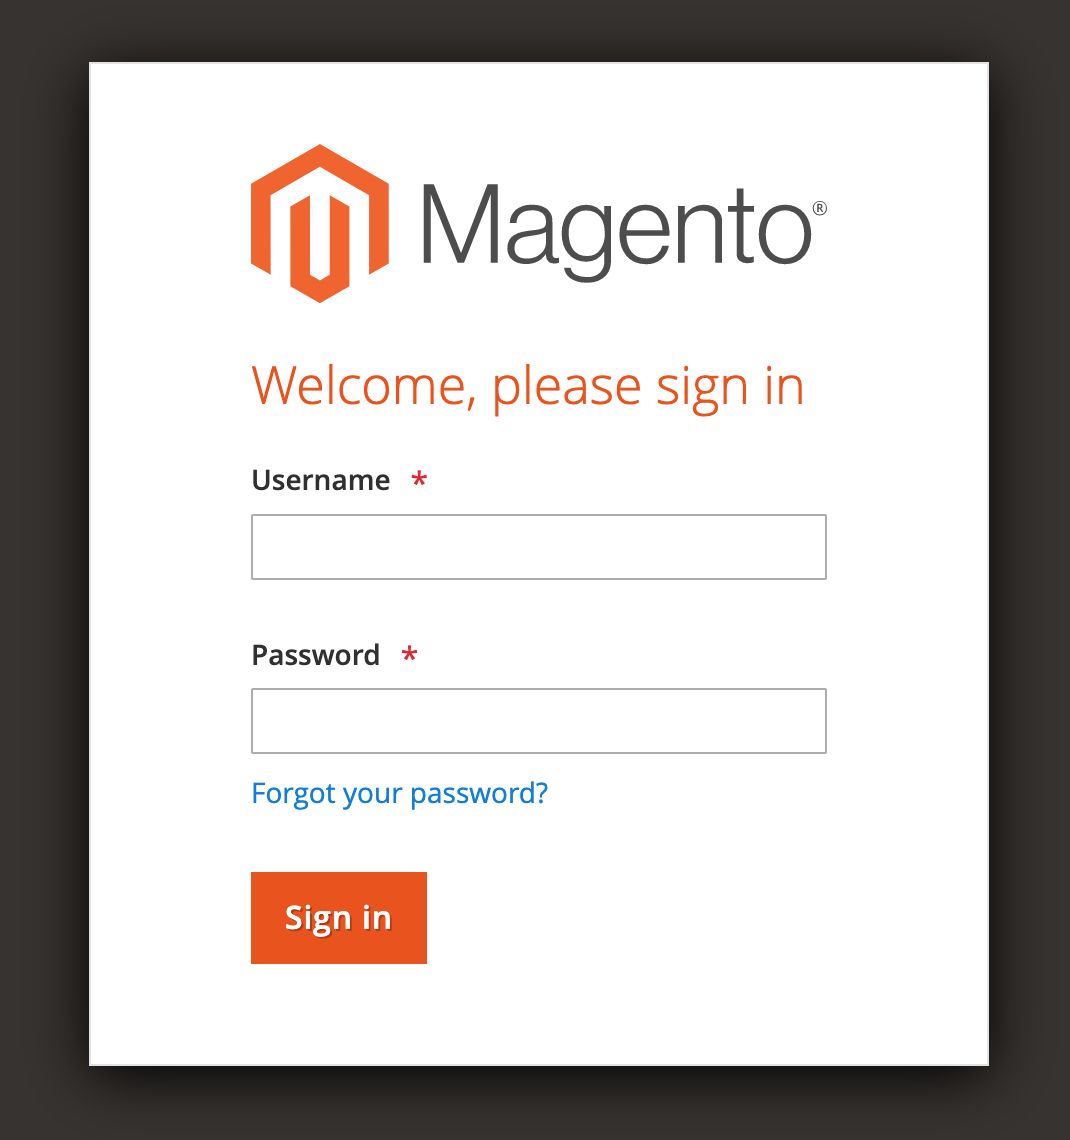
Log in to your Magento Admin Panel:

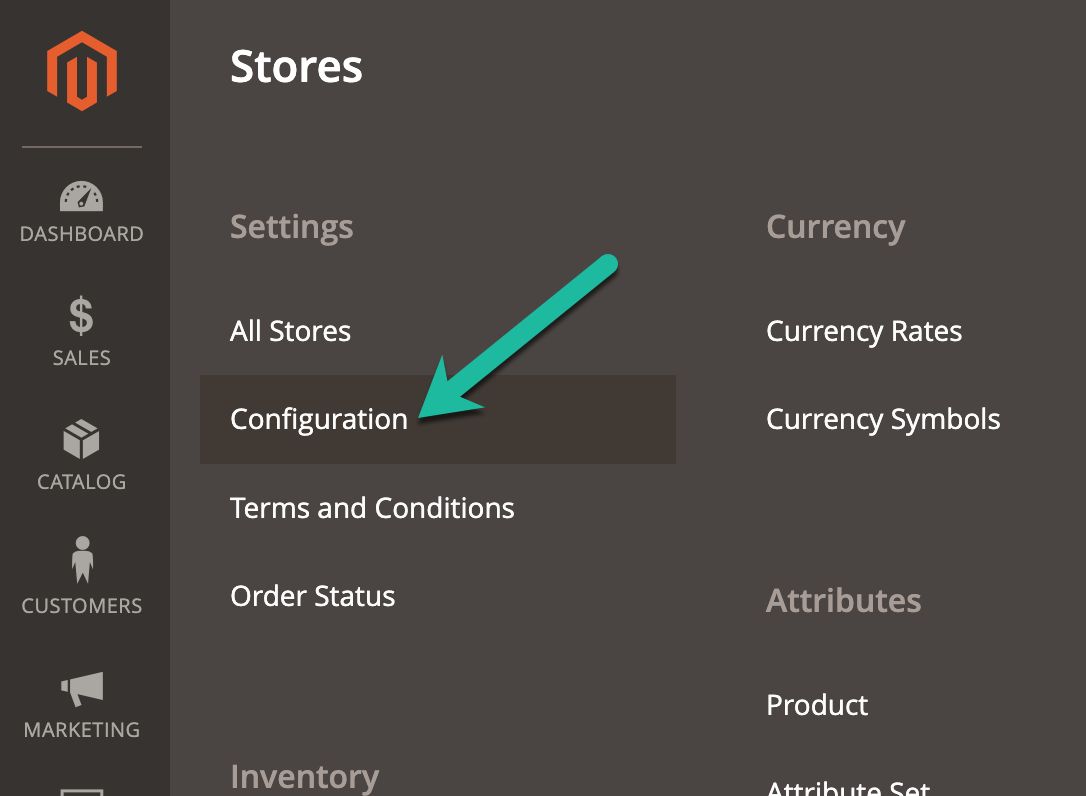
Once you are logged in, click on Stores in the left-hand menu:


In the resulting menu, click on Configuration under the Settings section:

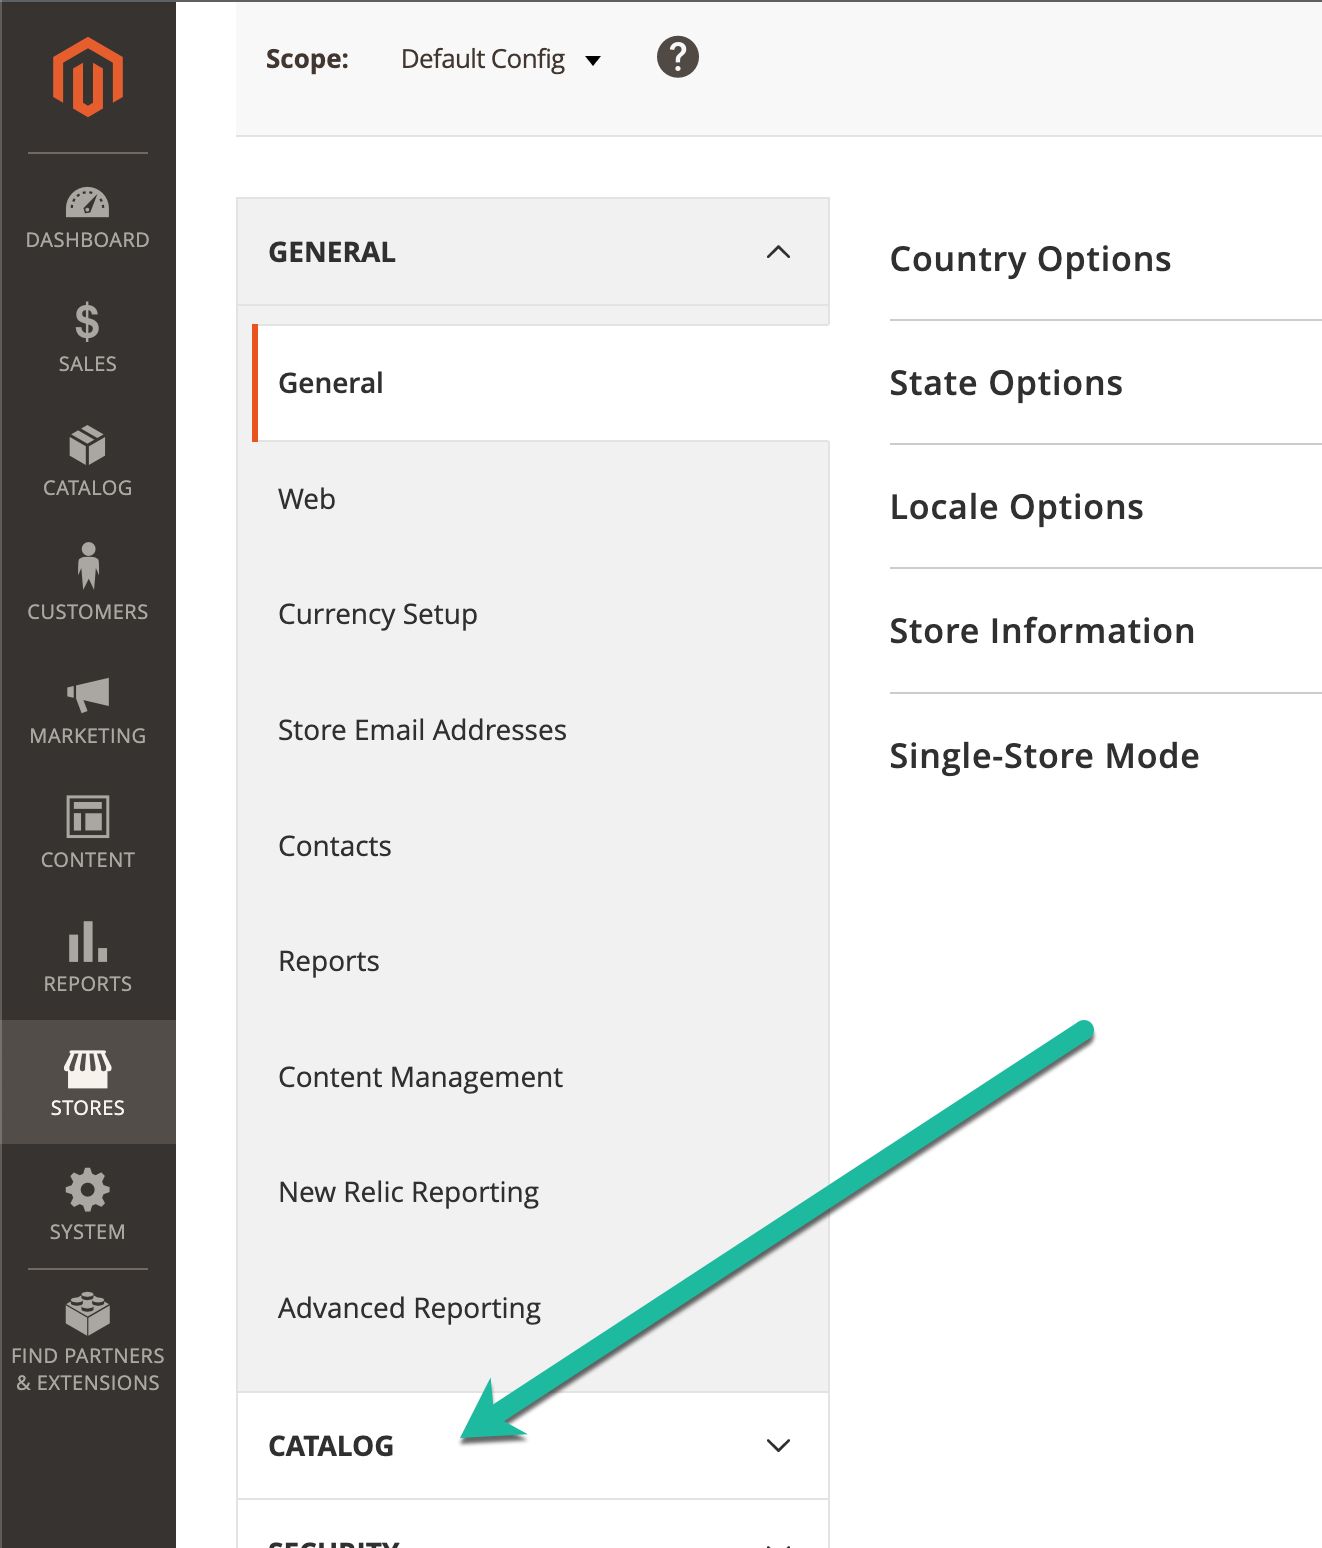
On the next page, you will see two groupings of new options. In the left-hand grouping, scroll down until you see Catalog:

Expand the catalog section by clicking on the down arrow to the right of Catalog:


Click on the Catalog item in the Catalog dropdown:


A new set of options will appear to the right of the dropdown menus. Click on the arrow next to Catalog Search to reveal the fields needed:


The categories in this section should look something like this:

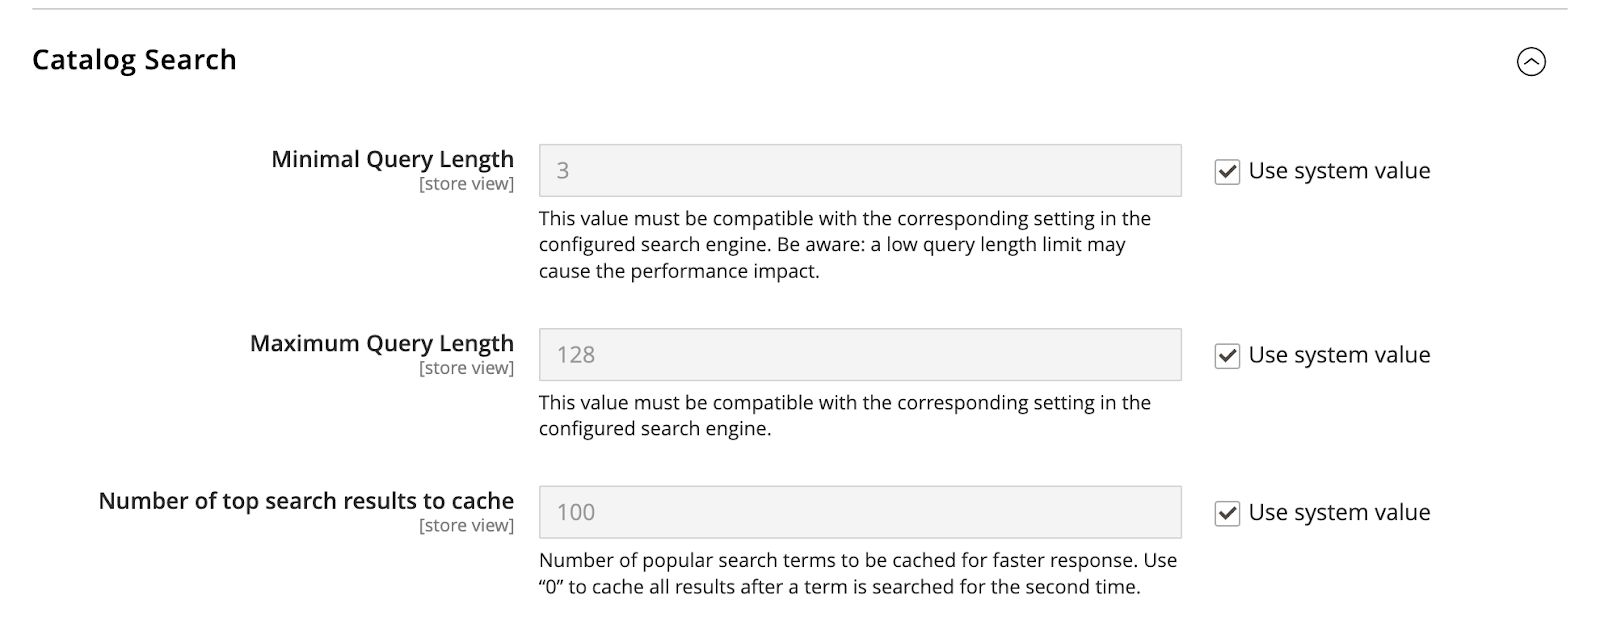
Scroll down until you see Search Engine. Leave the default values for Elasticsearch Server Port and Search Engine (Elasticsearch 7 as of this article's publication).
The Elastic Server Hostname should be the same as the URL to your website. If you updated the URL from the preassigned URL at the creation of your Managed Magento Plan, you would need to make sure that it matches here. If you would like to require a login to be entered to get into the Elasticsearch server, change the Enable Elasticsearch HTTP Auth dropdown value to Yes instead of the default:


Click Test Connection to confirm the settings.
After your Elasticsearch connection is set up, you can move on to update other settings in this section. There are default settings for every setting except Minimum Terms to Match.
If the setting you want to change is grayed out, simply uncheck the Use System Value box next to the setting and change it to your preferred value:


It may be tempting to accept the default system value and move on, but you should research the appropriate settings for your site. The defaults attempt to ride the middle of the range for Magento sites. Your site might be larger or smaller than the median, and you'll need to adjust the settings for the most performant site. Make sure you are paying attention to the notes and directions from Magento as you change settings:

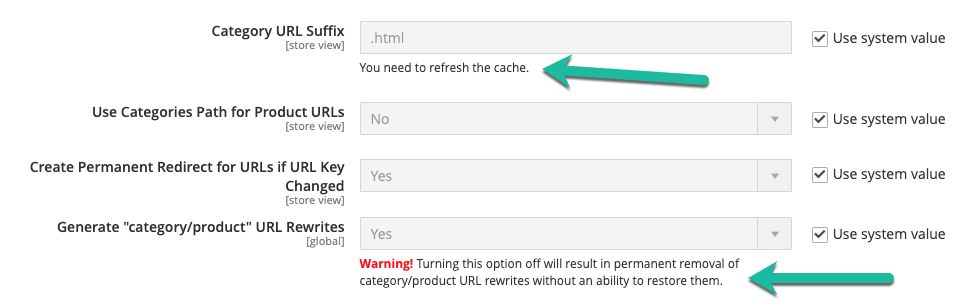
Heeding these warnings and taking in this information will ensure that your site performs how you desire. They will help you make sure that you know what setting may have affected a different part of your website.
You should understand what the Minimal Terms to Match value represents. This value is the fewest number of words from the search that an item needs to match to be returned as a result for a query. This setting can make it more likely that the customer will see relevant results in your site's search.
Before leaving the menu for the next step, be sure to save any changes you've made:


Reindexing the catalog search feature and refreshing the Full Page Cache feature
Any time you update Magento's settings, it's a best practice to reindex and refresh the page cache. Taking this action will allow your site to give the fastest and most accurate results. However, be careful not to run a reindex or to refresh the full page cache during peak traffic times. Depending on the size of your site, this could slow down your site considerably and create a less-than-stellar experience for your customers.
Reindexing the Catalog Search feature
Depending on your settings, you may not need to do anything to start a reindex of the Catalog Search feature that we just adjusted settings for. Let's walk through how to find out.
In the left-hand menu, click on Settings. then under Tools click on Index Management:


If the Catalog Search index is set to Update on Save, it will have already triggered the reindex for the Catalog Search when you saved the changes to your catalog settings:


If it is set to Update by Schedule, it will reindex the next time the cron job is scheduled to run:


If you want to run a reindex manually and immediately, you'll need to log in to the command line. We only recommend doing this if you are comfortable with the command line. Otherwise, allow the system to run as it is set up.
To manually run the reindex on the command line, log into the server, go to the Magento content root and run the following:
$ bin/magento indexer:reindex catalogsearch_fulltext
If you would like to reindex all of the indexes, you can also run the following:
$ bin/magento indexer:reindex
Once the indexer completes, you've successfully reindexed.
Refreshing the Full Page Cache feature
To refresh the full page cache, in the left-hand menu, select Settings. Then under the Tools menu, select Cache Management:

On the resulting page, check the box next to Page Cache and make sure that Refresh is selected in the dropdown shown on the top of the page. Click Submit:

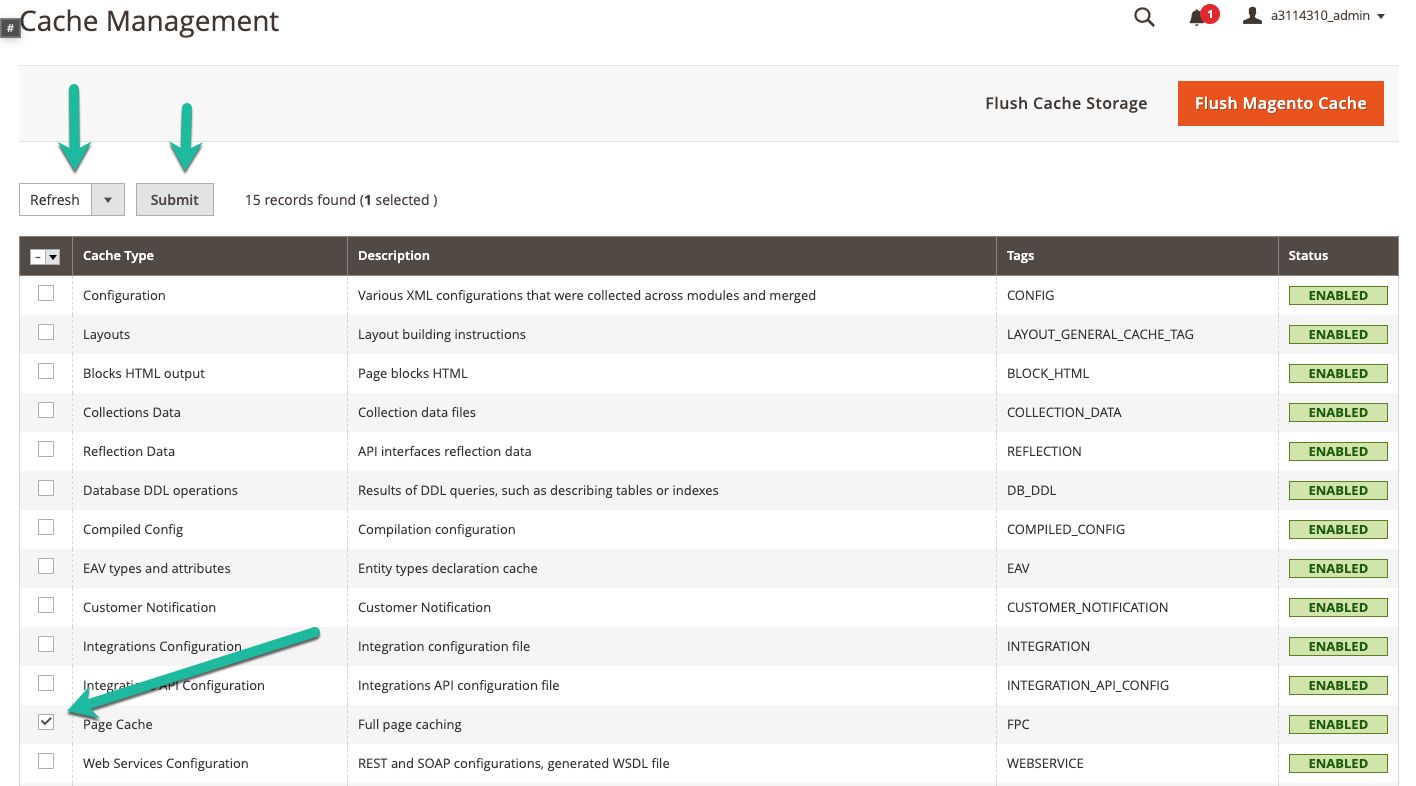
Only refreshing all the Magento caches
If you want only to refresh all the caches, select all the boxes, make sure Refresh is selected, then click on Submit.
Refreshing and rebuilding all the Magento caches
If you have issues and want to go more "scorched earth" in terms of data resets, you can flush the entire Magento cache by clicking on the orange Flush Magento Cache button on the upper right side of the page. This action flushes all caches and rebuilds them, and it will slow down your site considerably while the cache is being rebuilt. Be sure that it's a low traffic time for your site when employing this option.
Cleaning the Magento Cache
If you would like to clean the cache (not flush) in the command line, you can log in and run the below command from the Magento root:
$ bin/magento cache:clean
After the clean process has finished, you have completed all the steps necessary. Elasticsearch works out of the box, but it's always a good idea to tweak it to ensure your search and site are as performant as possible for your customers. If you have any further questions, our support team is always ready to help you.
Explore the all the options with Nexess Managed Hosting
At Nexcess, we pride ourselves on continuous Internet uptime and a high-quality infrastructure — from data centers to application management. Nexcess Managed Hosting offers three proven platforms to choose from: WordPress, WooCommerce, and Magento.
Magento hosting, without the hassle
Powerful Magento hosting that accelerates your store's potential, without the ongoing maintenance.
When it comes to Magento hosting we've been considered the hosting experts for decades. We built our hosting platform Magento and have optimized it for years now. Let us show you all we can do as your ecommerce and web hosting partner!
Recent articles
- How to restrict Magento Admin Panel access in Cloudflare
- Magento Content Delivery Network (CDN) setup using Cloudflare
- Magento security patch: installing Magento 2.4.5-p1


