


Learn how to give someone temporary access to your Magento 2 store.
Should you need give another individual, such as a developer, temporary access to your Magento store, use the below method to create an additional admin account. This is far preferable to divulging your personal credentials, and also allows you to easily revoke the account when no longer needed.
1: Add user role
If you wish to grant complete admin access to the user, you may skip to 2: Add user instead of creating a specific role. This will, however, involve granting the new user complete admin access and therefore access to all of your store's most critical areas. Use care when assigning the Administrator role.
- Log in to your Magento Dashboard.
- On the left, click System > User Roles.

- Click Add New Role.

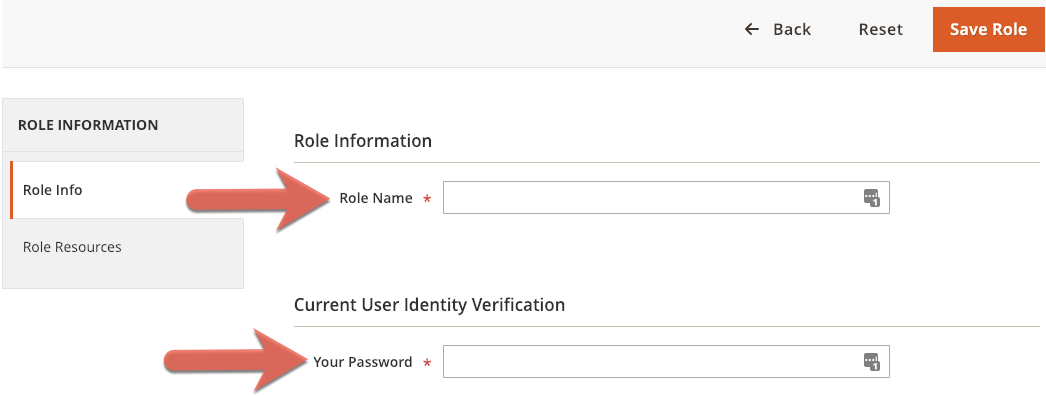
- On the New Role page, enter the desired name in the Role Name field and your current password in the Current Admin Password field.
- On the left, click Role Resources.

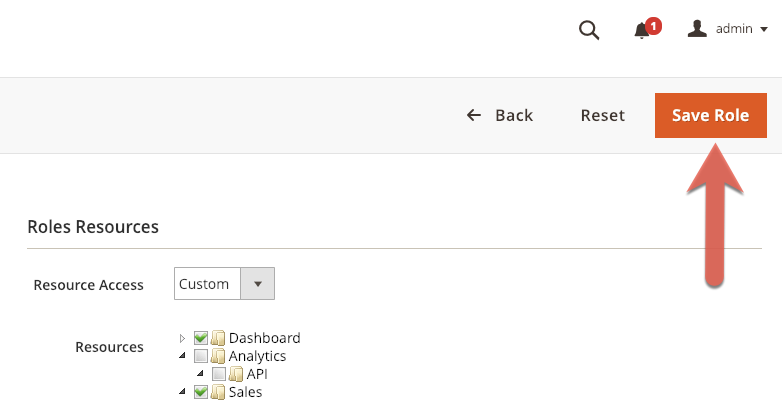
ATTENTION: In Step 6, you will choose which permissions to assign to the new role. If you are unsure, consult with your developer. As always, take care when assigning permissions, as many grant secure access to critical areas of your store. - From the Resource Access drop-down list, select Custom if not already selected. Assign permissions as desired.

- Click Save Role.
2: Add user
- On the left, click System > All Users.

- Click Add New User.

- On the New User page, fill all fields in the Account Information and Current User Identity Verification sections.

- In the User Information section, click User Role.

ATTENTION: In Step 5 below, if you assign the default Administrators role instead of a custom role, that user will have complete access to all of your store's most critical areas. Use care when assigning this role. - In the Assigned column, select the check box corresponding to the role you created in the “1: Add user role” section. If you want to grant complete admin access, select the Administrators check box.

- Click Save User. If the procedure was successful, you will now see the admin user represented in User list on the User page.

For 24-hour assistance any day of the year, contact our support team by email or through your Client Portal.


