How Nexcess clients can install WordPress on their servers using SFTP.
But first...
If you recently registered or transferred your domain, this method will not work until about 48 hours after we have repointed this domain to the server.
Step 1: Download WordPress
Use your web browser to download the WordPress files to your computer. Unzip the files and store them in a location you can easily find later.
Step 2: Create a MySQL database
Create a database and user for WordPress with the procedure in How to create MySQL databases and users with SiteWorx.
Step 3: Transfer files using SFTP
ATTENTION: When uploading WordPress files, upload the files within the WordPress folder, not the folder itself.
Although SFTP is not the only means of uploading files, for the sake of simplicity, this document ignores other options. If you require assistance with SFTP, refer to How to transfer files to a server with SFTP.
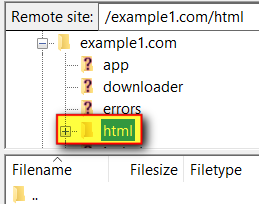
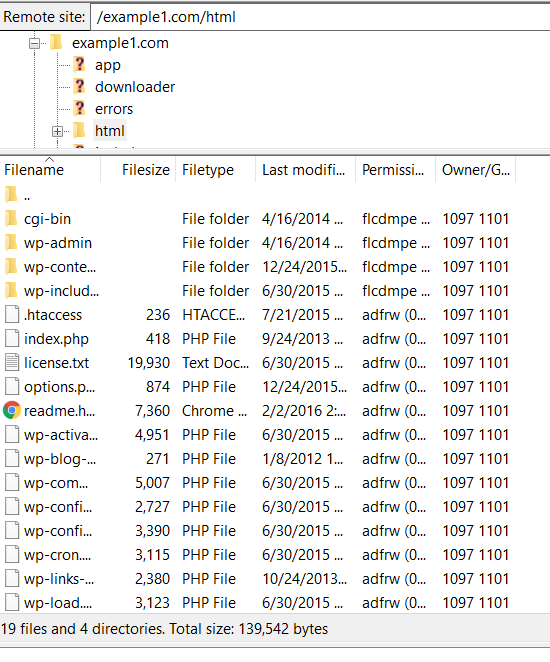
Using an SFTP client, navigate to your website’s directory and select the html subdirectory.

Upload the contents of the WordPress folder to this directory. After completion, your folder tree will resemble the one shown below.

Step 4: Install WordPress
Open your browser and visit the following web address, but replace “example.com” with your domain name.
http://example.com/wp-admin/install.php
The WordPress installation will prompt you to enter your site title, login credentials, and your email address. You will also be prompted to enter database credentials. Enter this information, and click Install WordPress to complete your installation. For fully managed WordPress hosting, look no further than Nexcess.


