


How to configure the WP Heartbeat feature, which allow syou to track the actions of your users.
Benefits
The heartbeat feature allows WordPress to monitor and track the actions of your users. It performs functions like automatic saving of drafts, automatic timeout after idle, and post locking, among others.
ATTENTION: Take care when setting the interval in Step 2.5. In some scenarios, heartbeat may increase load on your web server and impair site performance of your site.
Step 1: Install the Heartbeat Control plugin
Log in to your WordPress admin panel.
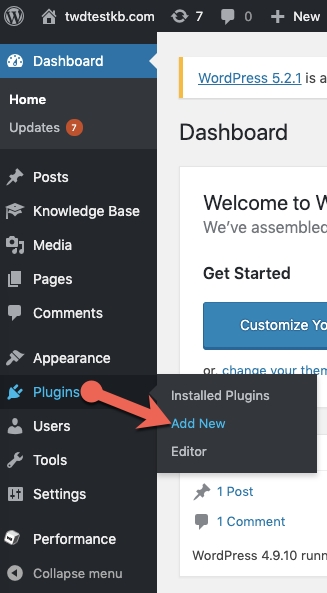
From the admin panel, select Plugins > Add New.
In the Search plugins field, enter “heartbeat.” In the Heartbeat Control section, click Install Now.
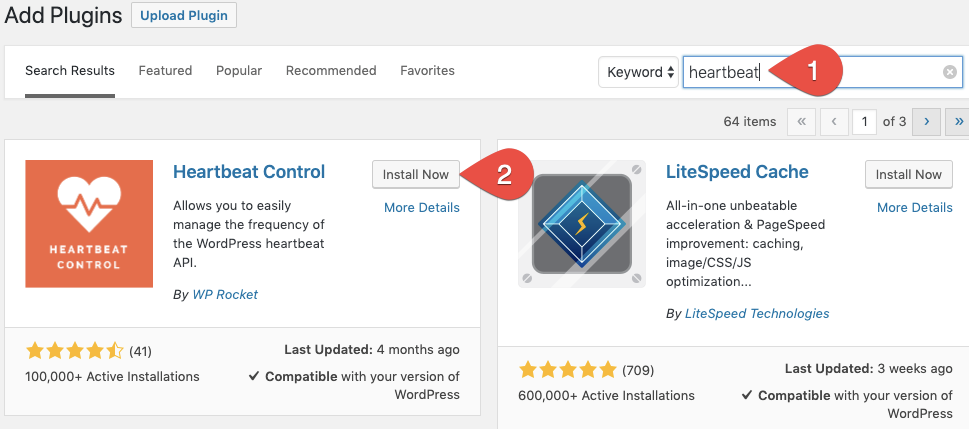
When installation completes, click Activate.

Step 2: Configure heartbeat
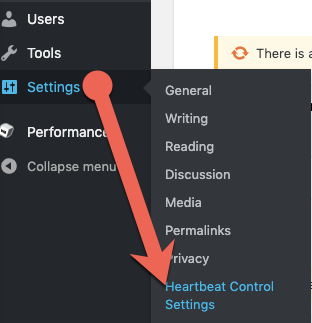
From your WordPress admin panel, select Settings > Heartbeat Control Settings.
From the Heartbeat Behavior drop-down list, select Modify Heartbeat.
ATTENTION: From this drop-down menu, it is also possible to Disable or Allow heartbeat.
In the Locations section, specify where you want heartbeat to run.

In the Frequency section, specify the interval at which heartbeat will ping the server.
ATTENTION: We recommend an interval of 60. The shorter the interval, the more likely heartbeat may impair site performance.
Click Save Changes.
For 24-hour assistance any day of the year, contact our support team by email or through your Client Portal.


