


How WordPress administrators can customize their website with a favicon.
But first...
You must have WordPress installed on your local site and your WordPress admin login information provided in your Nexcess Welcome Email.
Method 1: Place a Favicon within your WordPress directory
- Verify the file is named favicon.ico.
- Upload the Favicon using FTP or SSH to the directory where WordPress is installed.
- WordPress should recognize the changes have been made will update your Favicon automatically.
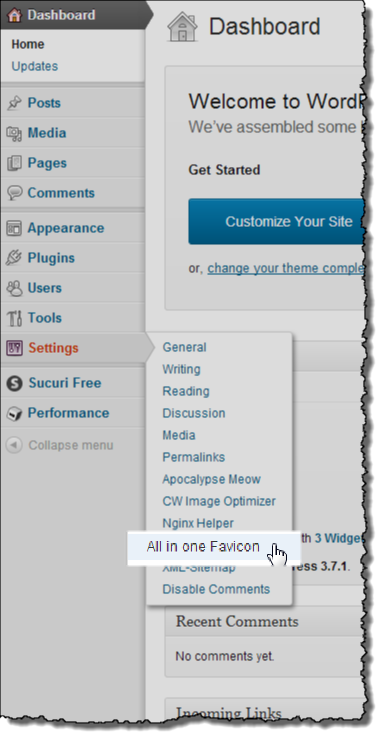
Method 2: Use a plug-in
- Log in to the administration panel of your WordPress site.
- On the left side menu, navigate to Plugins>Add New.
- Search for and then install the plug-in titled All in One Favicon.
- Upload the Favicon to the frontend and backend of your site and click Save Changes.

- Refresh the page, and the new Favicon should display.
Method 3: Edit your theme header.php file
ATTENTION: Unless you are experienced at modifying themes, make a backup of your files before modifying them.
- Before starting the upload process, ensure that your Favicon file is named favicon.ico.
- Using FTP or SSH, upload the Favicon SH to the directory containing the WordPress installation.
- Log in to your WordPress Admin Panel.
- On the left menu, click Appearance > Theme Editor.
- Select the file titled header.php to edit the file.
- Locate or add a line of code as shown below.

- If this line does not exist, add the code within the html tags.
For 24-hour assistance any day of the year, contact our support team by email or through your Client Portal.


