


How Nexcess clients on physical (non-cloud) accounts can create and manage email groups.
But first...
You must know your SiteWorx login URL and credentials to use this procedure.
- If you do not know your password, click Forgot your password on the login page.
- If you do not know the web address for your SiteWorx login page, either refer to your Welcome Email or contact our 24/7 support team for assistance.
Creating groups
While creating a new email account, any existing email groups will be listed on the page. This allows you to easily assign the new email account to an email group.
- On the SiteWorx main menu, click Hosting Features > Email > Groups.

- In the Email Address field (1), enter the name for your email group. An email sent to that group will be forwarded to all email addresses listed in the Forwards To field. In the Forwards To field (2) , enter the target email addresses one line at a time, then click Add (3).

Modifying groups
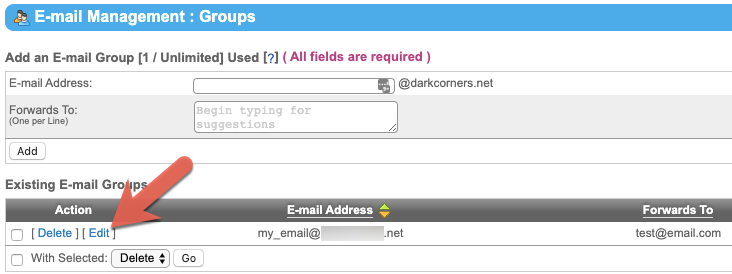
- From the SiteWorx main menu, click Hosting Features > Email > Groups.

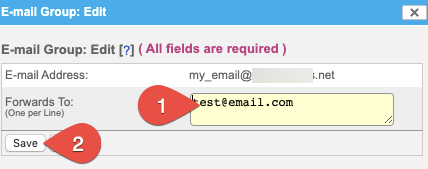
- Click Edit next to the group that you want to modify.
- On the Email Group: Edit dialog field, click inside the Forwards To account and add or remove email addresses as needed. Click Save when done.
Deleting groups
- From the SiteWorx main menu, click Hosting Features > Email > Groups.

- Click Delete next to the email group you wish to remove.

- Click Delete to confirm.

For 24-hour assistance any day of the year, contact our support team by email or through your Client Portal.


