


How to use Google Mail Fetcher send and receive email for your domain.
But first...
- This procedure assumes you have already created an email account for your domain and can re-enter this information. If you have not created such an email account and are a Nexcess client, see How to create and modify email accounts in SiteWorx.
- Gmail’s Mail Fetcher supports only the POP3 protocol; it does not support IMAP. Therefore, any action taken on a message will not be reflected if you access your account from a different email client. For example, if you were to read or delete a message from within Gmail, the message will still appear as unread in another email client program.
- As a courtesy, we try to provide the most up-to-date information involving third party technologies; however, we cannot guarantee the accuracy of such content or guarantee the performance of their product. If the text or example screenshots do not match your version, refer to the documentation provided by that third-party company.
Step 1: Specify incoming mail server settings
- Log in to your Gmail account, or create a new one.
- Click the gear icon, then click Settings.

- In the Settings panel, click Accounts and Import.

- In the Check mail from other accounts row, click Add a POP3 mail you own.

- In the Email address field, enter the email address for your domain, then click Next Step.

- Fill the next fields as follows:

- In the Username field, enter the same email address from Step 5.
- In the Password field, enter the password attached to that email account.
- In the Port drop-down list, select 995.
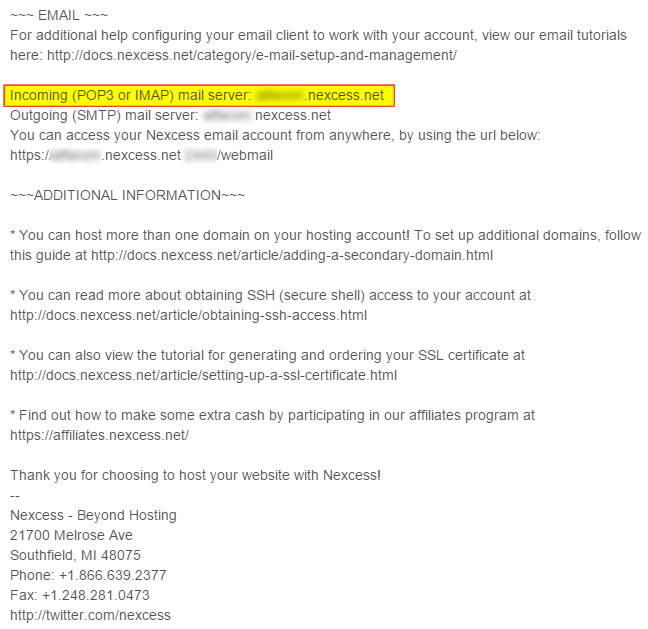
- In the POP Server field, if you are a Nexcess client on a dedicated server plan, enter the domain name corresponding to your SSL certificate. Otherwise, or if you are unsure, enter the hostname of the POP3 mail server as provided to you in your Nexcess Welcome Email, or contact our 24/7 support team.
- In the Username field, enter the same email address from Step 5.
- We recommend selecting the first two check boxes, Leave a copy of retrieved message on the server and Always use a secure connection (SSL) when retrieving email. If desired, select the other two check boxes if their functionality appeals to you.
- When finished, click Add Account.
- When prompted to specify whether you would like to send messages from your newly added account, leave the Yes radio button selected.

- Click Next Step and proceed to Stage 2 below.
Step 2: Specify outgoing (SMTP) server settings
- In the Name field, enter your name, clear the Treat as an alias check box, then click Next Step.

- Select the Send through example.com SMTP servers radio button, then specify the SMTP server settings as follows:

-
SMTP Server: Enter the outgoing (SMTP) server name as provided in your Nexcess Welcome Email.

-
Port: Enter 587.
-
Username: Enter the email address.
-
Password: Enter the password for that email account
-
Secured connection using TLS: Select this option.
-
SMTP Server: Enter the outgoing (SMTP) server name as provided in your Nexcess Welcome Email.
- Click Add Account.
- If successful, the Gmail client will ask you to confirm the email address. Choose either method to verify your email.

- If you see an error message indicating that there was a problem with your username or password, enter the full email address for your POP3 account in the Username field, then click Add Account. For example, rather than just "john," enter "john@example.com."
- If successful, the Gmail client will ask you to confirm the email address. Choose either method to verify your email.
For 24-hour assistance any day of the year, contact our support team by email or through your Client Portal.


