SliceWP is a WordPress plugin that makes it easy for you to start and manage an affiliate program for your store.
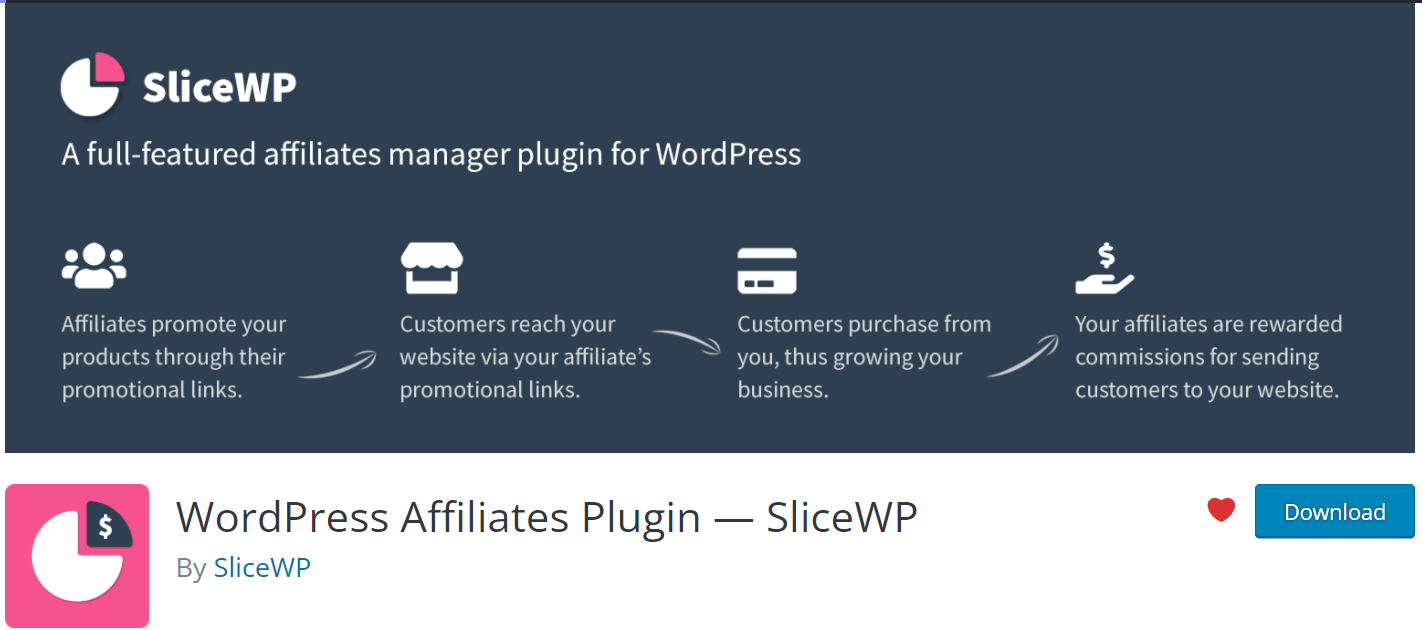
With SliceWP you can onboard affiliates, automatically track referral visits, reward commissions for referred orders and also pay your affiliates, all from the comfort of your WordPress dashboard.
Nexcess has partnered with SliceWP to make it easy for you to start your own affiliate program. Here is the step-by-step guide on how you can get started with SliceWP.
Step 1: Install and activate the SliceWP plugin
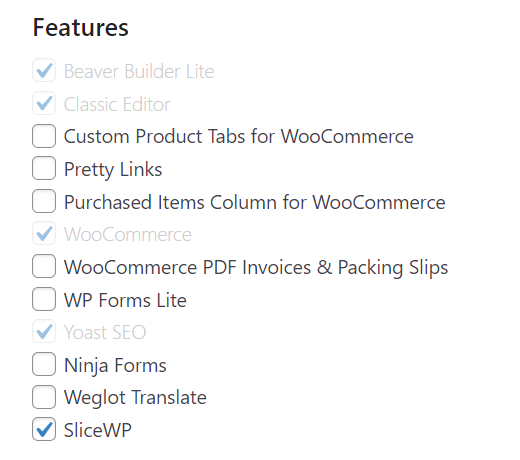
If you are using Managed WordPress or Managed WooCommerce then you can easily install and activate the SliceWP plugin using the Nexcess installer in wp-admin on your site.
The plugin can also be installed in your WordPress Dashboard, head to the ‘Plugins’ tab and ‘Add New’. Using the search bar type SliceWP. This will be the first option that comes up, simply click ‘Install Now’ and then ‘Activate’.
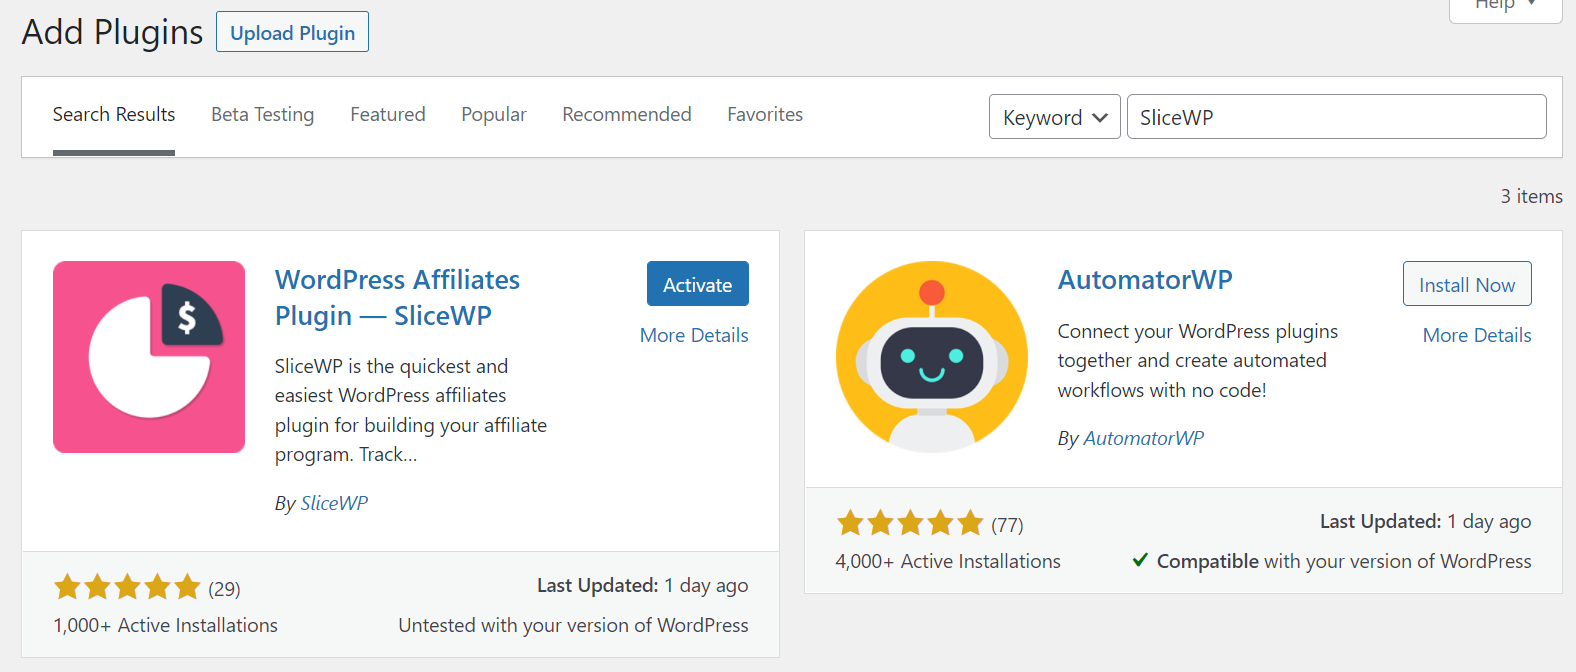
To do this, firstly navigate to your WordPress dashboard > Plugins > Installed Plugins. Here, search for SliceWP. When the plugin shows up, simply activate it.
Step 2: Run through the setup wizard (optional, but recommended)
SliceWP comes with a handy step-by-step setup wizard that guides you through the basic settings for your affiliate program. Running through it is optional, but we recommend it as it helps you get up and running faster. If you decide to skip it, you can always re-run it from the plugin’s Settings page.
Let’s run through it.
Integrations
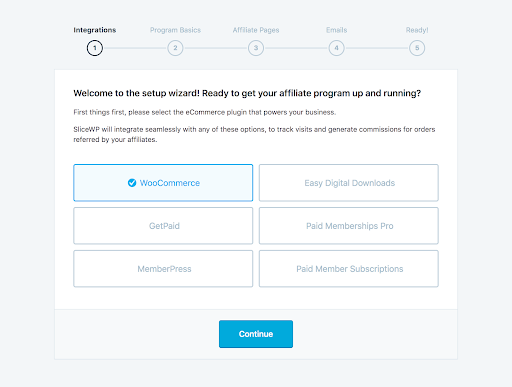
SliceWP integrates not only with WooCommerce but also with several other WordPress eCommerce plugins. Considering you’re running your business on WooCommerce, go ahead and select WooCommerce from the available integrations list and then click the Continue button.
Program Basics
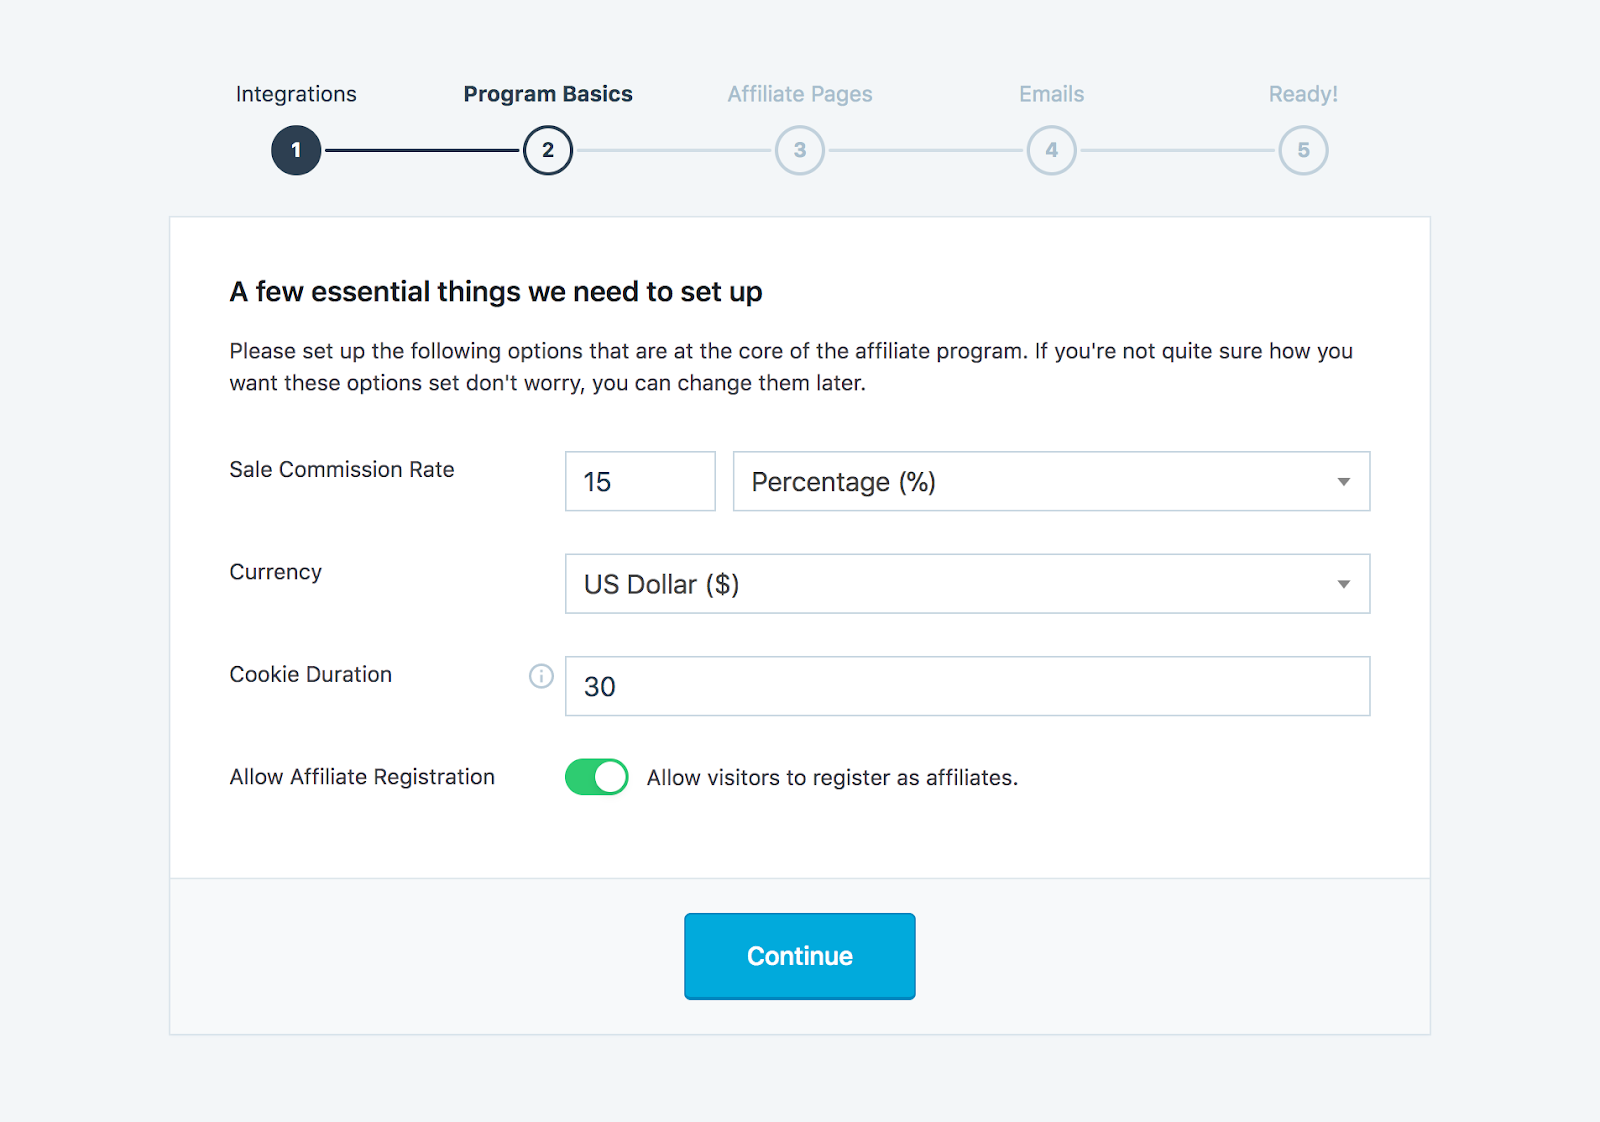
Here, you can set the global settings that are at the core of your affiliate program.
The first is the Sale Commission Rate. This value represents the amount you wish to reward your affiliates for each referred sale.
Next, we have the Currency option. This represents the currency in which you wish to reward affiliates. Usually, this will be the same as the one you’ve set for your WooCommerce store.
Next, there’s the Cookie Duration. This value represents the window (in the number of days from the initial visits) in which your affiliates will be rewarded commissions for referred sales. This value will vary from store to store. Usually, businesses offer a 30-day referral period, however, you can go higher to entice affiliates.
Finally, we have the Allow Affiliate Registrations option. By default, users cannot apply to your affiliate program. You can however manually register their accounts from your WordPress admin dashboard. If you wish to allow users to register an account by themselves, enable this option.
Please note that you can also set and change these settings at a later date from SliceWP’s settings page.
Affiliate Page
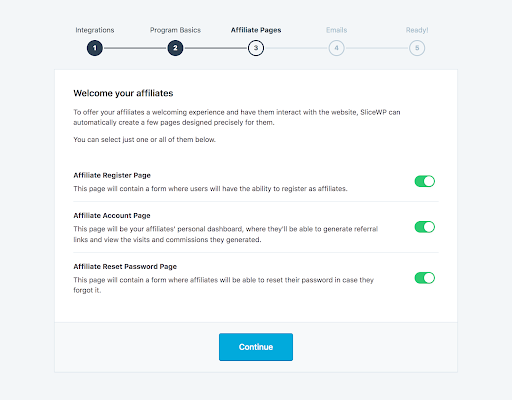
SliceWP comes with a few shortcodes that you can use to create dedicated pages for your affiliates, similar to how you can create the shop and checkout pages for your WooCommerce store.
In this step of the setup wizard, you can enable which pages of the affiliate area you wish SliceWP to create for you. If you decide to skip a page or the entire step, you can always create or modify these pages afterward.
Emails
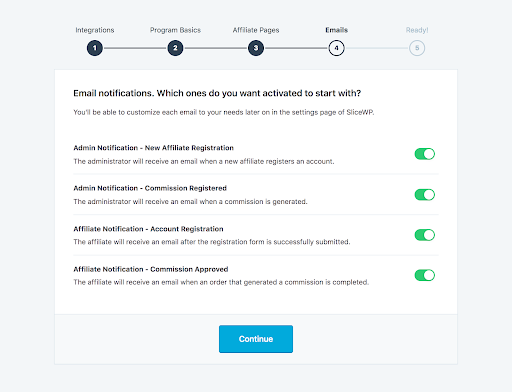
SliceWP comes with an email notification system that helps you keep everyone in the loop. Whenever new affiliate signs up or a commission are awarded you can send email notifications to both administrators and affiliates.
In this step of the setup wizard, you can enable which notifications should be sent. As with all other settings, you can modify them afterward. Also, you can customize the content of each email notification to match your branding and persona from SliceWP’s settings page.
Step 3: Review your settings and setup
Once you’re done with the email notifications step of the setup wizard, you’re ready to go. The basics of your affiliate program are set and you can start onboarding affiliates.
If you need to make any changes to your setup, you can do them from SliceWP > Settings. The plugin is flexible, which allows you to have the affiliate program the way you want it.
Step 4: Explore the SliceWP knowledge base for troubleshooting and information
Once the plugin is ready to go, we recommend you give it a quick test just to make sure everything is running smoothly. This article will guide you step-by-step through the initial testing.
If you want to explore the plugin, even more, we recommend SliceWP’s documentation. Here you will find articles explaining everything, from the very basic settings to the most advanced.
And that’s it! You now have both an affiliate program for your WooCommerce store and also a knowledge base to help you in need. For 24-hour assistance any day of the year, contact our support team by email or through your Client Portal.


