Validar for WooCommerce can help you prevent failed shipments for your products in WooCommerce by confirming shipping addresses, using custom rules to avoid carrier problems before they happen (like a “No PO Boxes” rule to help you avoid problems with UPS), and guiding your customers with corrections–all before they leave your store after a purchase!
Setting up Validar for WooCommerce is very quick and painless. Like most integrations in WordPress, we come packaged as a Plugin from the WordPress.org repository.
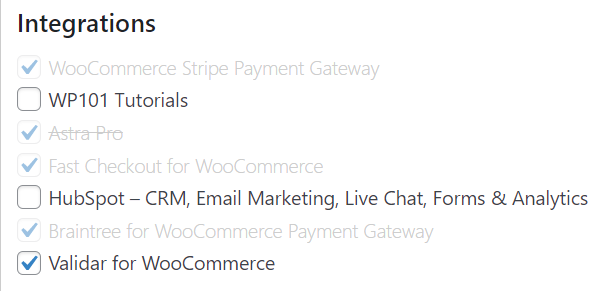
How to Install the Plugin using the Nexcess Installer
If you are using Managed WordPress or Managed WooCommerce then you can easily install and activate the Validar plugin using the Nexcess installer in wp-admin on your site.
How to Install the Plugin from the Repository
Login to your admin dashboard in WordPress as an administrator
Go Plugins > Add New
In the upper right corner, find the search box.
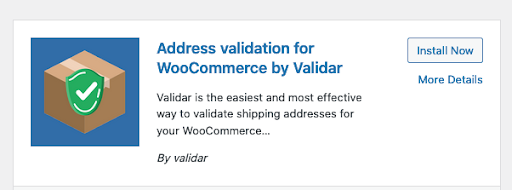
 Once it appears in the search results, click the Install Now button.
When the install is done, click the Activate button.
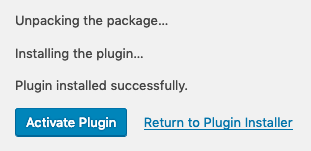
Activating Validar
Once you have the plugin installed, you'll need to connect to a Validar account. This is easy to do.
When your installation is complete, you should end up on this page.
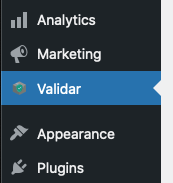
 If you don't see that, you can navigate there manually. Select "Validar" on the left-hand side menu.
Click Connect to Validar. Your admin email and username will be used to automatically create an account for Validar. First, we'll verify the details.
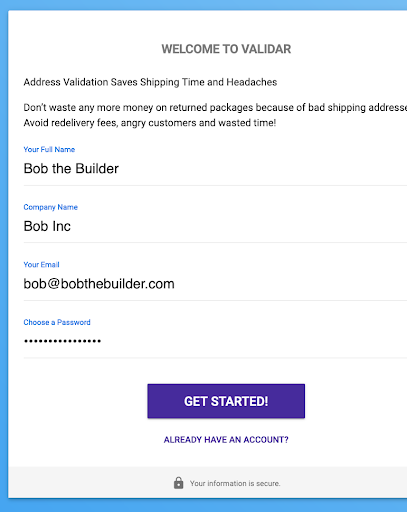
To complete things, you'll need to:
Add a password.
Click "Get Started".
When you do that, you'll end up in the Validar dashboard with a checklist of things to complete your setup.
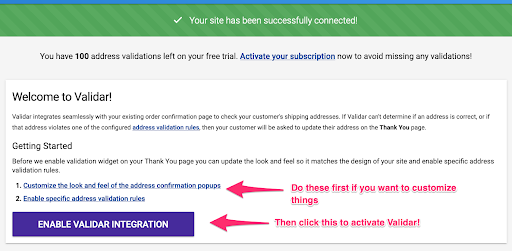
The two steps of Customize the look and feel and Enable Specific Address Validation rules are optional but recommended.
The first step allows you to change the text of the popups Validar will use to help guide your customers when the address is problematic
The second step allows you to activate which rules you want to enable for your store to help prevent carrier shipping issues (e.g. “No PO Boxes allowed” rule)
After you’ve done what you want to customize Validar, click on "Enable Validar Integration". This will turn on the address validation after your purchases are paid for on your “Thank You” page. This is the most important step, so don't forget it.
What else do I need to do after the Validar integration is active?
If you skipped the customize step above (Step 7), you may wish to visit it later. The options can always be changed at any time.
If you prefer a video walking you through how to setup Validar properly. You can find that here.
Your analytics will display after your store has sent data for 24 hours. We aggregate data for the dashboard daily, so you'll see how it's working within a day or two
If you're having issues, please don't hesitate to Contact Support. For 24-hour assistance any day of the year, contact our support team by email or through your Client Portal.


