
The rapid rise of ecommerce has been fed by consumers using social media to inform and influence their buying decisions. On average, users (ages 16-64) spent nearly two hours and half hours on social media daily. And according to a 2022 survey, more than 53% of U.S. consumers read a brand’s social media posts to help with their buying decision.
Social media ecommerce sales reached $992 billion in 2022 and are projected to hit $2,900 billion by 2026. If your brand isn't where customers spend time, you could be losing revenue. Facebook had nearly three billion users in Q3 of 2022, making it the most-used social network worldwide.
With widespread social media continuing, it’s a great time to create a Facebook shop and expand your sales channels.
Without a storefront on Facebook, you could miss out on sales and social media growth. It’s also an economical way for small businesses to set up online stores without investing in a full ecommerce website.
Here’s what we’ll cover:
- What is a Facebook shop?
- Why is a Facebook shop crucial in 2023?
- How to create a Facebook shop tab
- Tips to optimize your Facebook Shop for conversions
- Final thoughts: How to create a Facebook shop (and why it’s essential)
What is a Facebook shop?


A Facebook shop is a dedicated tab on a Facebook page allowing customers to buy products onsite. It requires minimal setup and no coding skills so that you can get started quickly. Additionally, you can allow customers to buy completely through Facebook or take them directly to a specific product on your ecommerce website.
Why is a Facebook shop crucial in 2023?
While you could link to your store, a Facebook shop provides immense benefits:
- Near frictionless buying environment: Customers can view and buy products without leaving Facebook. And the ecommerce store speed is instant, meaning you keep their attention.
- Improved user experience: Customers can navigate and find relevant products with ease. Your Facebook business page also helps you interact directly with customers to build trust.
- Easier product discovery and cross-selling: You can create custom collections and feature collections to help tie products together for your customers. And you can monetize your Facebook posts by tagging products in your shop.
- More analytics: Gain unique insights into user behavior when shopping on social media. Use it to understand what products are resonating and which areas need to improve.
- Avoid Facebook Marketplace: Facebook shops let you avoid selling through Facebook marketplace with its rampant scams and complicated merchant terms.
Improving your customers’ online retail experience should be your ecommerce company’s primary focus. And by integrating your product catalog on Facebook, you can meet your customers where they spend the most time. But to experience these benefits fully, you’ll need to set up your Facebook shop page and optimize it.
Sell your products online, worry-free
Officially recommended by WooCommerce, our hosting is made for online businesses like yours
How to create a Facebook shop tab
- Add your shop section link through the commerce manager.
- Add business and payment processing details.
- Integrate your ecommerce partner platform into your shop.
- Add products to your shop.
- Create product collections.
- Customize your shop and optimize shop settings.
Before we get into how to set up a Facebook store, if you already have a Facebook business page, you’ll need to be logged into it or the Facebook account that manages it. This guide to using a business manager account for your Facebook page can help you access the management system. If you don’t have a Facebook business page yet, you can create one as you create your shop.
Your Facebook business page also manages Instagram shopping so you can manage your Facebook shop and Instagram shopping all through Meta.
1. Add a shop tab to your Facebook business page

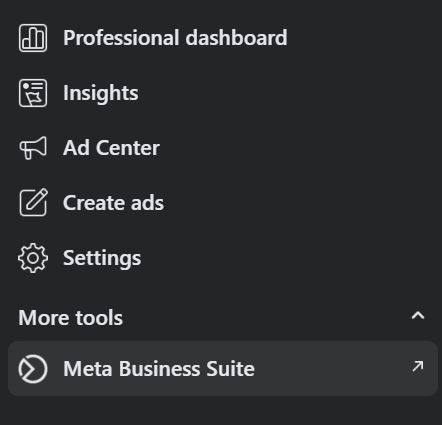
Facebook shop tabs are created in the Meta Business Suite as you create your Facebook shop.
The Meta Business Suite is Facebook’s main page management tool suite and includes tools like stories, posts, analytics, and the post planner for your Facebook business page.
All shop creation starts in the Commerce section of the Meta Business Suite.


2. Add business and payment processing details


Next, change the settings for checkout options like payment processing details. You can have customers checkout directly on your Facebook page or transfer them to your website.
Finish your basic setup by adding a return policy, shipping options, and a bank account. You’ll also need to agree to the seller agreement to continue setting up and using Facebook shop’s features and agree to the selling fees.
3. Integrate your ecommerce platform with your Facebook shop
Facebook shops offer ecommerce platform integration with a long list of partner platforms that include:
- Shopify.
- BigCommerce.
- WooCommerce.
- Magneto.
- OpenCart.
- Wix.
- CommerceHub.
- Quipt.
- CedCommerce.
Check this list to make sure your ecommerce platform can integrate products with Facebook shops.
WooCommerce and Shopify are two of the most popular ecommerce platforms, and Facebook makes it easy to integrate your products into your shop. However, each platform has different merchant terms. If you use a platform outside of Shopify or WooCommerce, skip to step four for more details on integrating with your Facebook shop.
You’ll be working from your Shopify account for Shopify store integration. Access your sales channels and locate the Facebook and Instagram option. Shopify will lead you step-by-step through setting up a Facebook Pixel and connecting Facebook to your Shopify account.
Once connected, products and collections will synch with your Facebook shop. You’ll just need to choose if you want to automatically synch everything or manually synch some products and collections only.
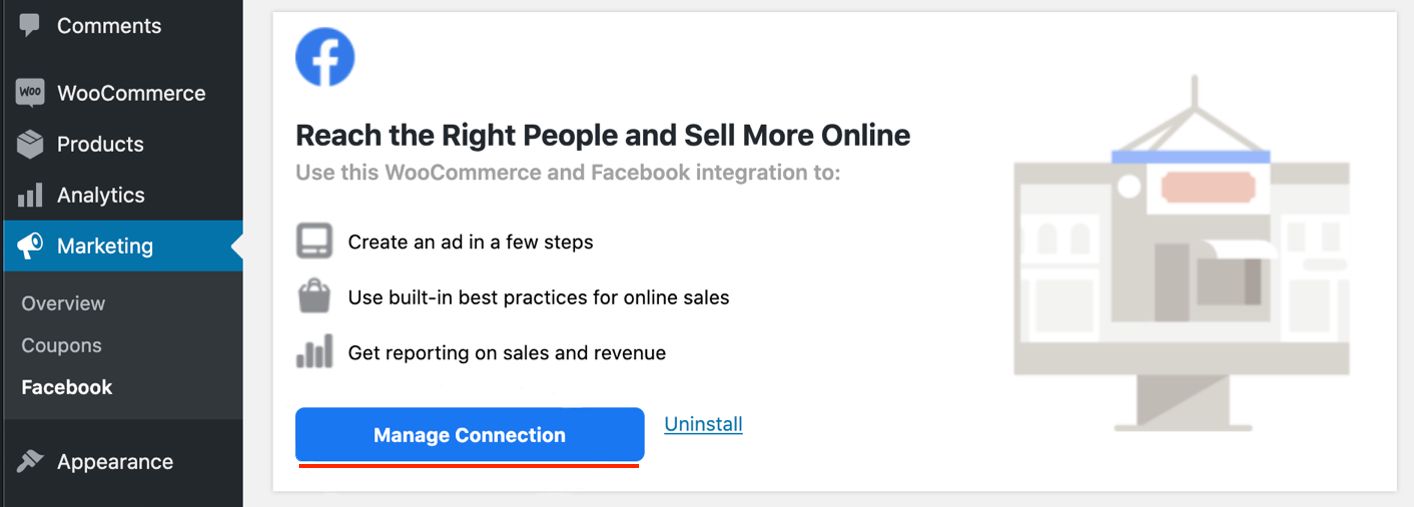
WooCommerce
For WooCommerce, install the Facebook plugin. Return to Facebook and start the Manage Connections dialogue under the marketing controls of your page, and add the Messenger/Customer Chat Plugin to your website. Then you can complete the integration from the Commerce controls of your shop with these steps.

4. Add products to your shop


Continuing in your Commerce manager tools, you can add product listings to your catalog. Choose to integrate products from your website or manually add products with images and descriptions directly on Facebook.
You can copy/paste descriptions from your website or rework them to make them unique. Keep in mind Facebook allows only 200 characters per product.
5. Create product collections


Depending on your store type, you may want to add product collections by style, holiday, product type, or other custom categories. Add collections to your storefront by creating sets after you add items to your store.
6. Customize your shop and optimize shop settings

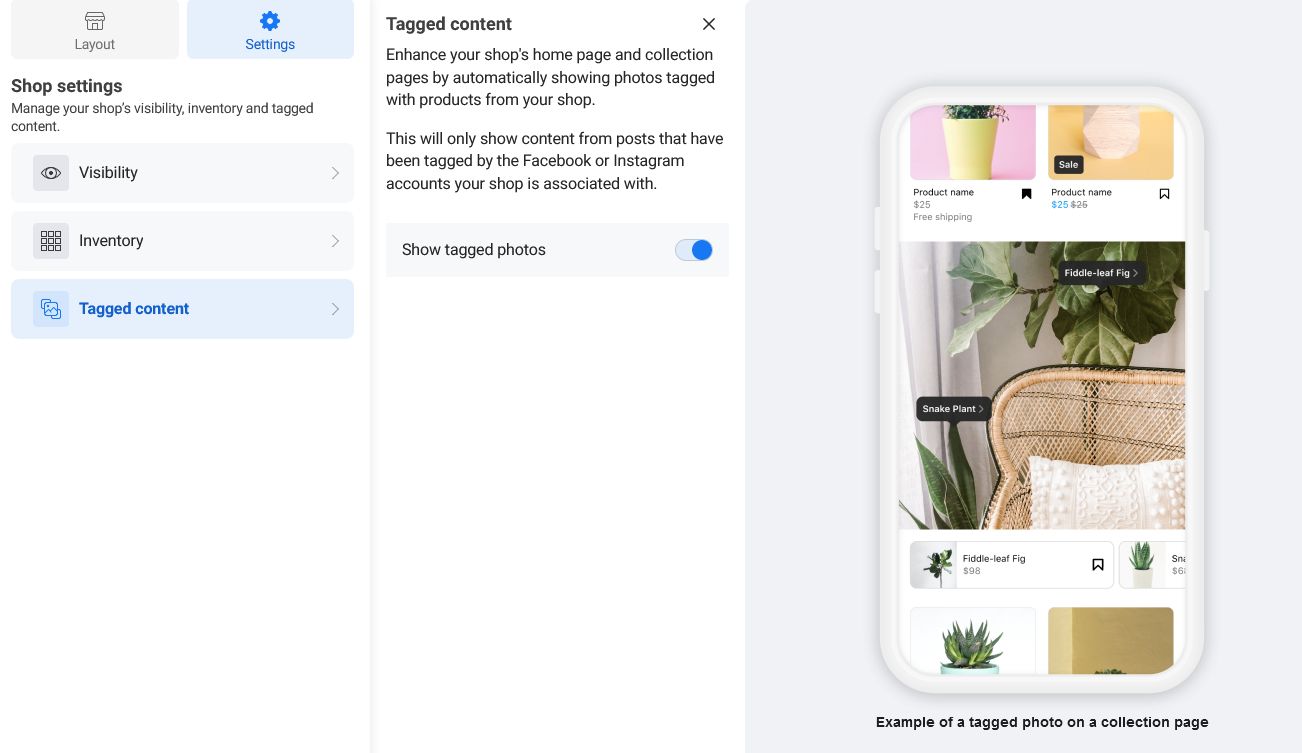
Next, you’ll want to customize your shop. Returning to the Commerce Manager allows you to edit your shop. You can pick a template that best represents your niche, promotes your top products, and stays on-brand.
Custom settings for features like dynamic carousels, options to promote specific catalogs, automatic product tagging, and end-to-end customization are available. Optimizing your shop with these settings helps your conversion-rate optimization (CRO). Plus, features like messenger and Facebook ads analytics are available to use.
Tips to optimize your Facebook shop for conversions

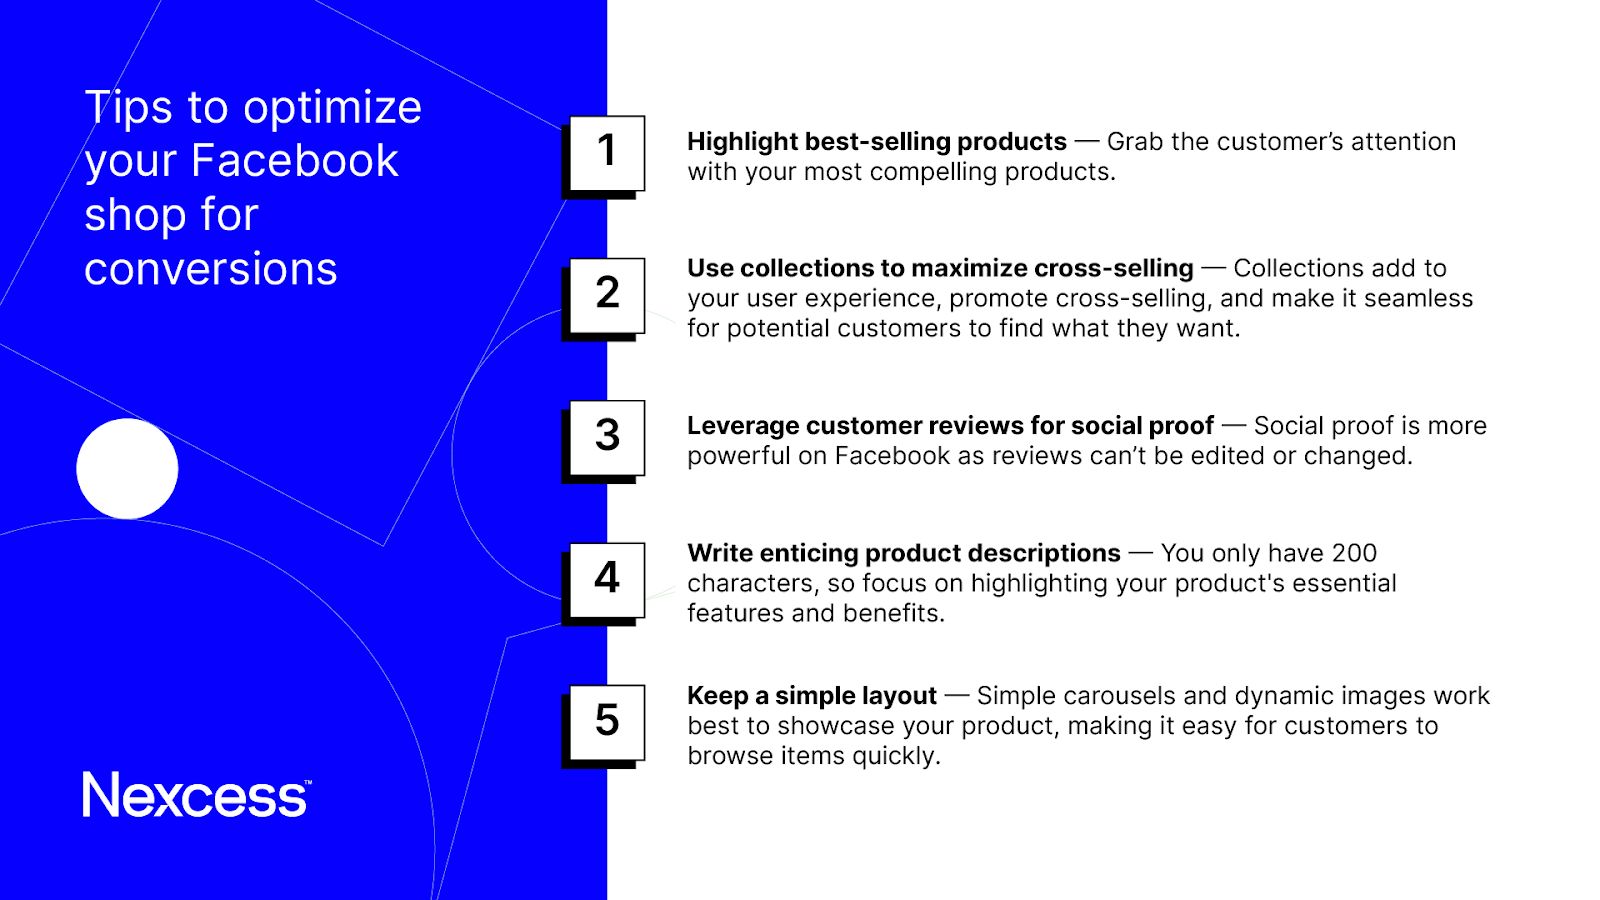
- Highlight best-selling products — Grab the customer’s attention with your most compelling products.
- Use collections to maximize cross-selling — Collections add to your user experience, promote cross-selling, and make it seamless for potential customers to find what they want.
- Leverage customer reviews for social proof — Social proof is more powerful on Facebook as reviews can’t be edited or changed.
- Write enticing product descriptions — You only have 200 characters, so focus on highlighting your product's essential features and benefits.
- Keep a simple layout — Simple carousels and dynamic images work best to showcase your product, making it easy for customers to browse items quickly.
Final thoughts: How to create a Facebook shop step-by-step (and why it’s essential)
With benefits like increased visibility, improved user experience, and low cost, it’s hard to argue against Facebook shops. Facebook shops let you connect with your customers on the platform they frequent most and they also give you a boost with social media marketing. You’ll also gain additional analytical insights and data while your customers feel more connected to your brand.
Now that you set up your Facebook shop, your brand should continue growing. And that means having a reliable, lightning-fast, secure web host is essential.
With fully managed WooCommerce hosting from Nexcess, you’ll join over 500,000 ecommerce website owners who trust Nexcess to keep their online store running.
Get started today with the added peace of mind from our 30-day money-back guarantee.

