
Direct customer interaction fosters brand loyalty. Customers, after all, crave in-person and real-time engagement. As such, events — both offline and online — play a vital role in helping ecommerce businesses build customer relationships and generate revenue.
According to Freeman’s 2023 Trust Report, 77 percent of customers trust a brand more after participating in a live event.
But organizing virtual events can be a logistical nightmare. You need to choose the ideal date, platform, and marketing channels for your event.
Managing ticket sales and attendance can prove to be another headache. With advancements in technology, more tickets are being sold online than ever before. How can you make the online ticket sale process as seamless as possible — both for the customer and your business?
If you’re running a WooCommerce store, The Events Calendar is your answer. With The Events Calendar plugin, events can be created and launched in a matter of minutes.
Here, we’ll show you how to set up The Events Calendar plugin as well as create and sell tickets with Event Tickets Plus.
Let’s dive in.
- What is The Events Calendar plugin?
- Benefits of using The Events Calendar with your WooCommerce store
- How to integrate The Events Calendar plugin with WooCommerce
- How to set up a WooCommerce events calendar to sell tickets
- How to manage all your events in your WooCommerce store
- Final thoughts: Setting up The Events Calendar for WooCommerce
What is The Events Calendar plugin?
Powering over five million websites, WooCommerce is a powerful ecommerce add-on that hardly needs an introduction. This popular plugin has many capabilities for setting up and growing your online store.
WooCommerce uses a tag-based system that enables customers to easily find products in your store. It also comes with useful inventory and order management features that allow you to keep track of low stock and order processes.
If you want to extend the functionality of WooCommerce and host virtual events, The Events Calendar products (i.e., The Events Calendar and Event Tickets) are your best bet.
The Events Calendar plugin is a popular tool that enables business owners to create, plan, and manage events on their WordPress websites.
Its free and premium versions offer great features, including:
- Highly customizable calendar creation: It allows you to create the exact kind of calendar that best represents your brand.
- Recurring events: The Events Calendar plugin has the ability to save recurring events, taking the stress out of event management.
- Seamless integration with third-party tools: You can import events from external calendars (e.g., Google Calendar and iCalendar), and users can subscribe to event updates.
Benefits of using The Events Calendar with your WooCommerce store
With over 800,000 installations and over one billion events powered, The Events Calendar plugin is a popular event management tool for organizations around the world.
It’s a smart choice for WooCommerce businesses that want to host multiple events for a growing customer base.
Below are some of its main benefits.
Seamless integration with WordPress
The Events Calendar is one of the most popular calendar plugins for WordPress.
One of the main reasons for its popularity is that it is designed with WordPress functionality in mind. That means the plugin seamlessly integrates into WordPress, with minimal to no extra steps needed.
When you activate The Events Calendar plugin, you’ll be able to access and publish events from your dashboard.
Its basic calendar template works well with most WordPress themes. While you can build from a selection of templates, you can customize the appearance with Cascading Style Sheets (CSS) or your own theme to make the calendar unique to your brand.
The Events Calendar plugin also allows you to use shortcodes to insert event interfaces into any part of your WooCommerce website.
Enhanced customer experience
The Events Calendar plugin delivers an optimal user experience to your customers and event attendees. You can choose how to display events, including a map view for offline events.
Considering the number of users who access their websites via mobile phones, The Events Calendar plugin has a mobile-friendly design with smaller screens in mind. That heightens the chances of your customers accepting your event invitations.
You can choose from several calendar views — which integrate seamlessly with most WordPress themes — or display your calendar by day, month, or in a list.
The plugin integrates with Google Maps to help users locate an offline event location easily. Events can also be displayed on users’ Google Calendar or iCalendar apps, making event reminders convenient for attendees.
Makes large-scale event management easy
Integrating The Events Calendar plugin with WooCommerce saves time and effort when managing many events.
A tag-based system, along with event categories, means you can easily view, update, or delete events on your calendar.
You can also create recurring events, such as Q&A (question and answer) sessions, which is an excellent way to provide quality customer service and build brand loyalty.
If you’ve previously used another software to store your events, migrating to Events Calendar is easy with its built-in CSV file importer. All you have to do is convert your Google Calendar or iCalendar events into a CSV file.
After you’ve installed and activated The Events Calendar plugin on your WooCommerce store, navigate to Events > Import from your WordPress dashboard.
Select CSV File for Import Origin and Events for Content Type.

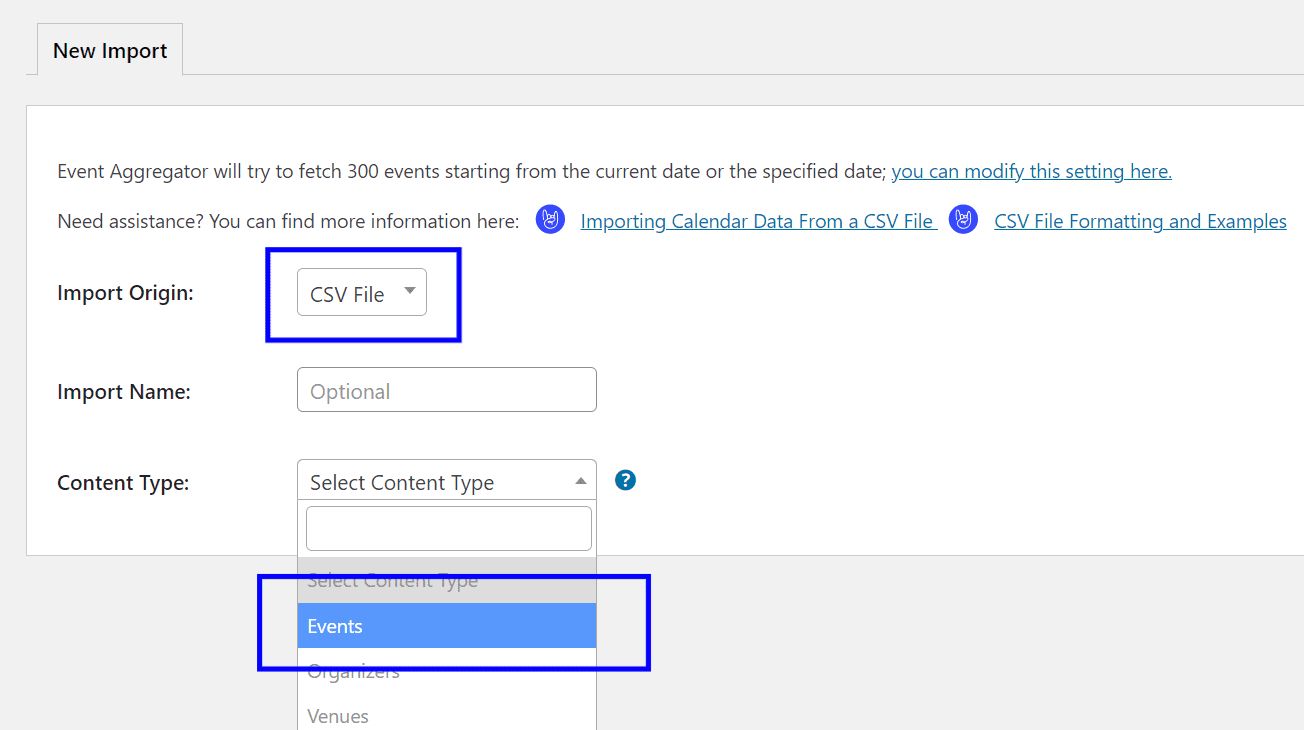
Then choose the CSV file you’ve downloaded from your calendar app. From there, you can map out the fields in the CSV file to match designated fields in your event calendar and integrate them.
How to integrate The Events Calendar plugin with WooCommerce
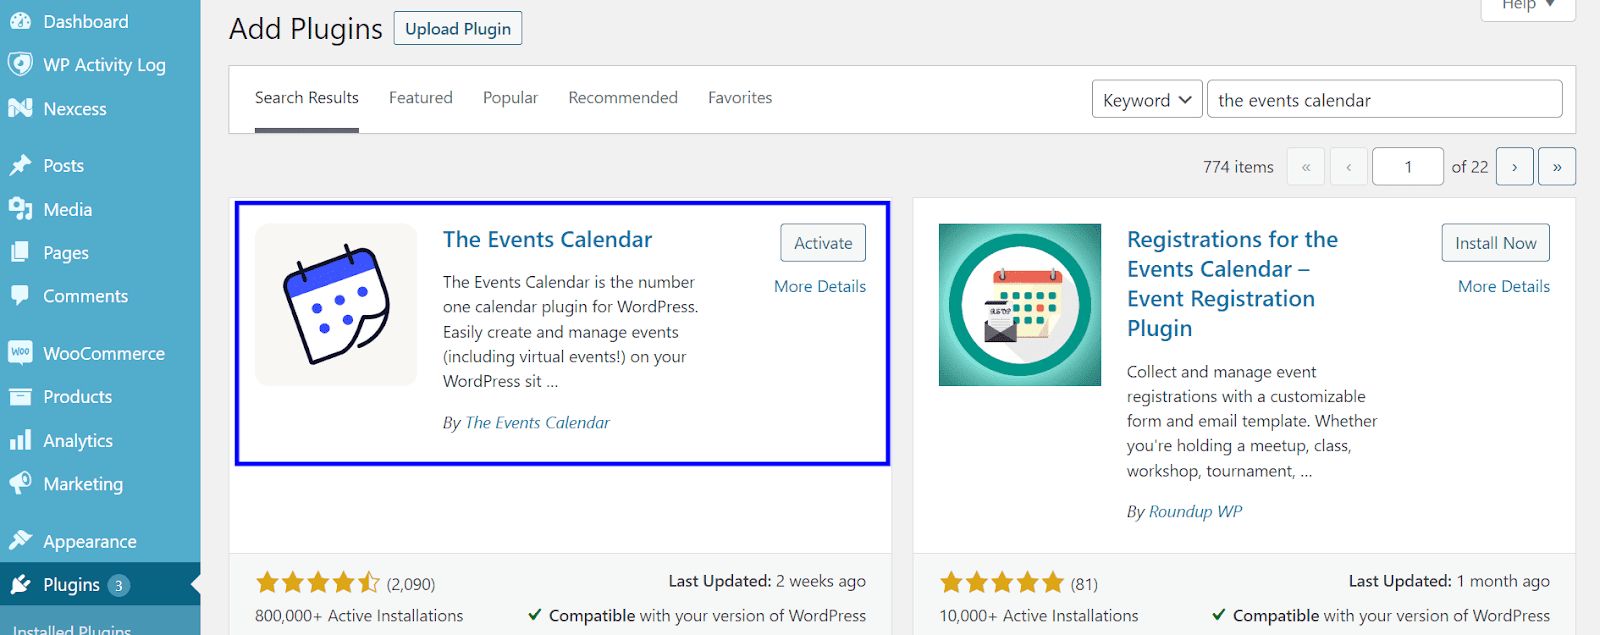
If you're yet to download The Events Calendar plugin for your WooCommerce store, you can find it on The Events Calendar website. Alternatively, you can download it from your WordPress dashboard by going to Plugins > Add New and then typing “The Events Calendar” into the search bar.

The Pro version of Events Calendar costs $99/year for one website and $799/year for unlimited websites.
Once you’ve installed and activated the plugin, you'll gain access to a new dashboard menu called Events.
Next, download the Event Tickets add-on by going to Events > Event Add-Ons. While this add-on allows you to manage ticket sales and the RSVP process for free, you can also opt for the Plus plan.

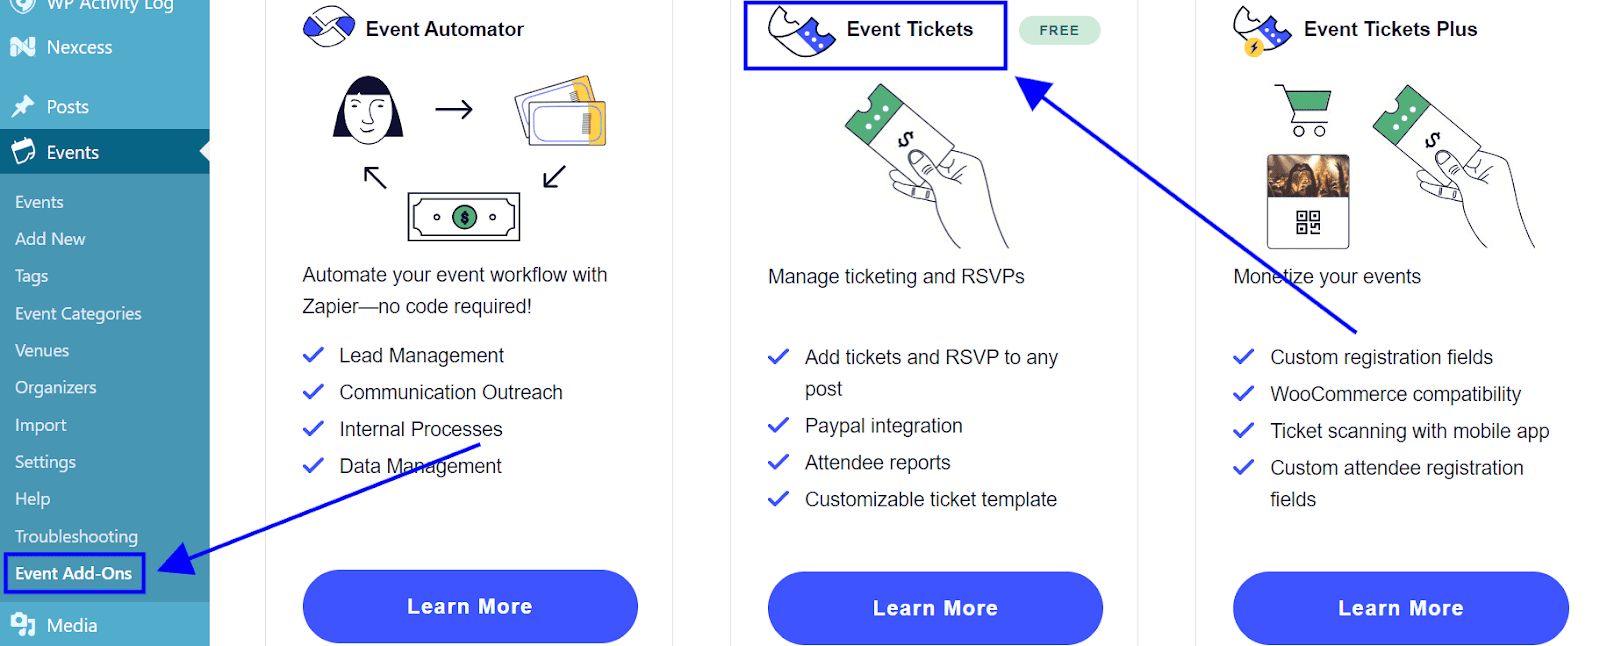
The Event Tickets Plus costs $99/year for one website and $799/year for unlimited websites.
How to set up a WooCommerce events calendar to sell tickets
Before you follow this tutorial, make sure you’ve already installed The Events Calendar and Event Tickets Plus plugins for your WooCommerce website.
1. Create a new event
Navigate to your WordPress dashboard and select Events > Add New from the left-hand menu.

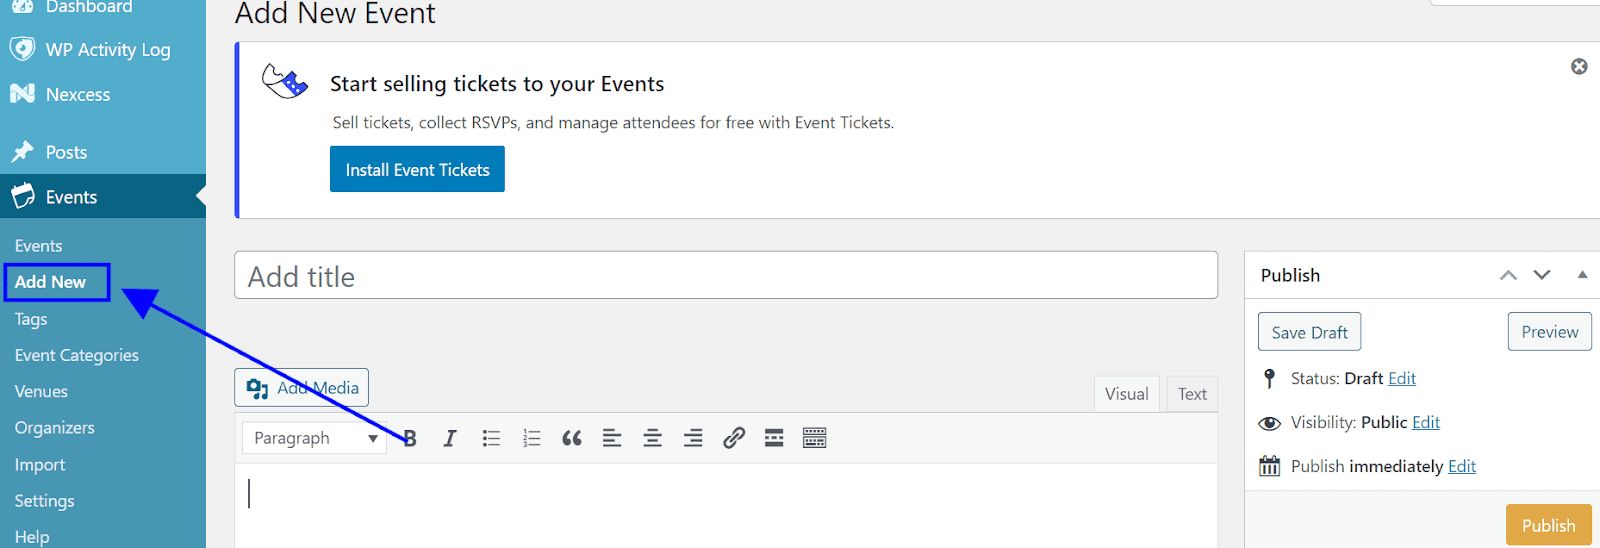
This opens up an event editor window that allows you to provide the event details, including the event title and description, date and time, and the event organizer.
Once the event is created, you can access it from your Events Calendar page by navigating to Events > Events.
2. Set up payment options with WooCommerce
Before creating your event tickets, you need to choose an ecommerce payment processing provider.
Set up your payment method by selecting WooCommerce Settings > Payments.

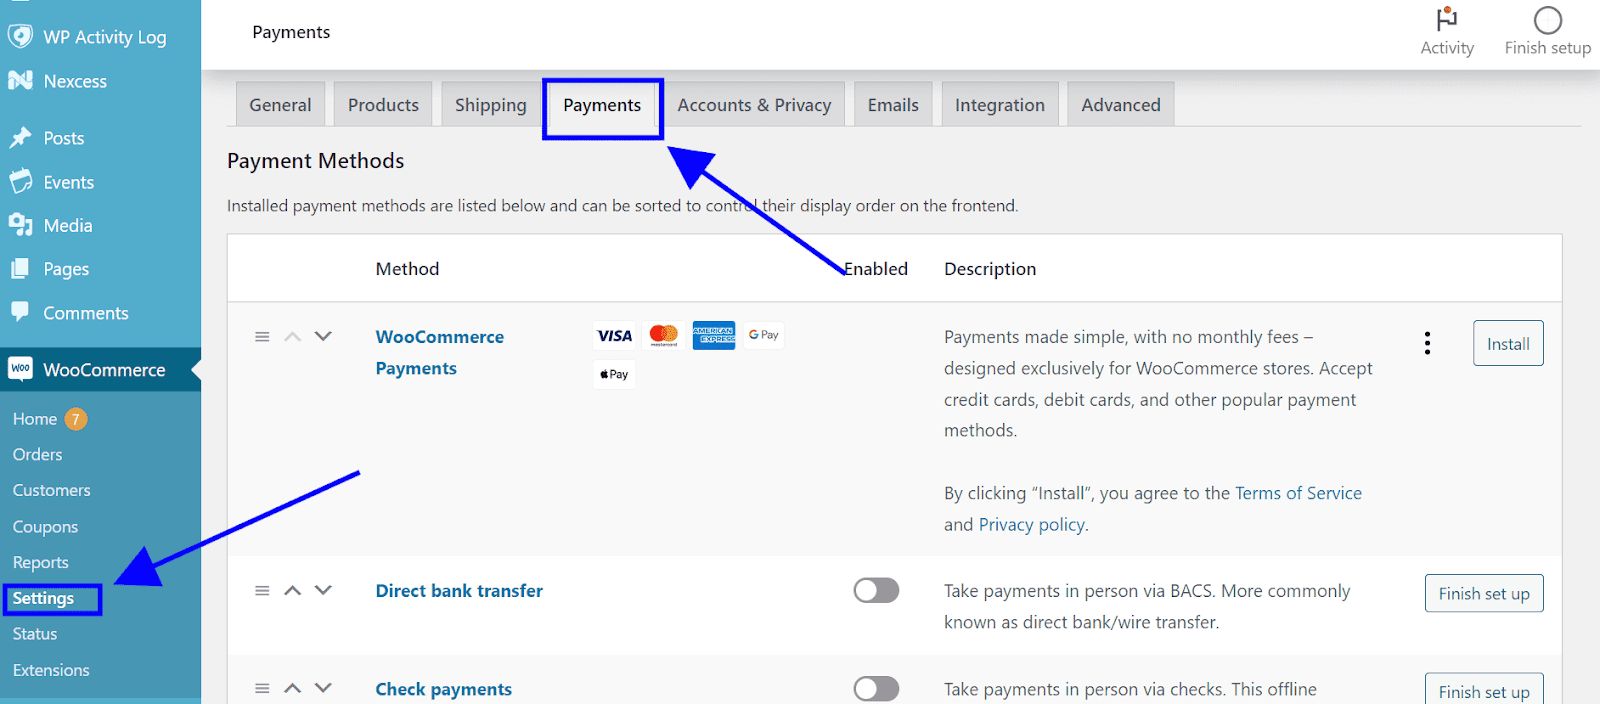
Supported payment options include Stripe, PayPal, Square, WooCommerce Payments, and Stripe for WooCommerce, among others.
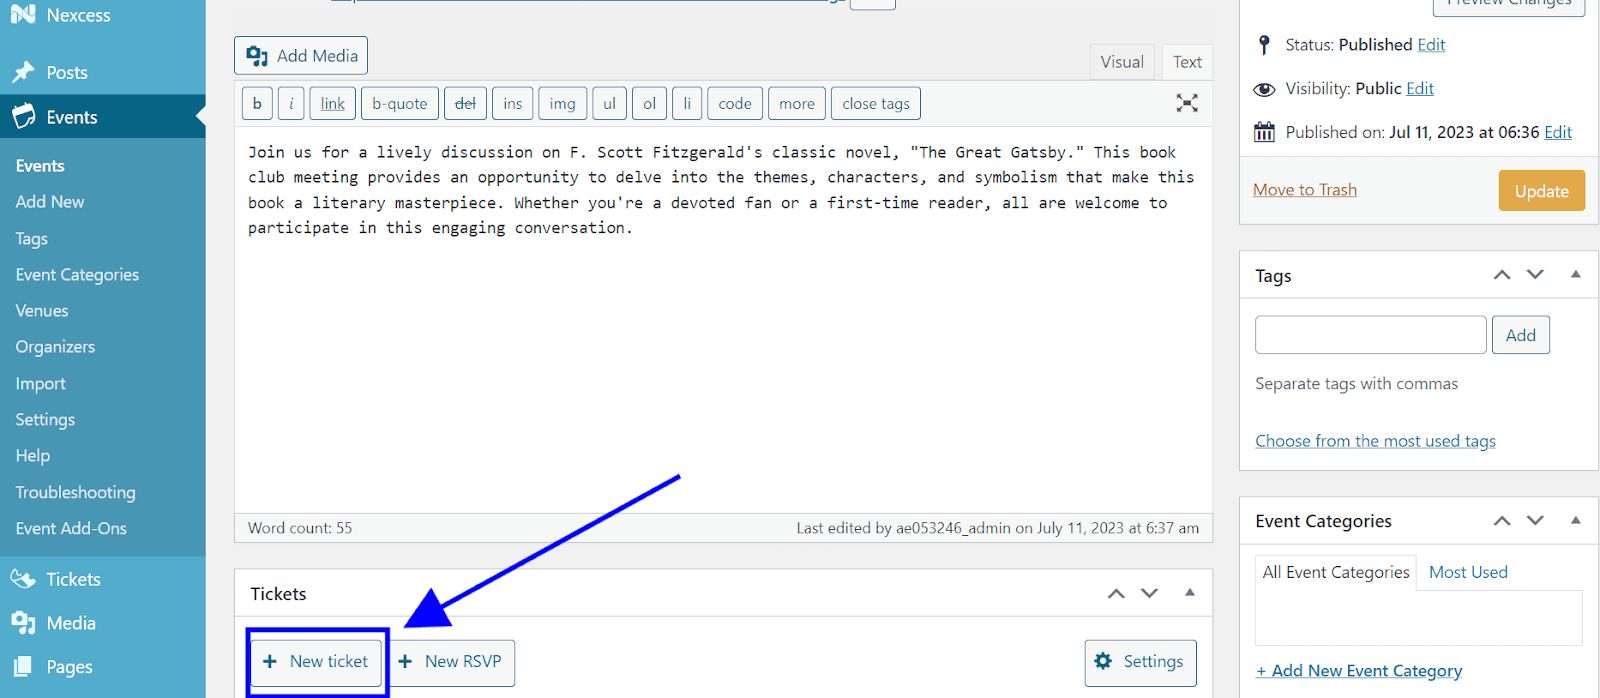
3. Add tickets to the event
From the event page (WordPress dashboard > Events > Events), select the event you want to add tickets to and click Edit.
On the event editor page below the Ticket field, click New Ticket. This opens up a list of options for you to customize your event tickets.

4. Customize ticket options
From this window, you can choose the ticket price and sale duration. You can also collect attendee information.

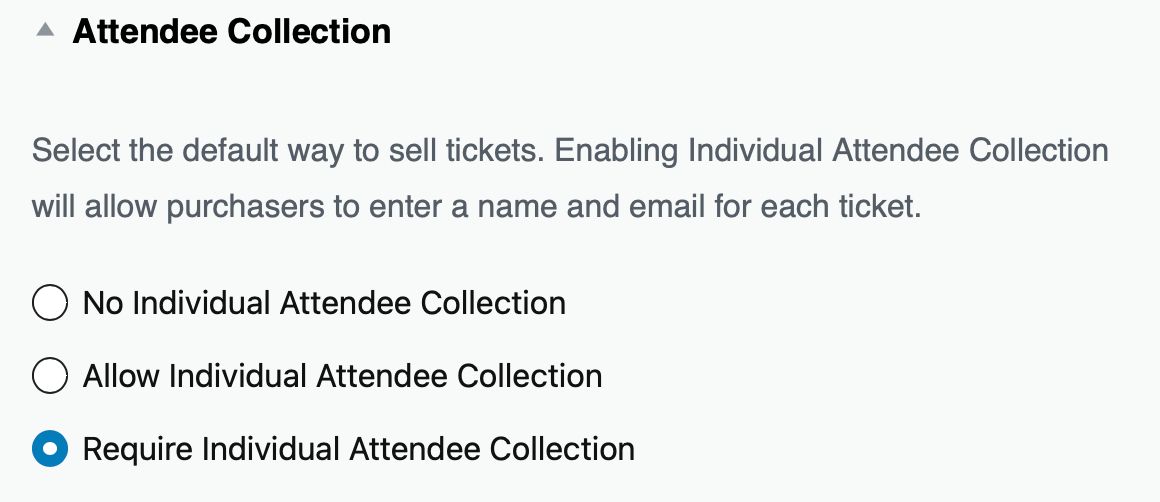
For example, if you plan to gift free T-shirts to every attendee, you’ll want to collect information about their T-shirt size or color preference.
Once you’ve finished customizing your ticket, select Create Ticket and then update your event.
How to manage all your events in your WooCommerce store
At this point, you’ve created a number of upcoming events and sold tickets in your WooCommerce store.
The Events Calendar on WooCommerce is great for organizing and managing all the events on your calendar. Let's dive into some of its event management capabilities and how you can accomplish them.
Creating event categories
Event categories can help you to locate past and future events whenever you need them.
You can view events by categories by navigating to Events > Event Categories from the WordPress dashboard.
You can add an event category when creating or editing an event. On the event editor page, below the text description and other event options, you will find a section called Event Categories.


At the bottom of this section, select +Add New Event Category to create a new category.
Updating existing events
Events Calendar Pro comes with an Events Manager feature that allows you to add, edit, or delete events.
To update an existing event, select Events > Events from the WordPress backend. Next, click the Manager button on the Events screen, next to the Events title.

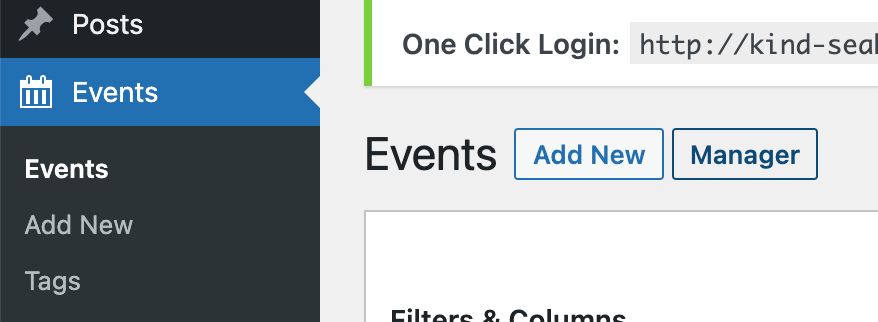
This opens up a calendar of your events. Hover over the event you want to update and select Edit in the popup view. You’ll be directed to the editor page, where you can update the event details.
Exporting events to other calendars
The Events Calendar plugin allows both you and your website visitors to export events to your personal calendar apps.
To export events, view your events and select Subscribe to Calendar from the bottom right of your calendar. When you select this option, you’ll see a dropdown menu that lets you sync your website events to Google Calendar, iCalendar, or Outlook.

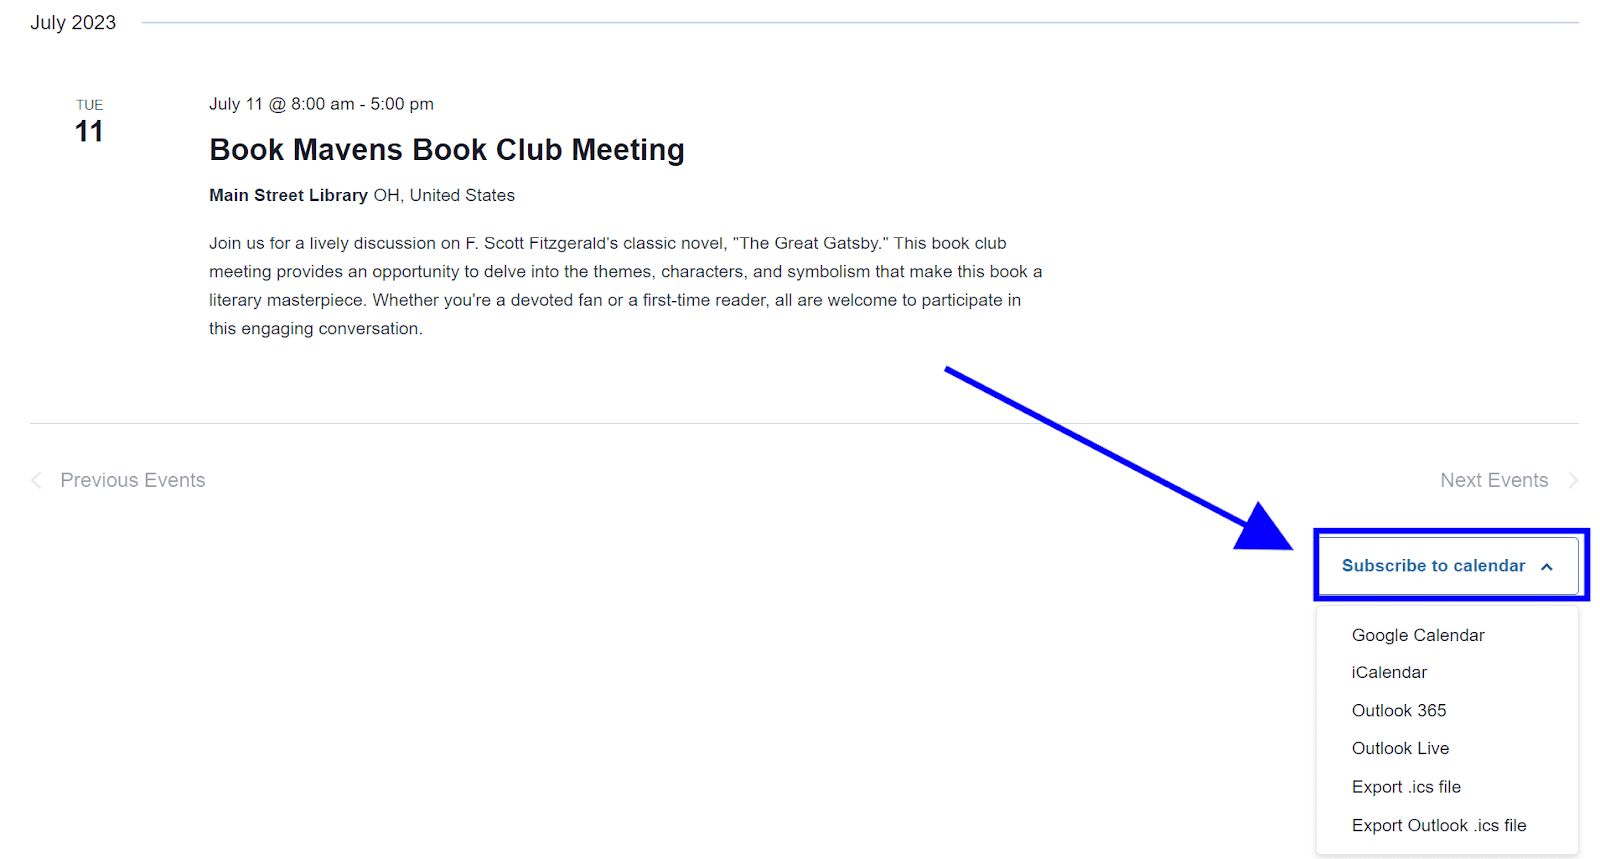
Alternatively, you can select the Export .ics file option, which lets you download the calendar events as a .ics file to import to your calendar.
Managing event attendees
You can view your event attendees in a list. This list is a report of all ticket sales and RSVP registrations.
To access the list for an event, navigate to Events > Events from the WordPress admin dashboard.
Hover over an event to reveal the Attendees link. Click on this link, and you’ll be directed to a new screen where you can view the list of attendees and their names, emails, ticket IDs, and security codes.

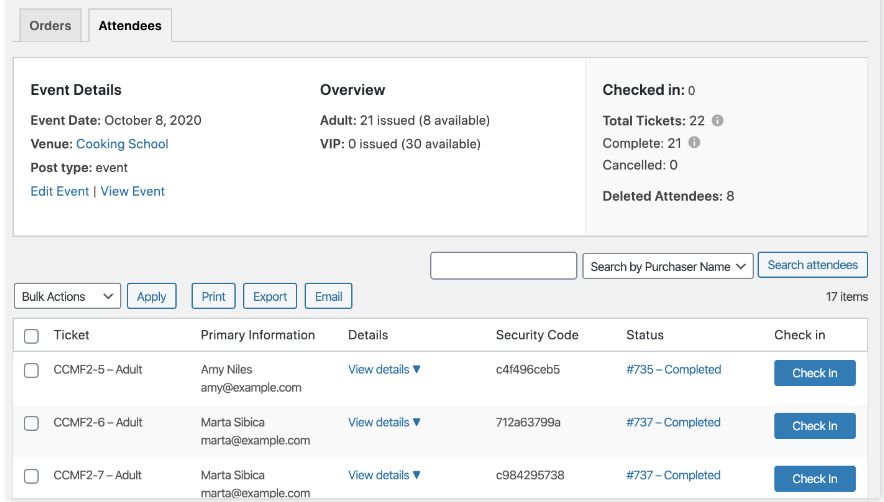
For an event where check-ins are necessary, you can check in ticket purchasers individually by selecting the Check In button next to their details under the Check In column.
With Event Tickets Plus, you can email tickets to attendees with a QR code. Scanning these codes with any supported QR reader will check in the attendee on the system.
When you need to resend a ticket to an attendee for whatever reason, hover over their ticket in the attendee list to reveal a Re-send Ticket link. Select the link to resend the ticket.
If you had requested additional information from attendees when they bought their tickets, you can access this information by selecting View Details under the Details column.
You can also export the attendee list by selecting the Export button located directly above the list. It will be downloaded as a CSV file.
Final thoughts: Setting up a The Events Calendar for WooCommerce
Events are a great strategy to add to your marketing efforts, regardless of the kind of ecommerce business you own.
Organizing online ticket sales and managing your events can be time-consuming, but you can save time and effort when you integrate The Events Calendar with WooCommerce.
As you focus on using events to grow your ecommerce business, tracking and optimizing your WooCommerce website performance at the same time could prove overwhelming.
Enter Nexcess fully managed enterprise WooCommerce hosting. With Nexcess, you can be sure your WooCommerce website runs at its best with automated website performance monitoring and WooCommerce testing.
Check out our plans to get started today.

