In this post we’re going to go through installing the BigCommerce for WordPress plugin, starting with a mostly empty WordPress install. But before we begin, I want to briefly note that if you’re new to Nexcess and/or want to add a BigCommerce for WordPress retail plan to your existing Nexcess hosting account, you can do so by visiting this page, selecting a plan and auto-installing BigCommerce for WordPress in one click. For those who need an enterprise-level solution, you’ll follow the steps outlined in this blog to manually install.
The BigCommerce for WordPress plugin is available on WordPress.org, like most plugins. This makes it easy to install, right from within the WordPress admin interface.
Start by logging into WordPress and in the left admin menu, choose Plugins ➞ Add New.

Then in the top right search area search for BigCommerce. When the results appear, click on Install Now on the BigCommerce plugin.
Once it’s installed you’ll need to activate it.
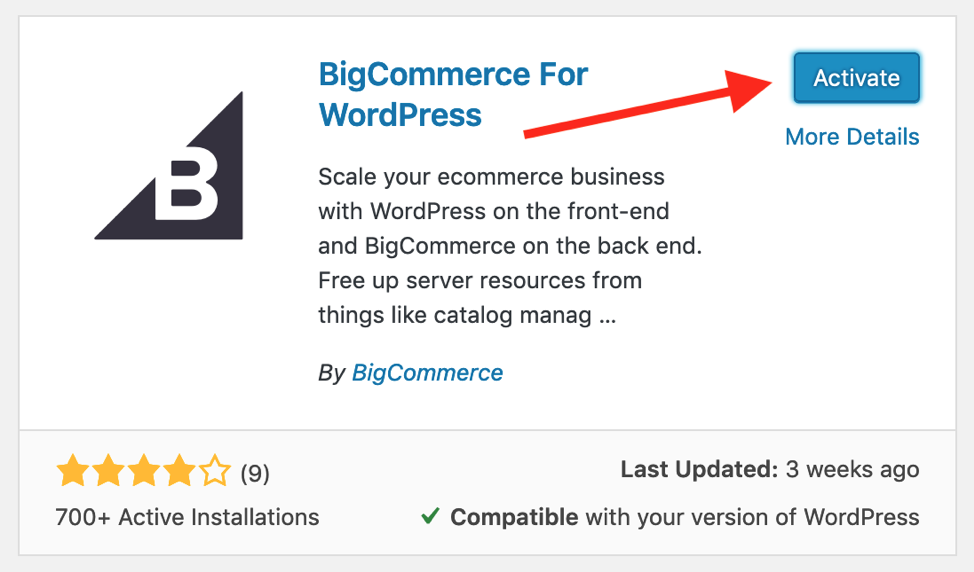
As soon as the plugin is activated it will take you to an Onboarding Wizard to help you configure it properly. Your first step will be to either connect your WordPress site to an existing BigCommerce store or create a new BigCommerce store from right within WordPress.
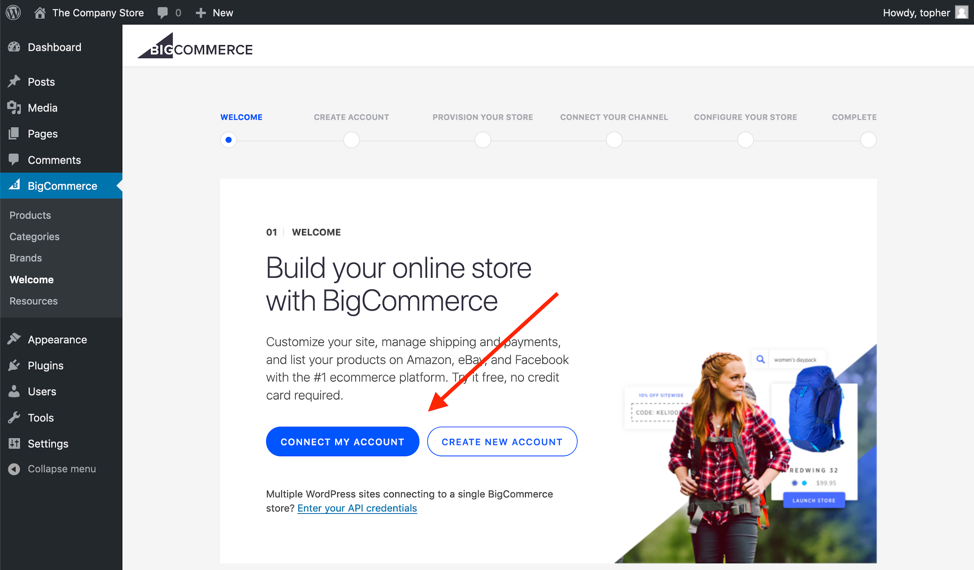
For this post we’ll choose Create New Account.
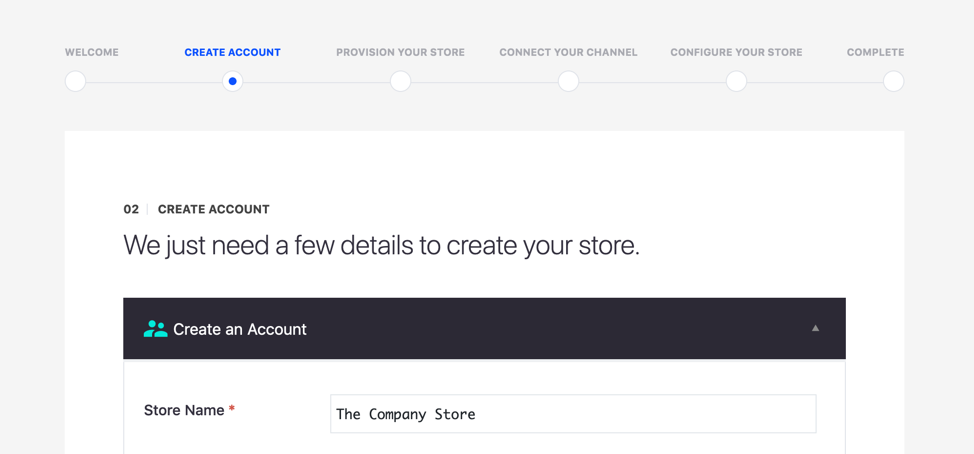
The form is longer than what you see in the screenshot, but it asks for normal contact information like address, city, state, zip, phone, etc.
When creating a new account like this it’s creating a free 15-day trial. If you decide you don’t like it, you can simply let it expire. If you decide you’d like to sign up for BigCommerce you may do that in your Account page in the BigCommerce admin area.
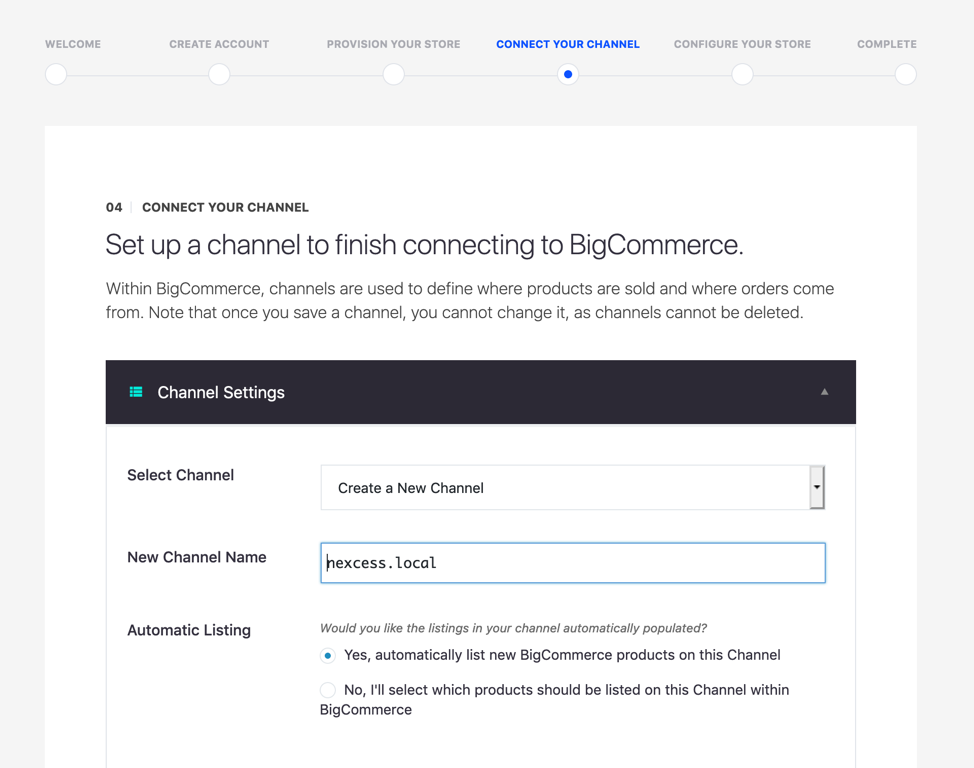
Once you’ve created an account you’ll need to make a Channel. Channels in BigCommerce allow you to specify what products appear in what storefront. For example, Amazon can be a channel, and you can say “These products appear in Amazon”.
With WordPress, each WordPress instance in a channel, so you can show certain products on one WordPress site, and other products on another WordPress site.
Of course if you wish you may show all products on your WordPress site, but this Channel we’re making is the method by which that happens.
As shown in the screenshot above you may choose to have all products immediately imported or have none so that you may go back later and specifically choose which products get imported.
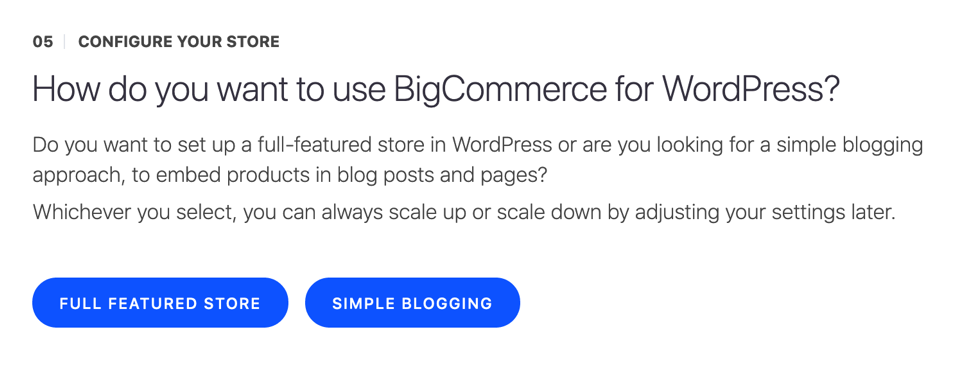
The next option is to choose a Full Featured Store or set up a Blogging store. If you choose Simple Blogging then it will skip helping you set up a Navigation Menu and disable the Cart and the Embedded Checkout. So customers will click to Buy a product and it will send them to the BigCommerce store. If you choose this and change your mind it’s easy to switch back later.
For this post we’re going to choose Full Featured Store.
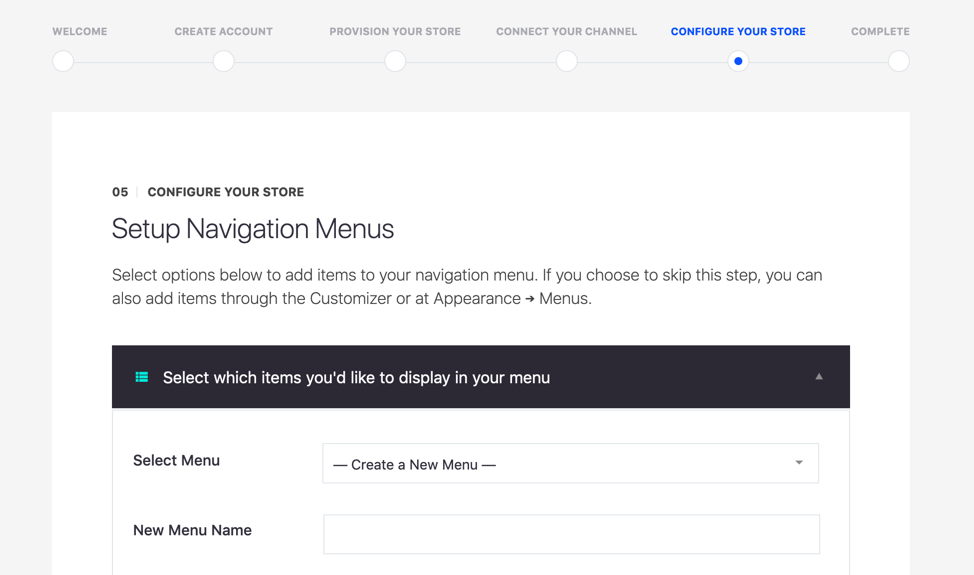
Once you’ve chosen Full Featured Store, the next step is to optionally set up a WordPress Navigation Menu. Checkboxes are provided for all of the pages that BigCommerce creates during this install, including Product Listing Pages, Brand Pages, Category Pages, Shopping Cart, Checkout, etc. You can also choose a Menu Location, exactly like in the default WordPress menu builder.
After you complete the Navigation configuration you’re essentially done with setting up WordPress. If you wish you can go into BigCommerce ➞ Settings and make some changes, but that’s not required.
The final page of the Setup Wizard offers some links to finish setting up your store, and these must be done before your store will function properly. These things include setting up your payment gateway, taxes, and shipping.
Once these last admin things have been set up you’re ready to sell!
![]() Learn more about the BC4WP plugin with Nexcess here.
Learn more about the BC4WP plugin with Nexcess here.

