
 Once upon a time, the email newsletter was an essential part of any blog. Now we have many different ways of being notified of new content, particularly social networks like Twitter. But, some still prefer to have content delivered to their inbox rather than trawling through social media and RSS feeds — a surprising number have no idea what an RSS feed is for and fewer still actually use them.
Email subscribers tend to be a blog’s most loyal audience members, with a significantly higher rate of interaction and sharing than those who just happen to catch sight of an article on Twitter. Additionally, email subscriptions open up a direct line of communication between an audience member and a site which is always useful — although you should never breach a user’s trust by using their email to spam them.
All-in-all, an email newsletter that notifies your audience of new content is a good thing and the effort involved in creating one is fairly minimal. I’m going to show you how to create a barebones newsletter using WordPress’ RSS feeds and MailChimp, an email marketing service that’s free if your site is generating fewer than 12,000 emails per month with less than 2,000 subscribers.
Get Your RSS Straight
By default, WordPress creates a couple of different RSS feeds, one that contains the content you publish in posts and one that contains comments. You can find your site’s post RSS feed at:
http://mysite.com/?feed=rss
http://mysite.com/?feed=rss2
If you’re using a custom permalink setup, like the one generated by Yoast’s SEO plugin, you will probably also find it at:
http://mysite.com/feed/
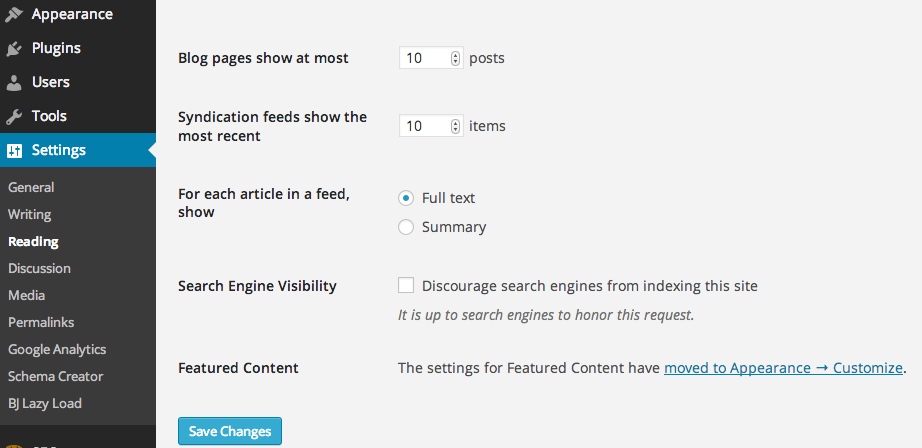
You can configure the RSS feed, including the number of articles to include and whether to include the full content or just a summary.
Create A Mailing List In MailChimp
Next, head on over to MailChimp and create an account. MailChimp requires that you give a lot of personal information to comply with anti-spamming laws. They aren’t just nosey, they need to know you aren’t going to use their service to spam people.
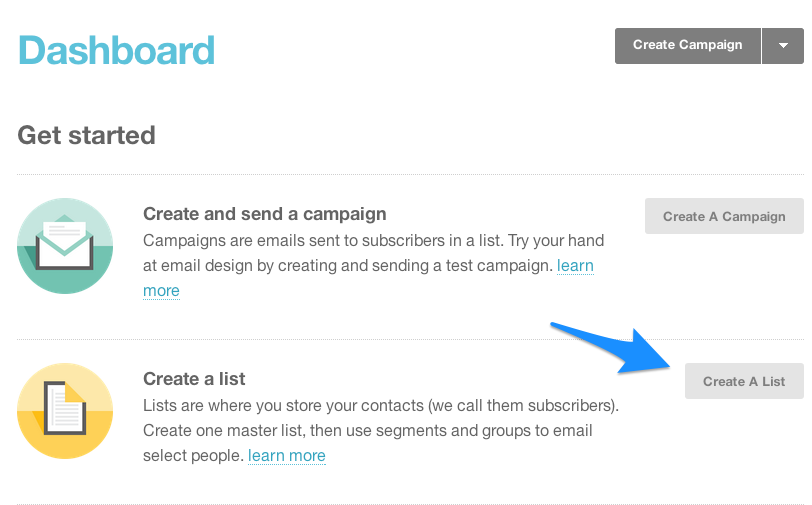
Once you’ve created an account, choose “Create A List” on the main page.The instructions here are fairly self explanatory, so follow along and fill in the mailing list details.
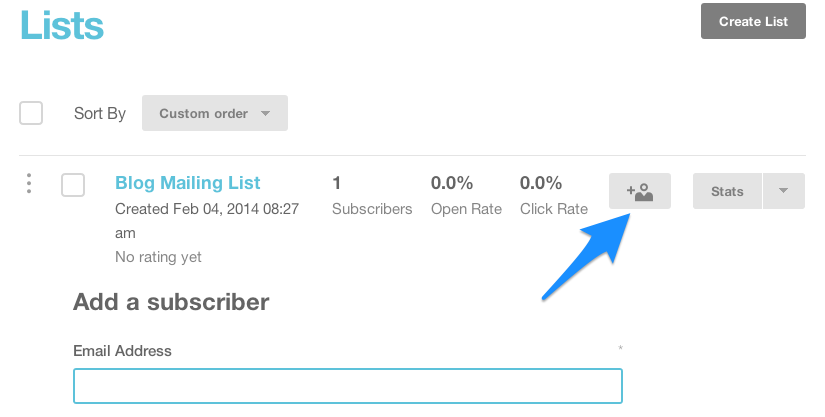
After you’ve created the list, it’s a good idea to put at least one subscriber into it, or you’ll face problems later when creating a campaign. You can add a user from the “Lists” dashboard.
Create A Campaign
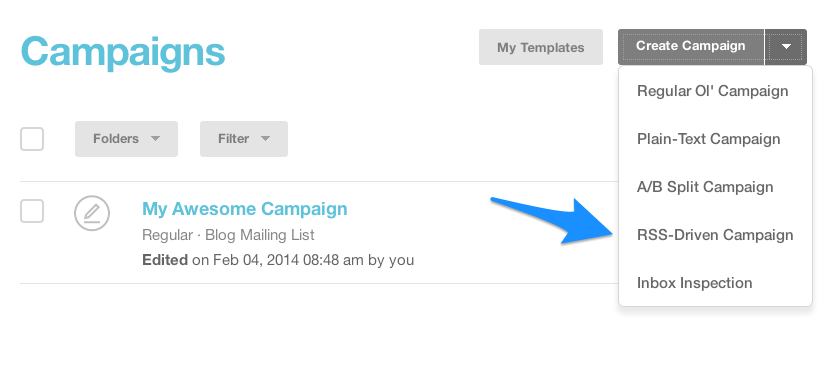
Next, you’ll need to associate your list with an email campaign. In the main menu, click on the “Create Campaign” dropdown menu and choose “RSS-Driven Campaign”.
First, you’ll see the RSS Feed setup screen. Here’s where you need to enter the RSS feed URL mentioned in the first section of this article and configure the times when you want the newsletter to be sent.
Click next, and you’ll be given the option to choose the mailing list that we just created.
After that is the basic setup screen. Once again, MailChimp are great about guiding you through the necessary steps to creating a campaign. The only really tricky bit here is the tracking section, but you can safely leave the defaults in place for the moment.

After that we hit the Email Designer screen. I’m not going to explain this step in too much detail, because MailChimp provides a powerful set of tools for crafting the appearance of emails — it would take several blog article to detail all of its capabilities.
Pick the “Predesigned” option.
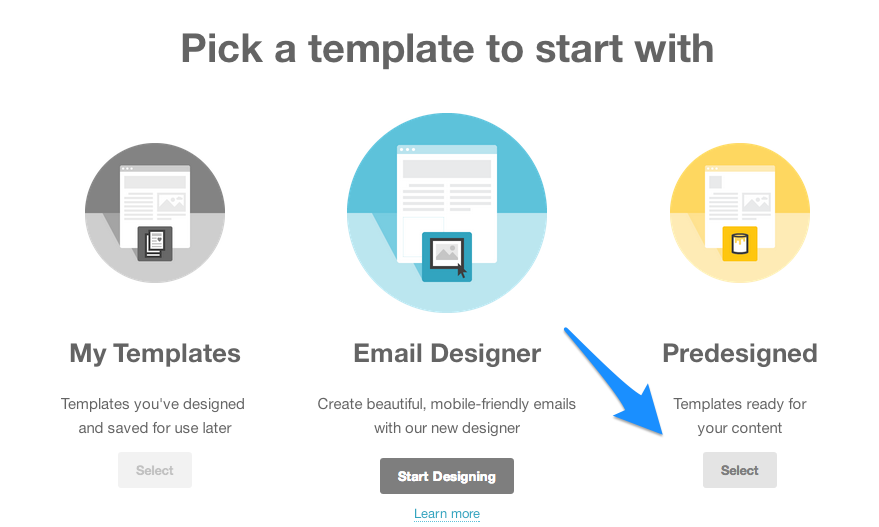
There are dozens of predesigned templates to choose from, but for our purposes it’ll be easier if we go for one of the RSS templates — it will automatically fill in the tags we need to get our content from the WordPress site’s RSS feed into the email.
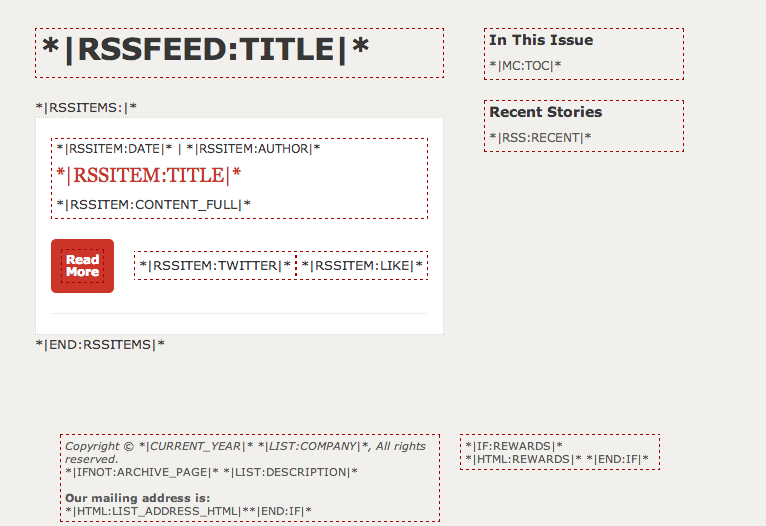
You can edit the template to suit your purposes, but be careful not to change the content of the tags that look like this: |RSSITEM:TITLE|. These are placeholders that MailChimp will replace with content from the feed.
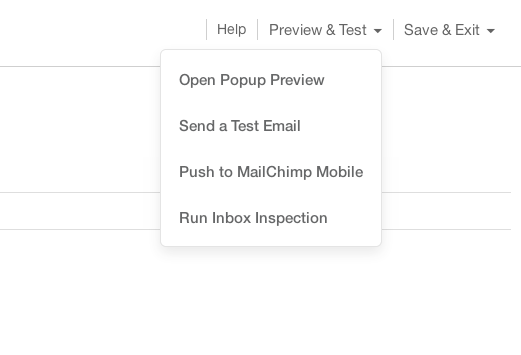
To see what the email will look like with your content in it, you can use the “Preview and Test” menu to generate a sample email, or to send a test email to your address.
Click through the rest of the pages, until you reach the confirm page. If MailChimp tells you there is a problem, take a look at the suggestions for guidance on how to resolve them.
Grab Your MailChimp API Key
To integrate MailChimp with WordPress, you’ll need to give WordPress an API key so that it can talk to the email service. Click on your name in the main MailChimp dashboard and choose account settings. You’ll find the API key under the “Extras” tab.
The API key is a long string of letters and numbers. Copy it and save it for later.
Give Users A Way To Subscribe
Next, we need to sort out the WordPress side. First you’ll need to install the WordPress for MailChimp plugin, which will add an entry to the admin panel sidebar.
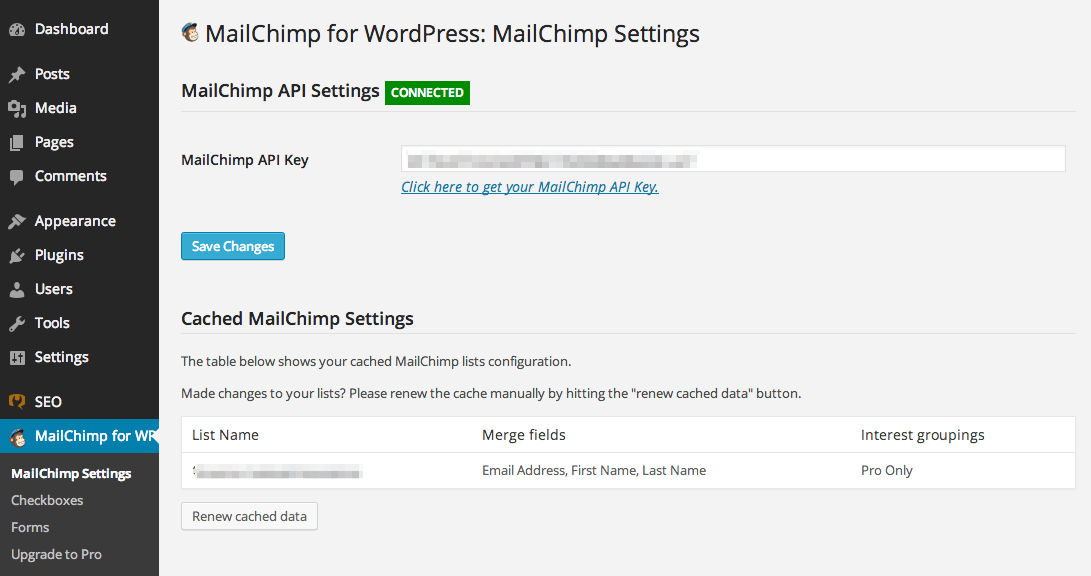
Pop your API key into the text box and hit save changes.
Finally (almost), go to the “Forms” menu, which is where you’ll choose the list you want to use and configure the form that will be used on your WordPress posts and pages to collect email addresses.
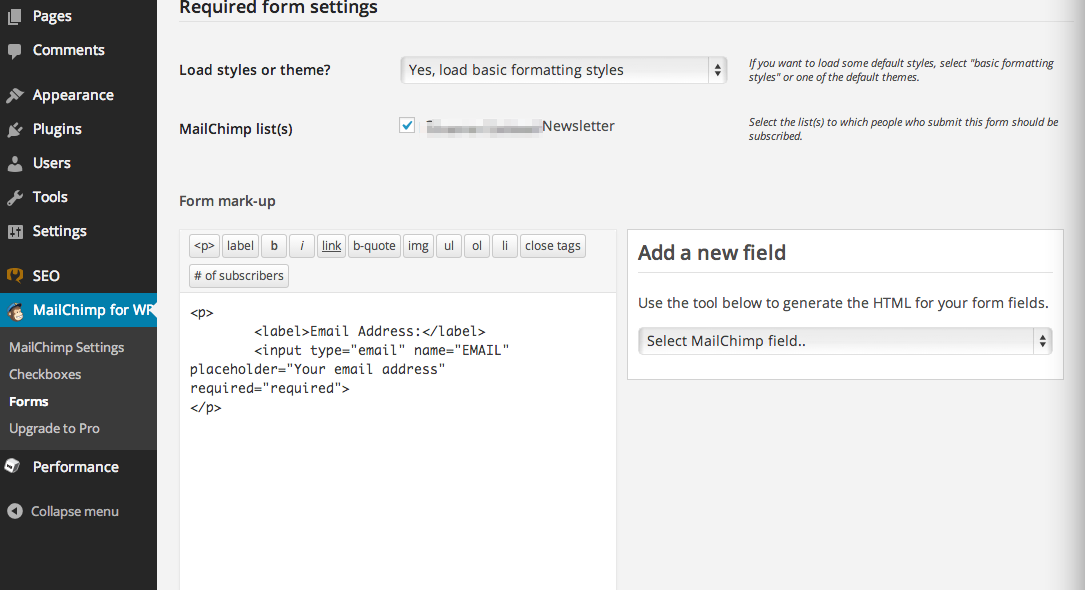
You can use the provided shortcode to embed the email collection form anywhere on your WordPress posts and pages, or you can use the widget to embed it in the sidebar or wherever widgets can be added.
And that really is it! A visitor to your blog will now be able to enter their email address into the subscription form and automatically be sent emails containing news about new content that you have published.
Image credit: The D34n

