

A brick and mortar store is a solid small business model that can bring you a nice income. However, scaling your income with a brick and mortar store can be hard and expensive to do.
But it doesn’t have to be. Instead of opening up a second brick and mortar store, why not bring your brick and mortar online?
A website can help you expand your reach, get more customers, and easily double your income without the added expenses of paying for additional storage or another set of utilities.
On top of that, a website makes you more discoverable, which means you can capitalize on organic traffic. That ultimately means that you don’t have to spend as much on paid advertising to keep a bigger share of your profits.
Creating a website might seem daunting, but it doesn’t have to be with the right tools. This article will show you how to create a brick and mortar website in seven steps.
Let’s get into it.
Step 1: Choose the Website’s Features
Step 4: Sign Up For a Hosting Plan
Step 7: Market Your Store Online
Final Thoughts: Brick and Mortar Website: Moving Brick and Mortar to Online
Step 1: Choose the Website’s Features
When it comes to bringing your brick and mortar online, you have two options.
The first is using your brick and mortar website as a catalog to display your products and encourage visitors to visit your physical location. That way, customers buy items offline and increase your face-to-face foot traffic.
The second option is to create an ecommerce online store or a storefront for your brick and mortar business. In this way, visitors can purchase from the comfort of their home, resulting in online sales primarily.
Which option you choose will dictate the features you need to include, such as payment methods like which credit cards you’ll accept, an online catalog for online shopping, shipping costs and options, adding product reviews, and similar.
If you want a simple catalog and don’t wish to mirror the route of ecommerce businesses, you won’t need to worry about adding a payment gateway or configuring shipping options.
However, displaying product reviews or testimonials can go a long way to encourage people to visit your physical presence, even on a catalog website.
Step 2: Choose Your Platform
Once you’ve chosen the features you want, you need to choose a platform for your store. One of the best platforms for any website is WordPress. WordPress is not only free, but it also has thousands of themes that make it easy to style your website exactly the way you want.

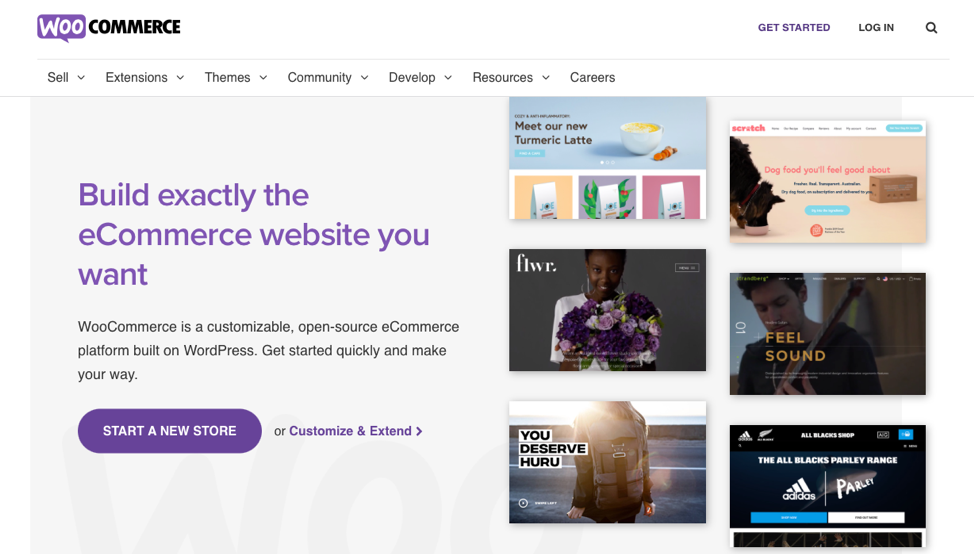
In addition, there are thousands of plugins for WordPress that help you build any website quickly. One such plugin is WooCommerce.
Thanks to WooCommerce, you can easily build a WordPress online store and sell your products online.
Step 3: Select a Domain Name
The domain is what your visitors will type in to reach your online retailers’ store. It’s best to use your existing brick and mortar store’s name as the domain name for online businesses.
If the name is taken, try adding the word store or shop or choose a .shop or .store extension.
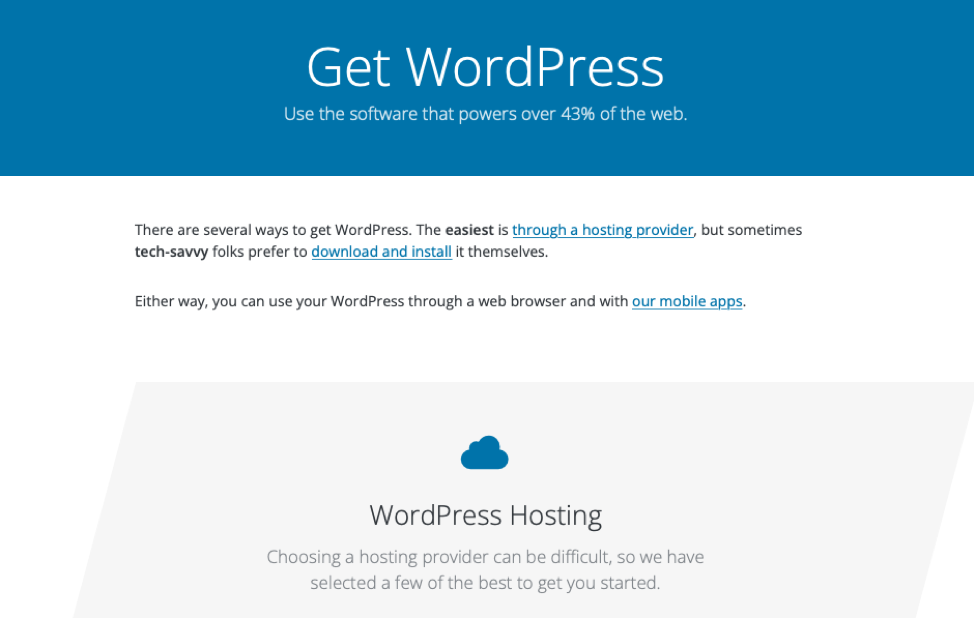
Step 4: Sign Up For a Hosting Plan
Besides your domain name, you’ll also need a WordPress hosting plan. Hosting is where the website files will live, and it’s necessary so visitors can access your website.
If you’re looking for a reliable host, Nexcess has hosting plans optimized for WordPress and WooCommerce websites. Key features include built-in image compression, abandoned cart technology, page builder plugins, and 1-click staging, plus StoreBuilder.
Moreover, our servers are optimized for faster speeds and better security. These features are crucial for online stores to build trust and increase conversions.
Step 5: Install WordPress
As you’re researching hosting options, you’ll inevitably come across some hosts that will pre-install WordPress for you when you sign up for one of their plans.
If that’s not the case with your chosen hosting provider, you’ll need to install WordPress yourself.
But here's the good news:
Most hosting companies offer a one-click installation process for WordPress. The only thing you’ll need to do is enter your desired username, password, and your site title. The installer will take care of the rest, and you’ll then be able to log into your new WordPress website.

If you’ve decided to sell your products online, you’ll also need to install WooCommerce. You can do that by going to Plugins > Add New and searching for WooCommerce. Then, install and activate the plugin and follow the Setup Wizard to configure the plugin’s options.
Step 6: Add Your Products
Once WooCommerce has been configured, you’ll need to add the products from your retail stores. If you already have a list of your products in a CSV format, you can easily import it into WooCommerce by going to WooCommerce > Home. Then click on Add Products > Import via CSV.

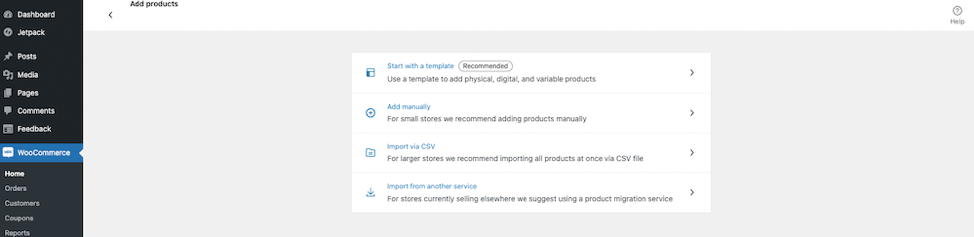
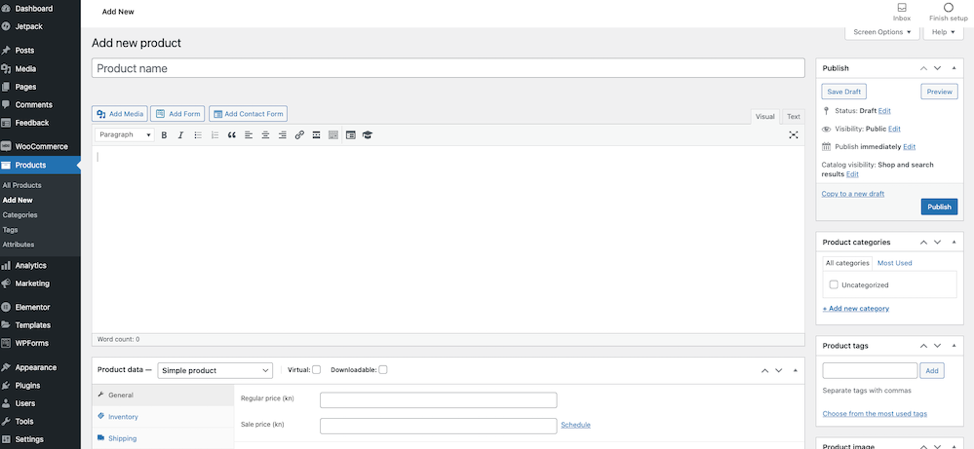
Alternatively, you can add a product manually by going to Products > Add New. You’ll then be able to add a product title, description, images, and configure important product options such as price, variations, type of product, and more.

Step 7: Market Your Store Online
After adding the products, you need to focus on bringing traffic and promoting your new brick and mortar website. Here are a few basic marketing methods that will give you initial traction:
- Promote on social media — add your website to your social media profiles, post regularly, provide value, and engage with your ideal potential customers.
- Add an email signup form with a discount code — encourage visitors to sign up and stay in touch with you so they can get notified when new products are added to the store.
- Blogging — create content on your website and use it as an opportunity to showcase how your products can be used as well as how other customers are using them.
- Paid ads — if you have a dedicated marketing budget, consider investing in Facebook Ads, Google AdWords, or Promoted Pins.
- Optimize for local search engine optimization (SEO) — include your location in your store’s keywords and set up a Google My Business profile that links to your website.
Final Thoughts: Brick and Mortar Website: Moving Brick and Mortar to Online
Building a brick and mortar website is a big task. But once you know what is involved, you can launch your website quickly. Follow the steps in this article and bring your brick and mortar online.
If you want to expedite the process and take your sales insight to the next level, check out Nexcess’ StoreBuilder. It’s the fastest and easiest way to build an online store with WordPress — and it comes with fully managed hosting too.

