
Customized t-shirts with fun logos are all the rage today. From sassy quotes to puns, and favorite superheroes to inspirational statements, we see people expressing their individuality in a number of different ways.
Are you planning to set up such a t-shirt store yourself? Well, there are a few things you’ll need to get your t-shirt store up and running.
In this article, we talk about how you can create your online t-shirt store with Printful and WooCommerce. We’ve chosen WooCommerce as our eCommerce platform because it is by far the best and easiest eCommerce platform to run (not to mention free) if you want to host an independent store. Printful is our choice of a printing, shipping, and fulfillment company because it is easy as wink to set up products with Printful and it integrates beautifully with WooCommerce.
The way it works: every time a customer places an order on your WooCommerce store, it is sent directly to Printful. After checking and confirming product availability, the t-shirt is printed and shipped by the company without requiring you to look into all the shipping details. All you have to do is upload your creative designs and the WooCommerce+Printful duo handles the rest.
So without further ado, here’s your 5-step guide to building a t-shirt store with Printful using WooCommerce.
1. Set up WordPress + WooCommerce
At this point, we expect you have your WordPress installation up and ready, with the associated hosting provider and plan.
![]() If you haven’t gotten a domain and website set up yet, our Nexcess managed WordPress and Managed WooCommerce hosting are two good options you can check out.
If you haven’t gotten a domain and website set up yet, our Nexcess managed WordPress and Managed WooCommerce hosting are two good options you can check out.
Setting up WordPress is extremely easy, once you have your domain name and hosting service in place. You can read WPBeginner’s excellent guide to WordPress website installation.
Now that your site is ready, let’s start with building your eCommerce t-shirt store with Printful by installing WooCommerce.
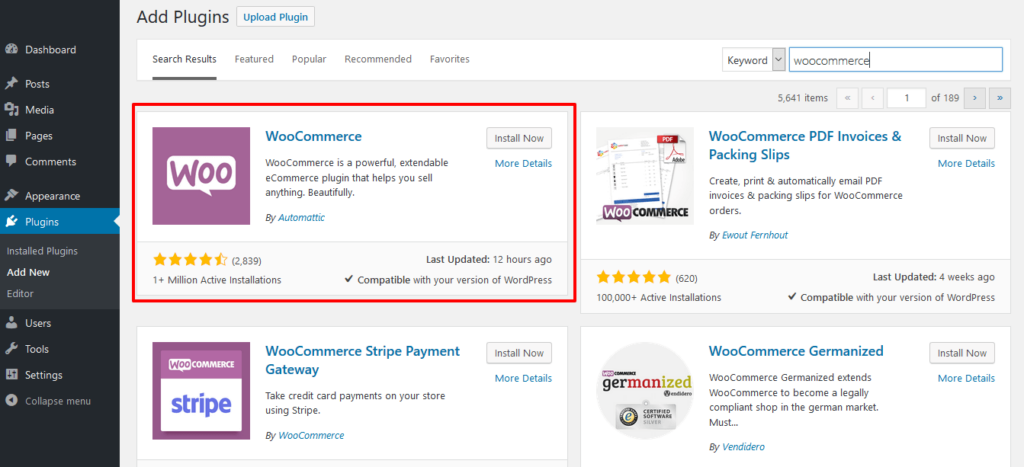
- In the Main Menu of your website backend, navigate to Plugins → Add New
- Search for ‘WooCommerce’ in the search bar
- Install and Activate the plugin
2. WooCommerce Settings
In WooCommerce, there are a whole bunch of settings you need to configure. Fortunately, WooCommerce’s setup wizard guides you through the entire process, making it easy to understand the settings and configure them. As you set up your store, make sure that the following settings are configured properly:
- In the General tab, you can add the location of your store, locations you will be shipping to, the currency you prefer for the transaction
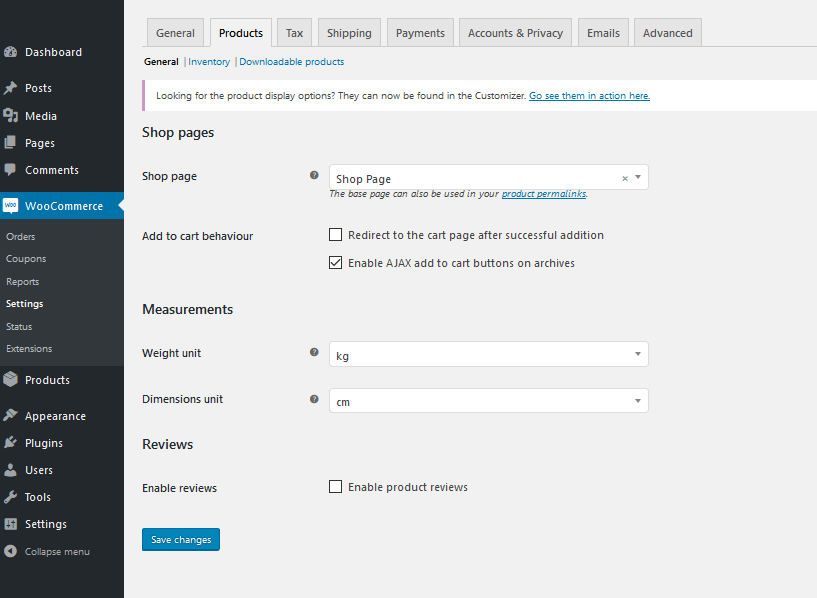
- In the Products tab, you can set the Page where you’ll be displaying your products, weight and dimensions units, and enable/disable reviews and ratings.
- On the Tax tab, simply enable application of taxes as we shall manage the details of the tax payments through Printful
- In the Payments tab, set up the payment options through the regular PayPal payment gateway. This will take you to the PayPal settings page where you can add your receiver e-mail address and your PayPal API.
- Have a good look at the Accounts and Privacy tab to fine-tune the details of guest checkouts and customer account creation. Don’t forget to frame your Privacy Policy and give clear information about why you are collecting customer data. This is important to ensure that the GDPR doesn’t end up costing you a huge fine for violation later.
- On the Emails tab, you can manage the email addresses to which all order emails will be sent. You can customize your WooCommerce email template here as well.
- In the Advanced tab, select the pages for Cart, Checkout, My Account, and Terms and Conditions, which your users will be directed to. In addition, this is where you enable secure payment on the checkout page; make sure you have an SSL certificate for your website.
Important: Go to Advanced → Legacy API and make sure the Legacy REST API is enabled.
We are not making any changes on the Shipping tab right now since we’ll be handling the product shipping details in Printful.
P.S. Don’t forget to ‘Save Changes’ on every page.
3. Setting up a Printful Account and Connecting Your WooCommerce Store
Now that we have our WooCommerce Store set up, let’s turn our attention towards creating a Printful account and connecting it to the store.
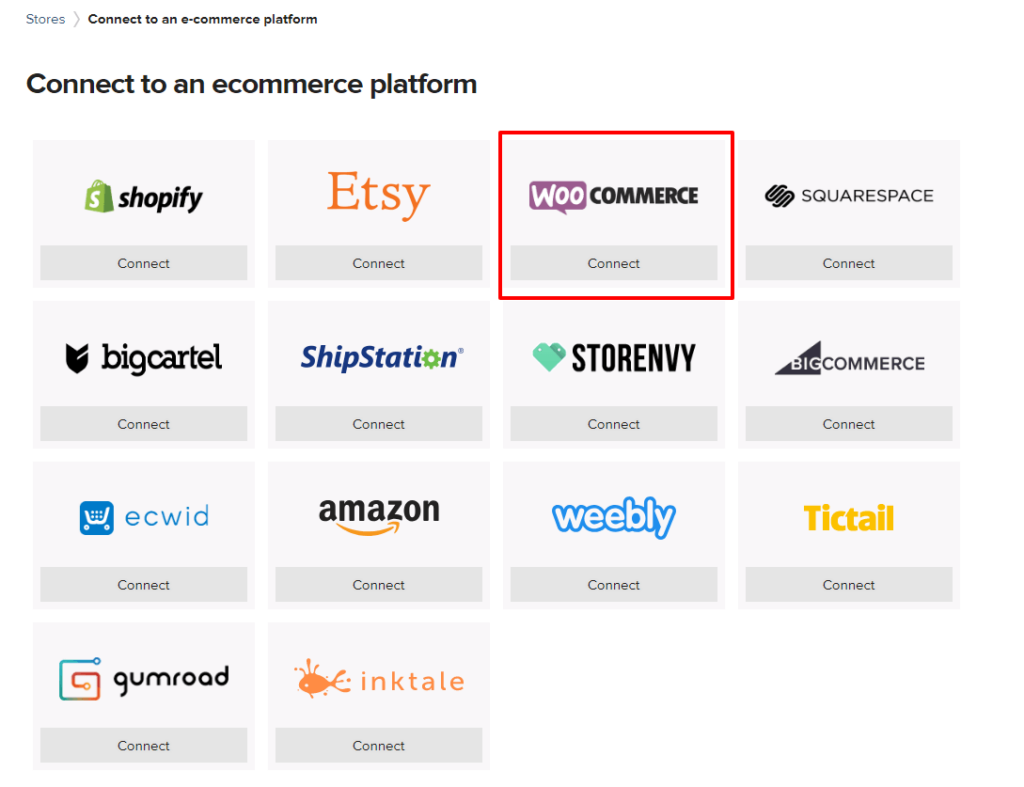
- Log in to your account and click on ‘Connect to an eCommerce platform’. Here, we’ll be connecting to the WooCommerce store.
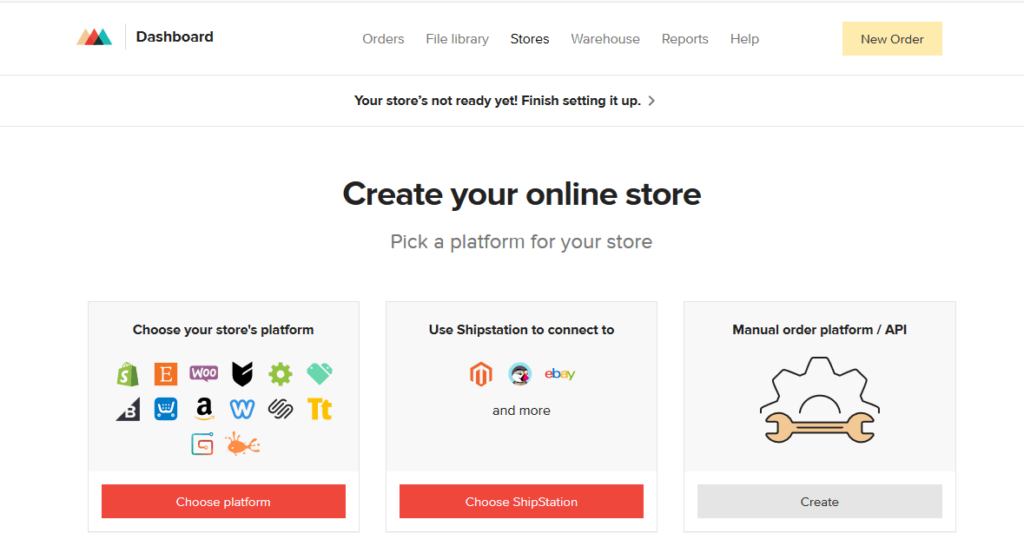
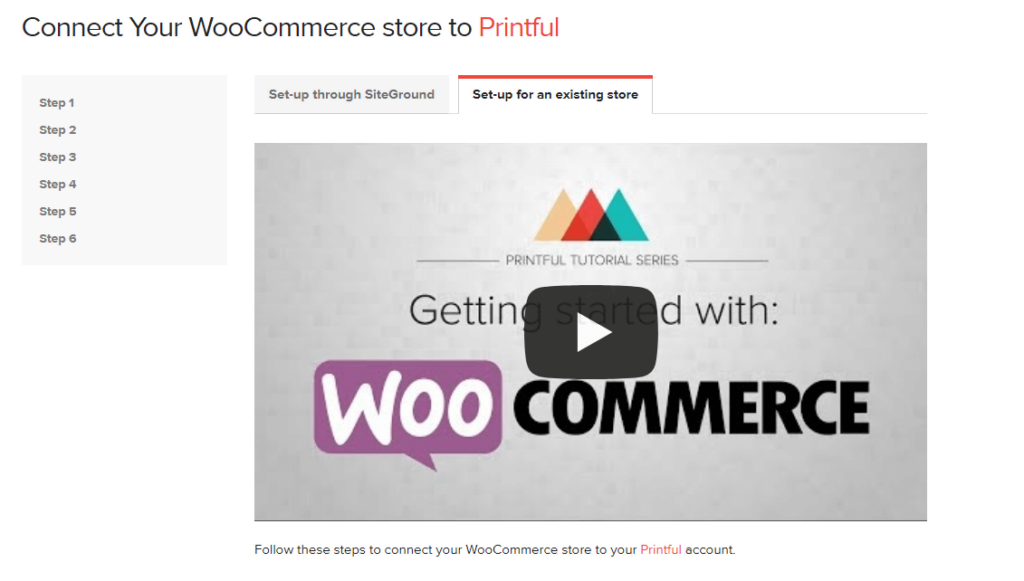
- Here you have two options – Set up through SiteGround and Set up for an existing store. Even if you haven’t built the store yet, you’ll want to choose the second option.
- To make Printful work successfully with your WooCommerce store, there are a few things you need to take care of, i.e. enabling REST API and changing the Permalink structure. We have already enabled REST API in the WooCommerce Settings.
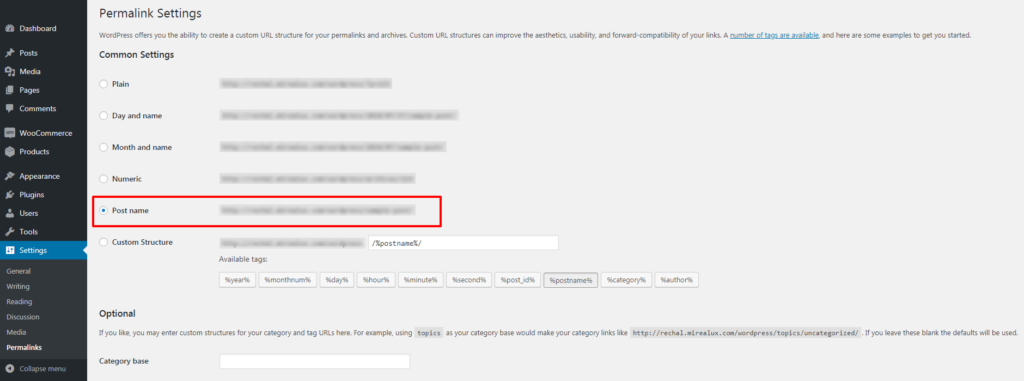
- To change the permalink structure, go to your WordPress Dashboard → Settings → Permalinks.
- Make sure that the ‘Post Name’ permalink option is selected and save changes.
4. Integrating WooCommerce for Your T-Shirt Store with Printful
To integrate Printful and WooCommerce, you will first need to set up the WooCommerce-Printful Integration plugin.
- Go to Plugins → Add New
- Search for ‘printful’ and choose the ‘Printful Integration for WooCommerce’ plugin, by Printful.
- Install and activate the plugin
- Go to Printful from the WordPress Dashboard and hit ‘Connect’
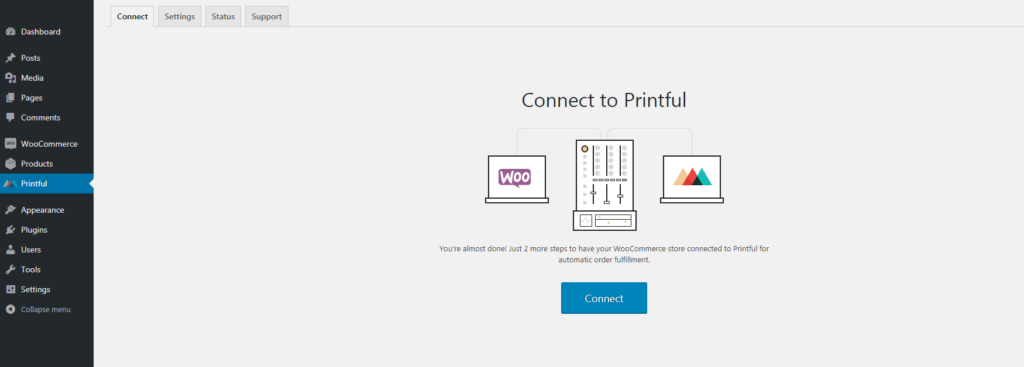
- WooCommerce will ask you to authenticate the connection, click on ‘Approve’
- Printful will now link your account to your WooCommerce store and import and sync product data.
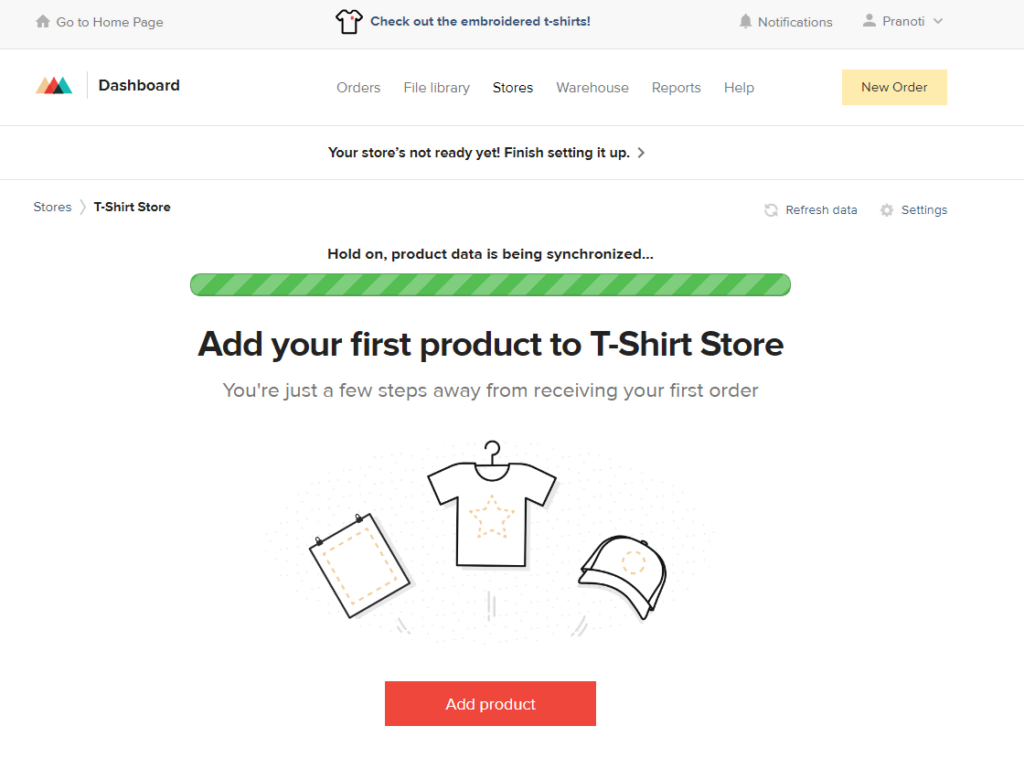
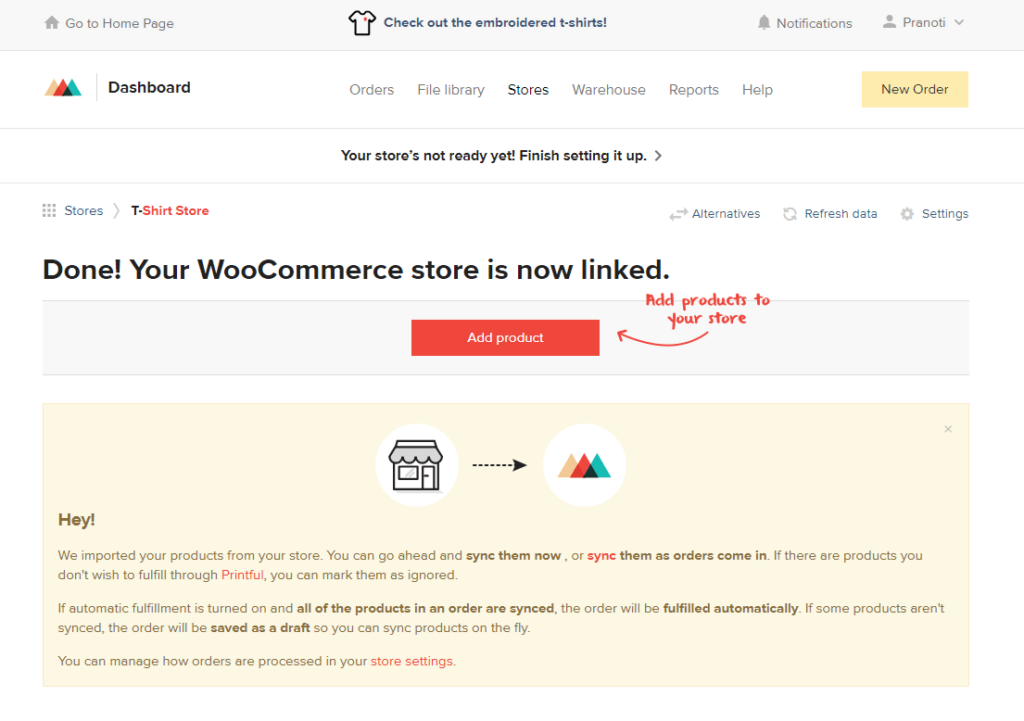
- You can now start adding your custom t-shirts as products in your WooCommerce store.
5. Creating a Product and Product Variations
When you click on ‘Add Product’, a variety of options will pop up – t-shirts, jeggings, mugs, caps, etc. All of these are available in different categories – men’s clothing, women’s clothing, kids, accessories, and more.
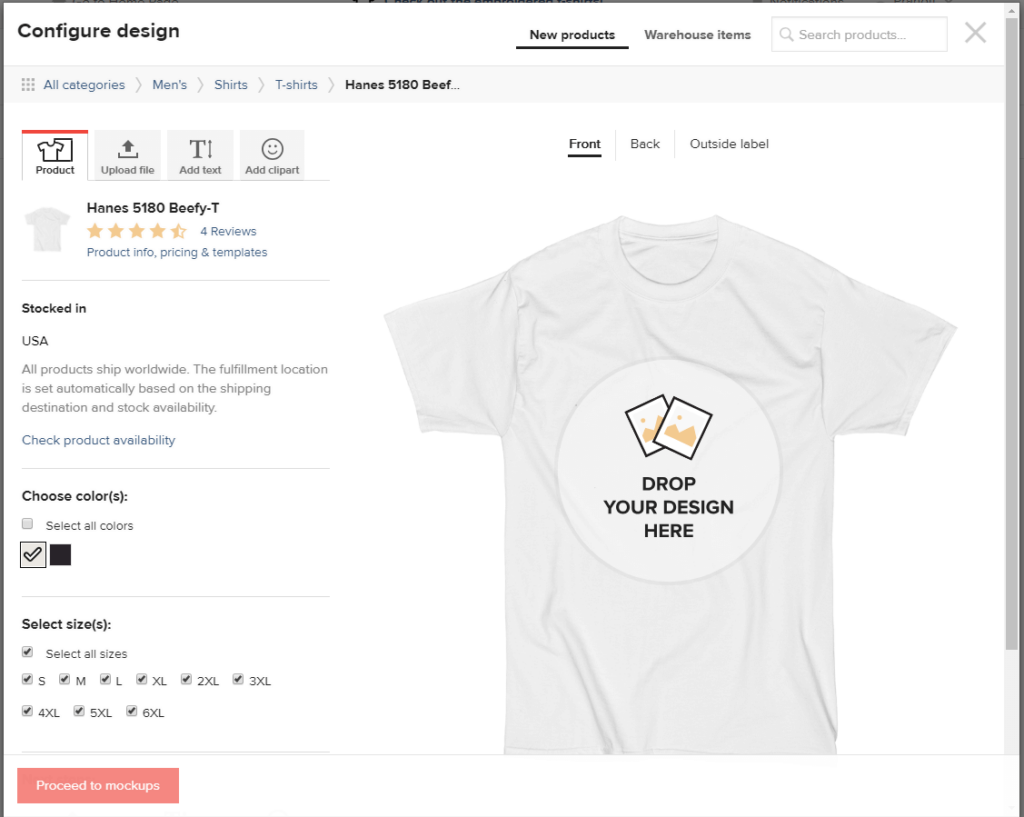
Since we’re focusing on building a t-shirt store with Printful, let’s see how you can create custom designs for t-shirts. Right now I’m choosing the men’s clothing section. You can iterate the same process for any other category, as you wish.
- On the ‘Configure Design’ screen, choose the image you want to print on the t-shirt. You can upload an image directly or choose one from your WordPress Library.
- If you are stuck for ideas, you can even create an impromptu quote/image there with the available fonts, clip art, and default Printful designs. Both front and back design can be customized as required.
- Select the t-shirt sizes, areas where it will be available, and colors.
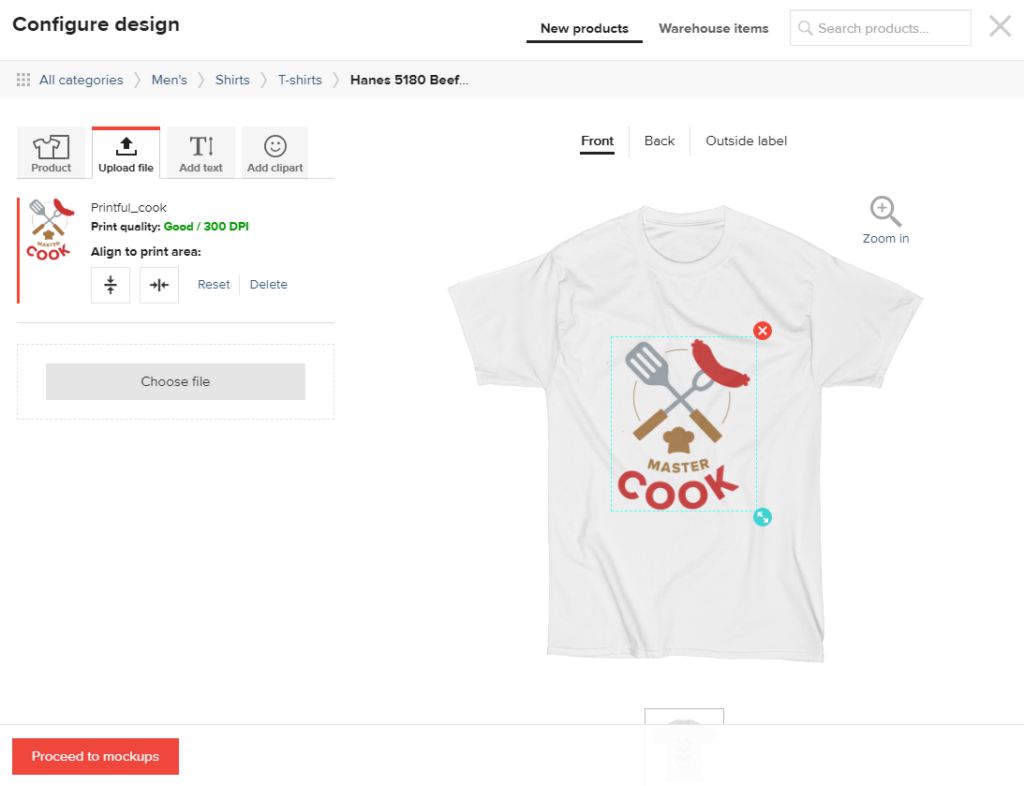
- Align the final image and click ‘Proceed to Mockups’. A Mockup is an Image that will be displayed to potential customers when they visit your store. Select the type of image and proceed to the description.
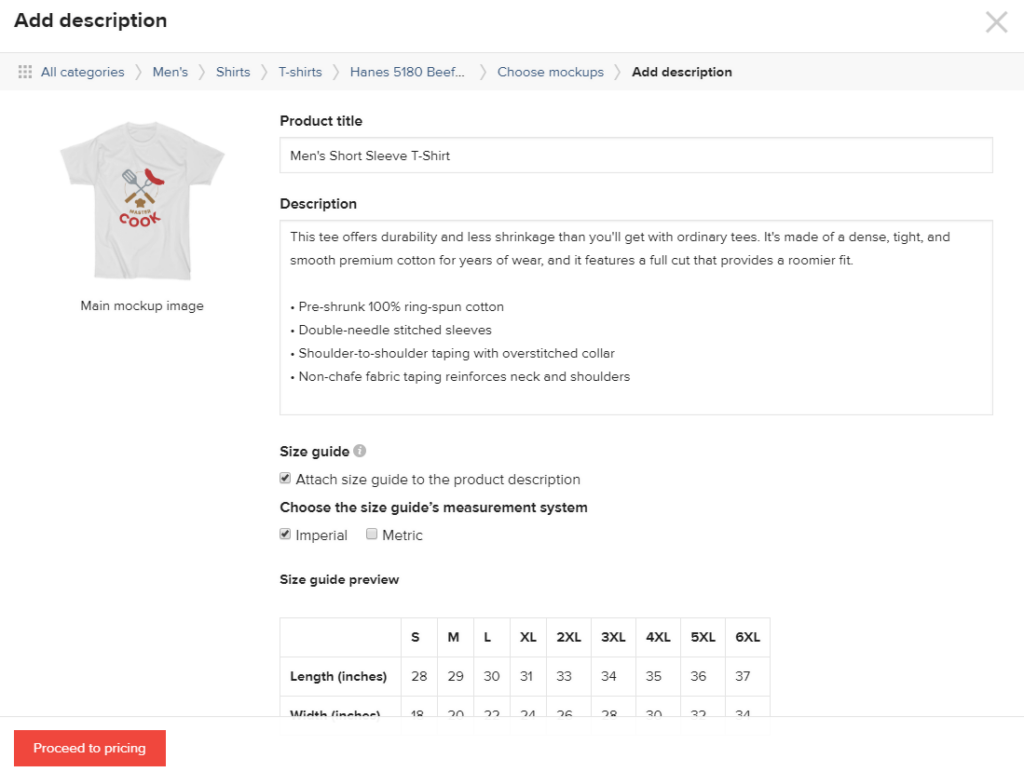
- On the ‘Product Description’ screen, you can add your ‘Product Title’, describe it in detail and also add a size chart for reference. You can now proceed to Pricing.
- In the pricing section, you’ll see three columns – Printful Price, Retail Price, and Profit. Now, Printful’s basic price remains constant, considering their printing and shipping costs. The Retail Price is the cost that will be displayed to the customer and includes your profit margin as well.
- You can vary the Retail Price by changing your profit percentage. The greater the percentage, higher is your Retail Price. Under the profit column, you can see the amount you make per t-shirt, per size.
- You can sort t-shirts into different, previously-defined categories on your WooCommerce store. If you don’t have any set up beforehand, don’t worry. You can always go back to the store later, and create categories and assign products there manually.
- Once you have finalized the prices, click ‘Submit to Store’. Make sure that Product Visibility is enabled. This will display your t-shirt to your customers on the WooCommerce store.
- You’ll receive a notification when the product is added. To view the t-shirt in your WooCommerce store, simply click ‘View in WooCommerce’
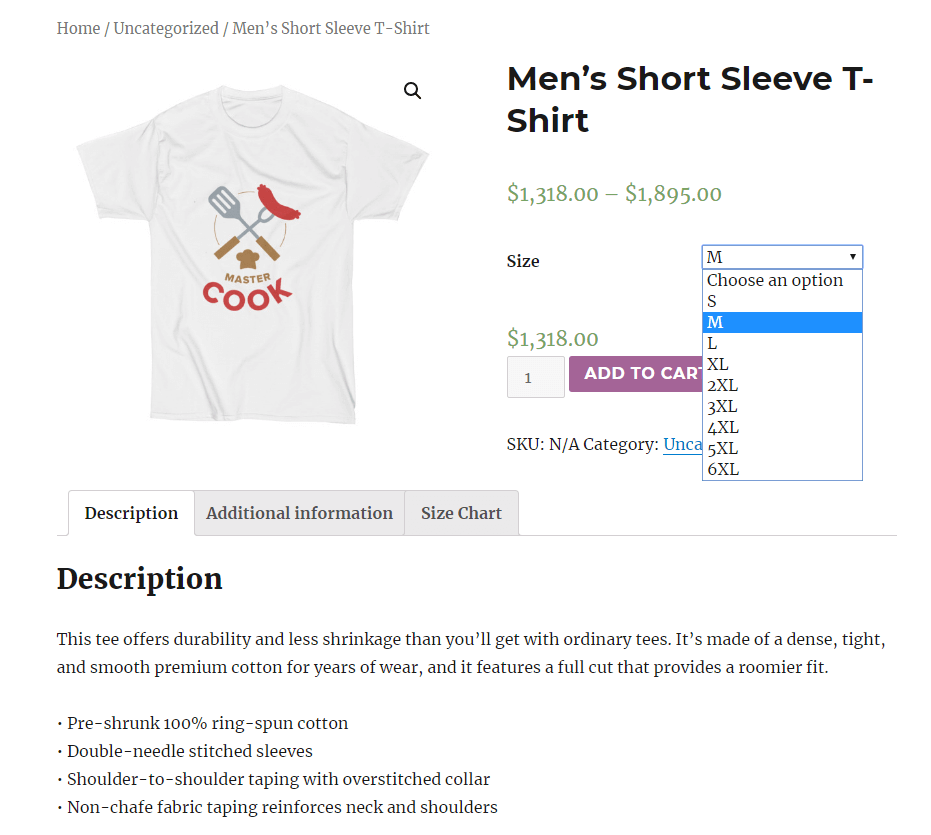
Voila! Your t-shirt is ready for sale!
Quick and Easy, Right?!
There are no hassles of adding products manually at the WooCommerce backend, setting up all the product attributes, variations, and other details. One of the biggest advantages Printful offers is that it calculates taxes and shipping costs out of the box, based on your location and where the t-shirt is to be delivered.
Additionally, you can manage all of your orders from the Printful Dashboard directly, viewing order and delivery status there, once the order has been confirmed. The Printful plugin largely eliminates all of your stock management worries as well, as it handles inventory at its end. You can see the product availability while creating the product and your customers can see it at the front-end, with the product description.
TL;DR?
Setting up your t-shirt store with Printful and WooCommerce is super easy. At one end, WooCommerce gives you a robust eCommerce mechanism while Printful handles all your inventory management and shipping concerns.
All you have to do is set up your WooCommerce store, create an account on Printful, link it to the store and then create your custom t-shirts with Printful’s easy-to-use interface. While designing your t-shirts, make sure you properly select the specific type, material, sizes, colors, and location availability. Once your t-shirt is designed and ready, it will be displayed automatically on your WooCommerce store.
Yep. It’s that simple!
Have you built a t-shirt store with Printful + WooCommerce? Share your experience with us! Also, feel free to drop a comment in case you need some more help while setting up your store. For further reference, you can watch this t-shirt store setup video, in which WooCommerce expert Chris Lema takes you through the complete process.
Happy selling!
Are You Ready to Start Your Store?
See how easy it is to launch your t-shirt store (or any other store for that matter!) using our Managed WooCommerce Hosting solution.
You’ll also get:
- Automated scaling to keep your site fast during traffic surges.
- Automatically optimized images for fast loading times.
- Lightning fast load times thanks for our built-in CDN.
- And more!
Check it out today.

