

A wedding website is a perfect way to announce the happy event to your friends and family. For starters, it helps keep everyone updated on the plans leading up to your own wedding day without having to notify them individually.
Secondly, it facilitates collecting RSVPs, so you know who’s coming to your wedding.
In this guide, we share how to make a wedding website and simplify your wedding planning process.
How To Make a Wedding Website
6. Share your website with friends, family, and other guests.
1. Choose a Domain Name
The first thing you need to do is choose a domain name for your wedding website.
The custom domain name is what the visitors will enter into the browser’s address bar to reach your website. Since this is your wedding website, the best idea is to use your names.
For example, Amelia Hancock and Steve Klise combined their first names and chose ameliaandsteve.com as their domain name.
You can also combine your last names or add the word wedding.
2. Choose Your Platform
The next step in how to make a wedding website is to decide the platform you’ll use to build your website.
We recommend WordPress for several reasons:
1. WordPress is easy to use, even if you’re a beginner. You can create a beautiful website quickly without any coding knowledge.
2. With numerous themes and templates, you can easily customize and style your wedding website to match the color scheme you chose for the wedding.
3. Besides themes, numerous plugins — like wedding registry plugins — make adding RSVP forms, wish lists, and gift lists easy.
On top of that, many hosting companies pre-install WordPress for you during the sign-up process, so you can log in to your dashboard and start setting up your wedding website right away.
3. Sign Up for Hosting
After choosing your domain name and deciding on WordPress, the next step in how to make a wedding website is to sign up for a hosting plan.
Your hosting company will provide you with the necessary disk space where your website files will live. That’s how your visitors will be able to see your website.
When choosing a hosting company, look for a host that focuses on speed and security.
In today’s day and age, nobody likes a slow website. The slower your website loads, the more likely it is for your visitors to leave instead of completing your RSVP form.
Security is also important because a secure website ensures that your visitors’ sensitive information won’t fall into the wrong hands.
Nexcess has hosting plans optimized for faster speeds and better security. Check out our pricing plans and choose one that fits your budget.
4. Install a Wedding Theme
Once your website is ready, you’ll need to install a wedding theme. WordPress database has several themes made with wedding websites in mind. You can search for those right in your WordPress dashboard.
Go to Appearance > Themes and search for a wedding theme. You will have a few themes to choose from. You can preview each theme to get a better idea of the style and how your website might look.

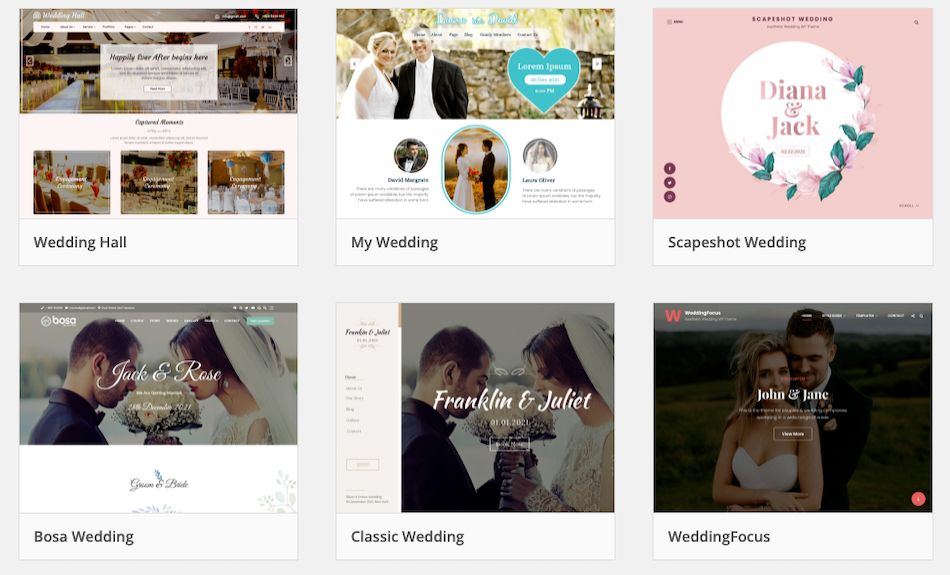
Once you’ve found a theme you like, click on Install. Then, click Activate. The theme will then be active on your website, and you can start customizing your website design by changing the layout, modifying the fonts, and adding photos.
You can also add wedding details like:
Event Information:
- The wedding date and wedding venue information.
- The wedding party — including bridesmaids and groomsmen — and dates for the bridal shower, bachelor party and other wedding events like the rehearsal dinner.
- Travel info for destination weddings (with Google Maps integrated).
Guest Support:
- Your gift registry information.
- A button for honeymoon fundraising.
- A save the date option.
- A countdown timer.
Your Story:
- Information about your happy couple or a love story about how you met.
- A photo gallery — you can include engagement photos.
- And other important details you need to convey.
5. Create an RSVP Form
Besides a wedding theme, you’ll also need an online RSVP form on your wedding site. This will make it easier to collect RSVPs and track who’s coming to the wedding.
You have several WordPress form plugins to choose from for this purpose.
Here are a few popular form plugins:
Contact Form 7

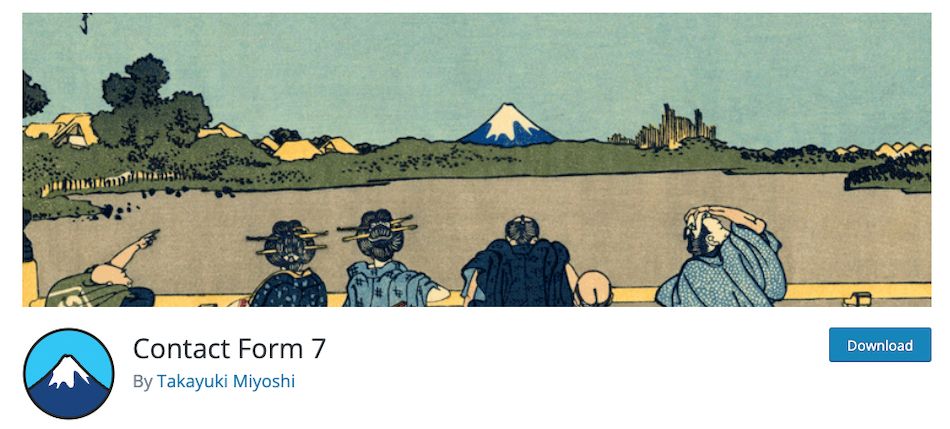
Contact Form 7 is one of the oldest and most popular contact form plugins for WordPress. This plugin is a perfect choice if you’re looking for a straightforward solution.
You can add as many forms as you need and create as many form fields as you want to collect relevant information.
WPForms

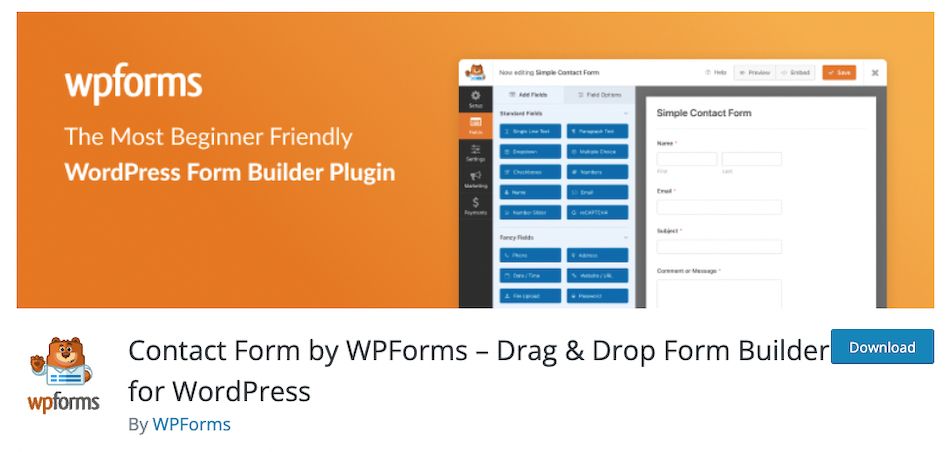
WPForms is another popular plugin for WordPress that makes it easy to create any form.
You can use the intuitive drag and drop interface to add different form fields. This form plugin also offers a premium version if you want advanced features, such as limiting the number of entries or stopping form submissions after a certain date.
Ninja Forms

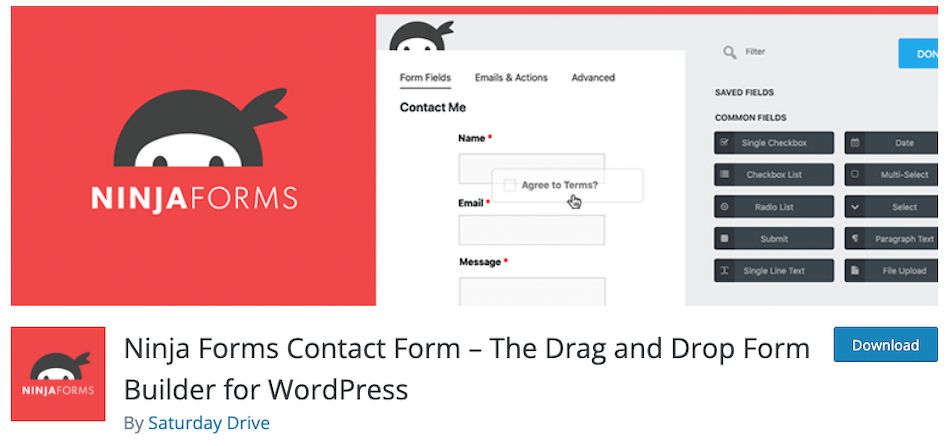
Ninja Forms is an easy-to-use plugin with robust options and a drag and drop form builder.
You can also use one of the numerous add-ons Ninja Forms supports to extend the functionality of your form even more.
6. Share Your Website With Friends, Family, and Other Guests
Your website is complete.
It’s time to tell everyone who’s coming to the wedding about it.
Here are a few ways you can start promoting your wedding website and share it with your loved ones and other guests:
- Send a personal email to everyone on your guest list you plan on sending wedding invitations to.
- Add the link to your website to your Instagram bio.
- Share your wedding website on your profile on Facebook and Twitter.
- Add your website URL to your email signature.
- Send a text message and let your guests know where they can find all the information about the wedding.
Final Thoughts — How To Make a Wedding Website: A Quick-Launch Guide
Creating a wedding website to announce and celebrate your big day is not hard when you have a clear roadmap to follow.
Use the steps outlined in this guide to design, build, and set up a beautiful wedding website.
And you can easily secure managed WordPress hosting here with us at Nexcess to ensure a smooth operation.
Check out our WordPress plans to get started today.

