

When Adobe announced that Magento 1 would reach its end of life on June 30, 2020, it strongly encouraged ecommerce vendors to make the switch to Magento 2. This decision has some important implications for Magento 1 websites, especially regarding support, security, and PCI compliance.
Use a Content Delivery Network (CDN) for Magento 1
While many websites have moved to Magento 2, some Magento 1 website owners have been reluctant to devote additional time and money to switching. If you prefer to stick with Magento 1, you can still use Nexcess for your Magento hosting needs. If you do, you may want to use a Content Delivery Network (CDN) for Magento 1.
Moreover, to ensure your website stays secure, you can purchase Nexcess Safe Harbor for Magento 1. This addon gives you threat protection, malware scans, access to staging environments, and updated security patches for Magento 1.9. Before we move on to using a Content Delivery Network (CDN) with Magento 1, let’s start with a brief overview of the platform. We’ll then explain why a CDN is useful for websites built using this platform.
Magento 1 — overview of the Magento Content management System (CMS)
The first community edition of Magento was released to the public back in 2008, with the beta release in 2007. Since then, Magento has steadily grown into an ecommerce behemoth.
Magento doesn’t have the same popularity as WooCommerce for WordPress or Shopify, but it has won many plaudits, especially among larger companies. Enterprise clients particularly like Magento’s open-source nature, customizability, and robust ecommerce functionalities.
You might have seen this platform being referred to as the Magento Content Management System (CMS). Truth be told, this description is slightly inaccurate — Magento is best described as an ecommerce platform with CMS features.
Benefits of using a Content Delivery network (CDN) for Magento 1
As an ecommerce store owner, it’s essential to give customers a positive user experience and help them get what they want at the drop of a hat. For this reason, the utility of a CDN for ecommerce store owners can’t be understated.
A CDN can substantially increase the performance of your Magento website. It lets you quickly serve static content to website visitors all over the world. At Nexcess, our Cloudflare-powered Edge CDN network serves data from 285 cities worldwide. So your customers can load your website’s static content quickly, whether they’re in Berlin or Bogota.
If you acquire any Nexcess-managed Magento hosting plan, access to our Edge CDN comes as standard. Here’s how to kick-start your Magento 1 store’s engine by configuring the Nexcess CDN.
How to use a Content Delivery Network (CDN) for Magento 1 — Nexcess dashboard configuration
The following steps apply to Magento 1. For Magento 2 users, read our knowledge base article on how to set up CDN access for Magento 2.
To use a Content Delivery Network (CDN) for Magento 1, first log in to the Nexcess Client Portal. To do this, you’ll need the login credentials from your Nexcess signup. If you can’t locate your login details, consult our Nexcess hosting and Nexcess Client Portal guide or get in touch with the support team.
Once you’ve got your credentials at hand, enter https://my.nexcess.net/login/ into your browser address bar:

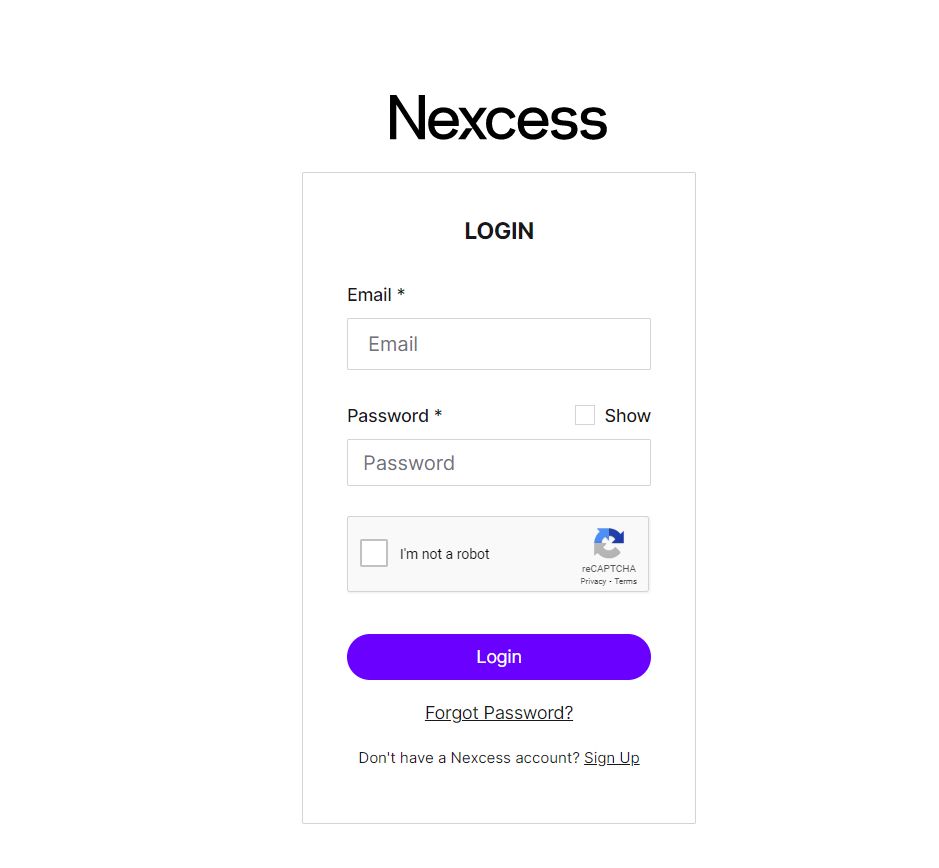
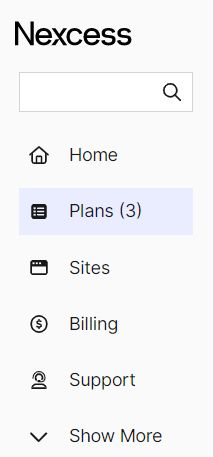
After entering your email address and password, it’s time to confirm you’re not a robot and log lin. Next, navigate to Plans on the left-hand panel:

Now, select your Magento plan to access your Magento 1 Plan Dashboard:


On the left-hand panel of your plan dashboard, head to the Nexcess CDN tab:

You’ll now see your CDN details, including the hostname and endpoint. Next, click the button that says Configure CDN on Your Site:

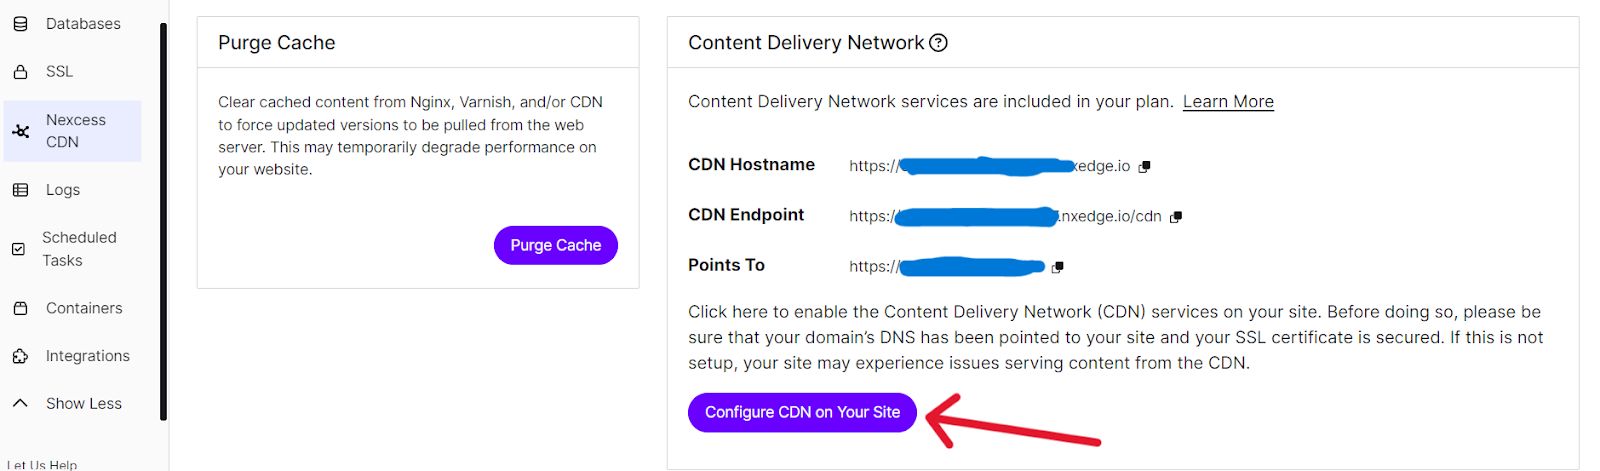
A popup now asks you to confirm whether you wish to use a Content Delivery Network (CDN) for Magento. If you want a Magento CDN that boosts your website speed, then confirm:

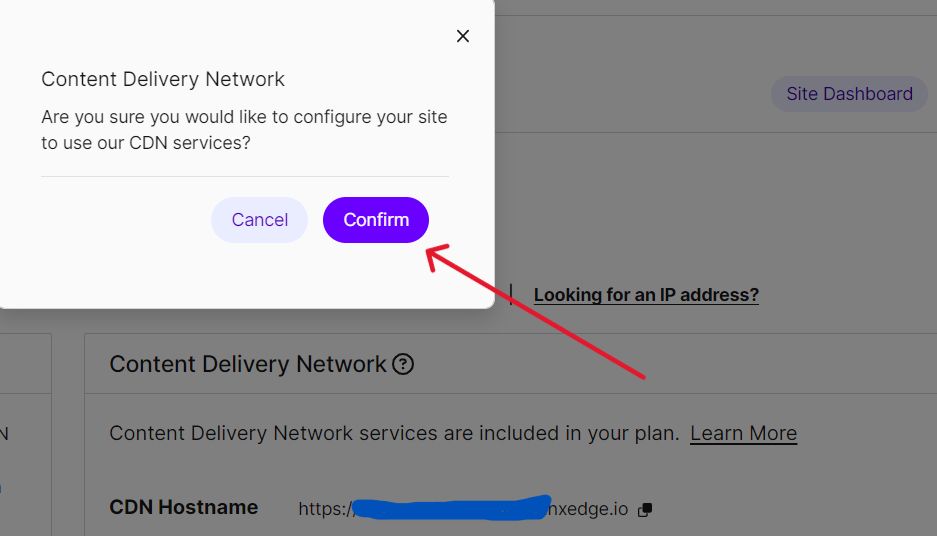
A popup will tell you that the Magento CDN is enabled and will soon be ready to use:


How to use a Content Delivery Network (CDN) — Magento Admin Panel configuration
Now that you’ve got the CDN activated on the Nexcess end proceed to your Magento Admin Panel to configure the Magento CDN there.
Again, we’re covering the Magento 1 Admin Panel here. If you’re using Magento 2, consult our article on the Magento 2 CDN configuration.
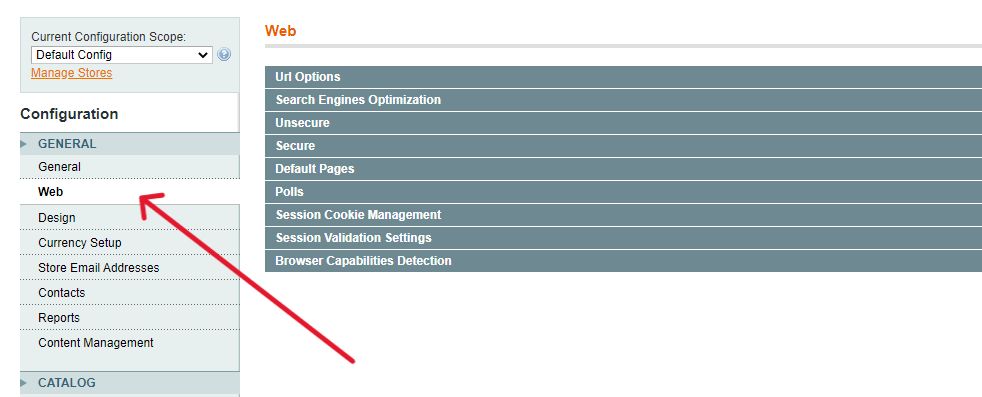
On your Magento 1 Admin Panel, navigate to System on the top toolbar. Then, from the dropdown menu, go to Configuration:


Under the General on the left-hand side, select Web:

Under Web, click Unsecure to configure your Magento CDN settings. Here, you’ll see Base URL, Base link URL, Base skin URL, Base media URL, and Base JavaScript URL:

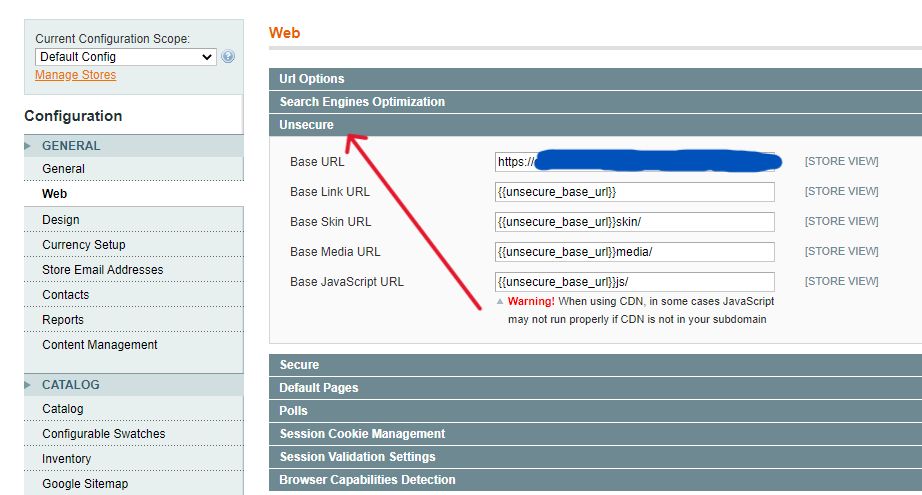
For Base URL, enter your website’s CNAME target or domain name. Leave the Base link URL and JavaScript URL as default.
For Base skin URL and Base media URL, enter your Nexcess CDN endpoint (from the CDN section of your Nexcess dashboard), followed by /skin and /media, respectively:


Enter the same URL information under Web > Secure in the Magento Admin Panel:


Next, save the configuration:

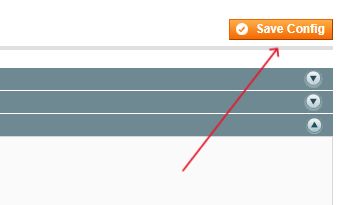
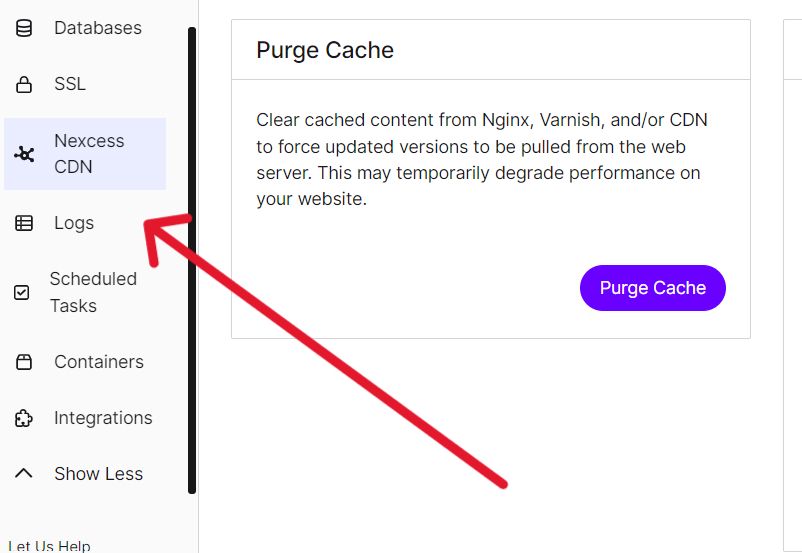
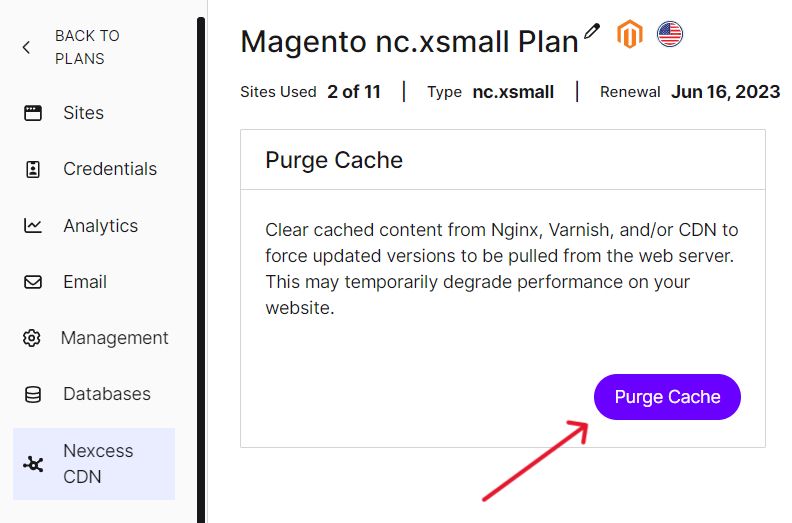
Return to the CDN menu in your Nexcess dashboard and purge the cache:

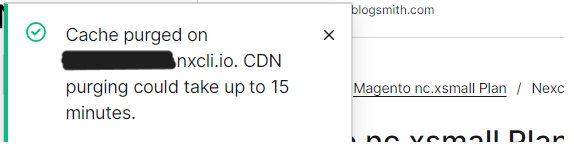
You’ll see a popup confirming that the cache has been purged:

You can now use your Nexcess content delivery network for Magento 1.
Boost the performance of your Magento 1 store with help from Nexcess
Once your Nexcess CDN is set up in Magento 1, you’ll speed up static content delivery to geographically distributed customers. Next, you’ll want to focus your efforts on quickly serving dynamic content, which is vital to any ecommerce store.
Connect to our Nexcess Edge CDN
Improve page speed with our purpose-built content delivery network (CDN). Our edge network is integrated into our platforms for easy use without configuration complexity.
If you’re a Nexcess customer, you’re in luck. All Magento plans come with NGINX, Redis, and Varnish caching, which can substantially boost dynamic content delivery.
For even better content speed and scalability, high-growth ecommerce businesses can choose a tailor-made enterprise plan. Not a Nexcess customer yet? Get in touch to learn how Nexcess can improve your Magento store.
Many businesspeople wonder how a CDN works to speed up your ecommerce website, but they will discover that the reasons are remarkably straightforward.
Note about the original publication date
This article was originally published in September 2019. It has since been updated for accuracy and comprehensiveness.


