The ultimate guide to each WordPress version
What version of WordPress do I have? Learn about the latest WordPress version. Get a WordPress version history breakdown, including the current version of WordPress.
What version of WordPress do I have? Learn about the latest WordPress version. Get a WordPress version history breakdown, including the current version of WordPress.
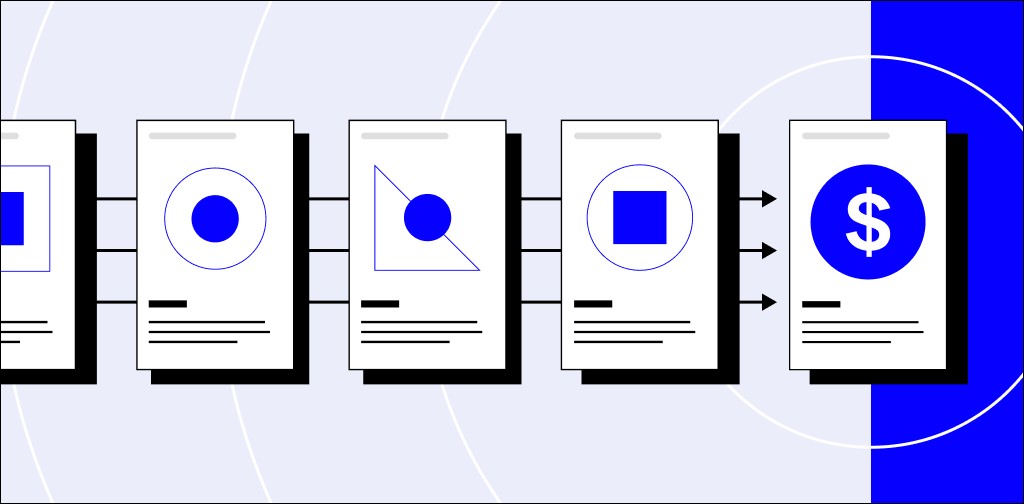
There has never been a better time to sell digital products online. Here are 20 ideas for profitable digital products to sell in 2024.
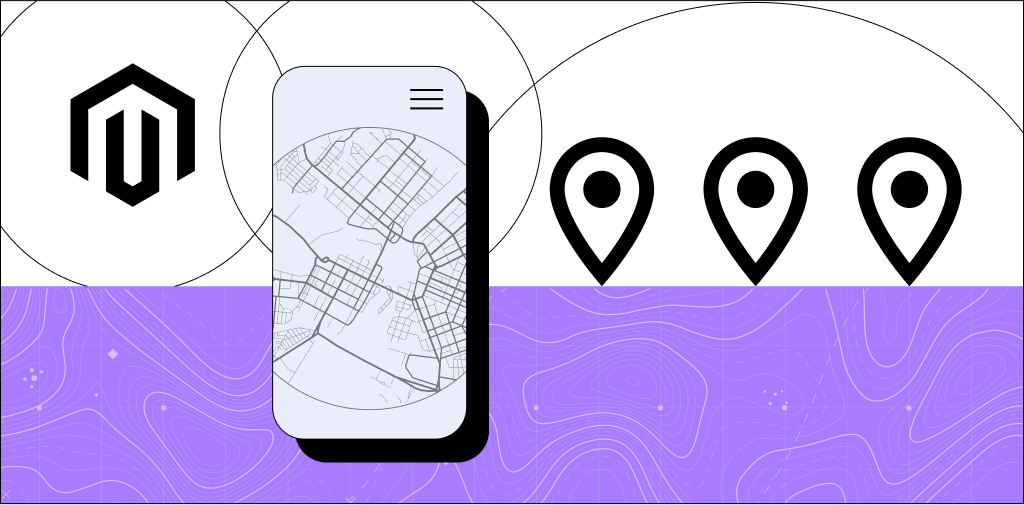
Discover the best Magento 2 store locator extension to boost your stores' SEO, improve website usability, and help customers find your nearest location on maps.
Ecommerce competitor analysis can help you get a let up on your competition. Here’s what you need to do to stand out from the crowd and sell more.
Check out our vetted list of the best Magento mobile themes for ecommerce stores, and learn how to add them to your website for enhanced user experience.
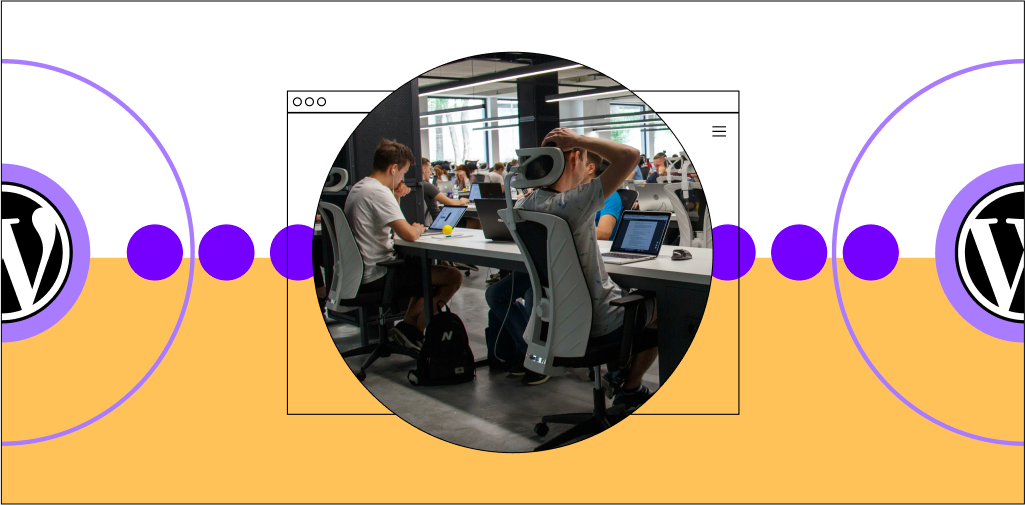
While an open-source solution, WordPress is a powerful CMS for large organizations. Explore what WordPress offers enterprises and how to benefit from it.
Tips for improving Magento product search for your ecommerce store to improve sales.
Want to learn how to sell your crafts online? See how to sell crafts online in this guide. Learn the most profitable handmade items, marketing tips, and more.
The unified brand will combine the deep ecommerce expertise of Nexcess with Liquid Web’s robust, secure, and highly performant hosting platforms.
Selling on Instagram can help you reach more customers and boost your sales. Learn how to add an Instagram shop in eight simple steps.
Your inbox needs more Nexcess
Grow your online business faster with news, tips, strategies, and inspiration.