

WordPress Multisite is a feature in WordPress that enables you to create, run, and manage a network of multiple websites under a single dashboard. This is an easy means to check for updates, make necessary changes, and manage different websites under a single WordPress installation.
When is it ideal to use the WordPress Multisite feature?
The WordPress Multisite feature is ideal for use when you're creating a network of websites that share similar functionality. You can configure this similar functionality through plugins, custom applications, and specific server configurations.
Can you have entirely different domains when using the WordPress Multisite feature?
Yes. The WordPress Multisite feature is a core WordPress feature that allows you to easily run multiple websites using the same WordPress installation. One aspect of this setup that many WordPress Admins like is the fact that you can use different domains for each of your websites.
Overview of WordPress multisite management
WordPress is an excellent platform for running and administering a robust website. It allows for easy website creation, but with sophisticated features and addons if you so desire.
If you have multiple sites to run, you will need to create WordPress installations for each of them. However, it will be time-consuming, and you will face difficulty managing multiple websites as you have to log in to each one often to check for updates and perform other management duties. But what if you could do all these website management tasks from a single dashboard? This is where the WordPress Multisite feature comes in.
More about the WordPress Multisite feature
The WordPress multi-site management capability within the WordPress core functionality is an excellent feature of WordPress, which allows you to create different domains and manage them from a single dashboard. This allows you to change the websites on the multi-site network easily. It’s ideal for people who run similar websites with similar content and functionalities.
In a multi-site network, all users share the same plugins and themes. However, distinct media upload folders are present in the WordPress installation for websites developed on a multi-site network. Accordingly, you cannot view the photos of one site from another site on the network since each site has a unique folder for its media and other uploads.
You have complete power over the network as a Super Admin when the WordPress Multisite feature is turned on. Themes and plugins can be added and made accessible to the network's websites, and a Super Admin can modify each website's theme individually.
Requirements for setting up a WordPress multi-site management configuration
The following things will be required to create a WordPress multi-site network with custom domain names:
- Nexcess Managed WordPress hosting.
- Domain names that you want to add to the WordPress multi-site setup.
The next step after installing WordPress is to turn on the multisite feature.
Step #1: Turning on the WordPress Multisite feature
The WordPress multi-site setup is turned off by default. You need to enable it by editing the WordPress configuration file wp-config.php, which is located within the document root directory of the website.
You can make use of different FTP clients like Filezilla to edit the wp-config.php file of the WordPress website, or you can access the file via SSH. Remember, you can always locate your SSH credentials within the Nexcess Client Portal.

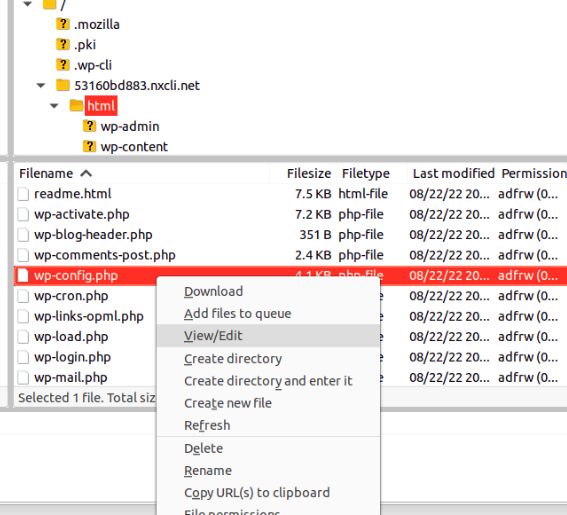
After accessing the wp-config.php file via FTP, you will need to insert the lines of code below into the wp-config.php file above the comment line that shows: "That’s all, stop editing! Happy publishing".
/* Multisite */
define( 'WP_ALLOW_MULTISITE', true );
Then, save your modifications and place the wp-config.php file back in the document root directory of the website.
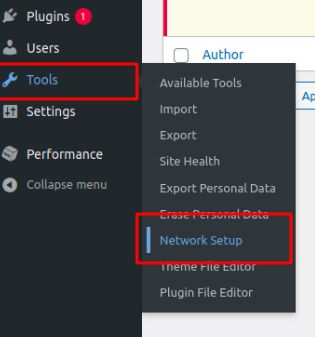
Now, you need to access the wp-admin dashboard of the website and refresh the wp-admin page. Next, go to Tools > Network Setup to configure the WordPress multi-site network:

The Create a Network of WordPress Sites screen will appear:

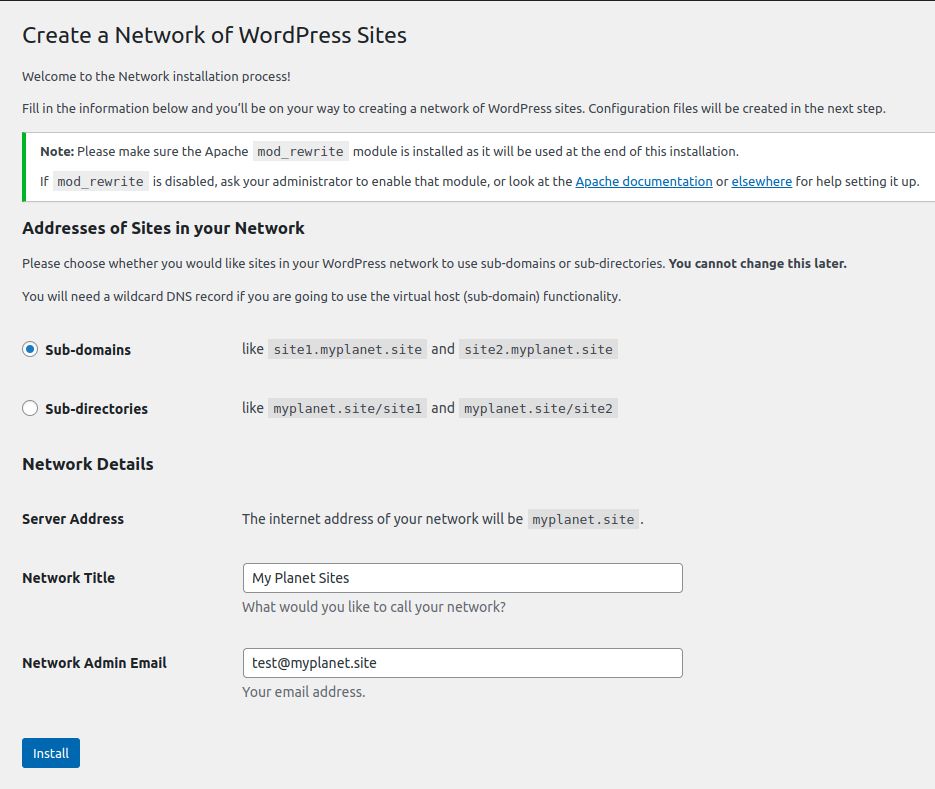
The first step of the process is to select the Sub-domains radio button in the Addresses of Sites in Your Network section, choose/enter a Network Title, and fill in the Network Admin Email. Once you provide all these necessary details, please click the Install button.
After that, a window will open on the WordPress Admin Dashboard with two pieces of code that need to be inserted into the different website files:

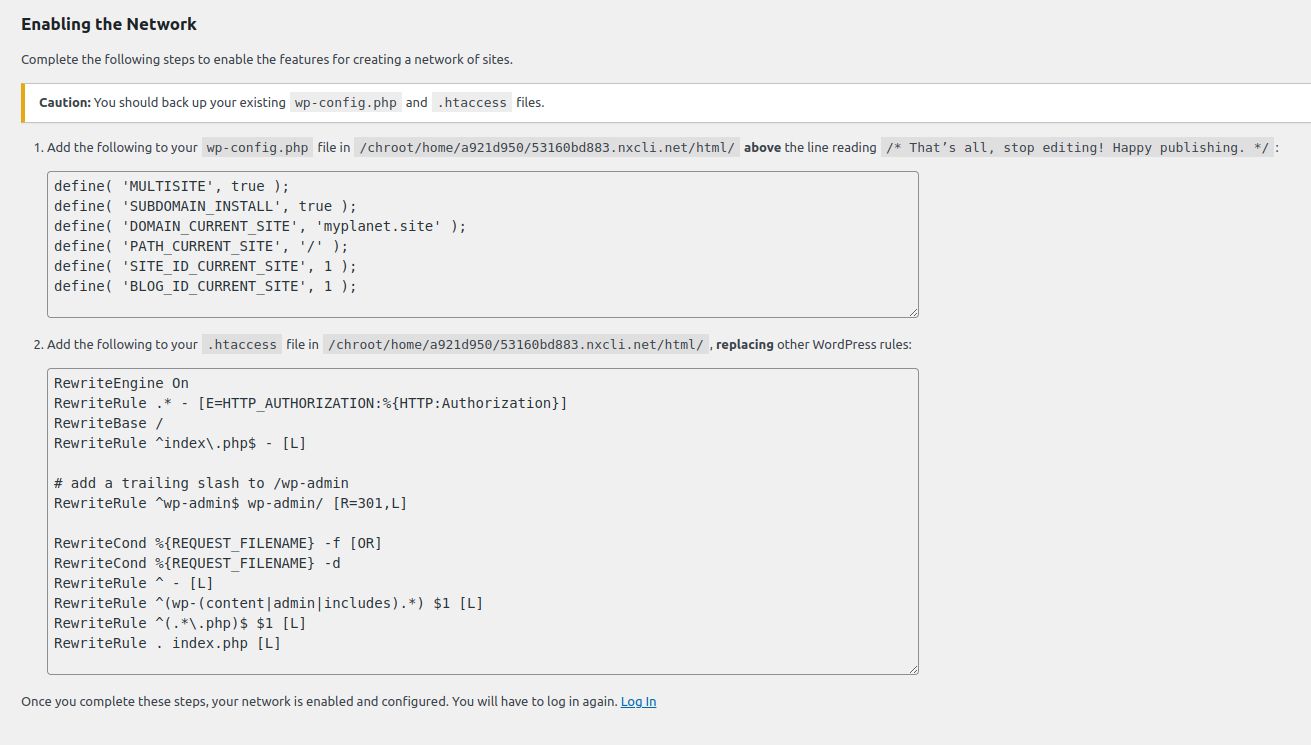
Target File of wp-config.php - Code Block #1: As instructed on the page, you need to add the first piece of code into the wp-config.php file of the website just above the comment line of "That’s all, stop editing! Happy publishing".
Target File of .htaccess - Code Block #2: The second block of code needs to be added to the .htaccess file for the website, replacing the default WordPress htaccess rules.
Apart from that, please add the line of code below into the wp-config.php file, which will ensure that the user can log in to each site within the WordPress multi-site setup:
define('COOKIE_DOMAIN', $_SERVER['HTTP_HOST'] );
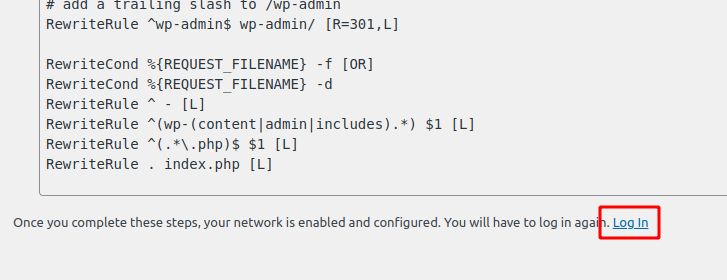
Then, please log in again to the wp-admin dashboard after adding the required codes into the wp-config.php file and .htaccess file:

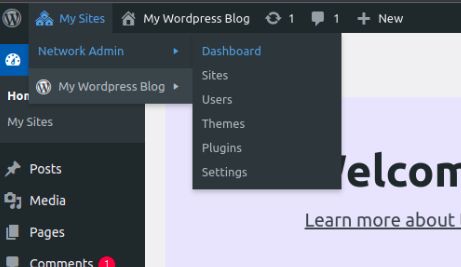
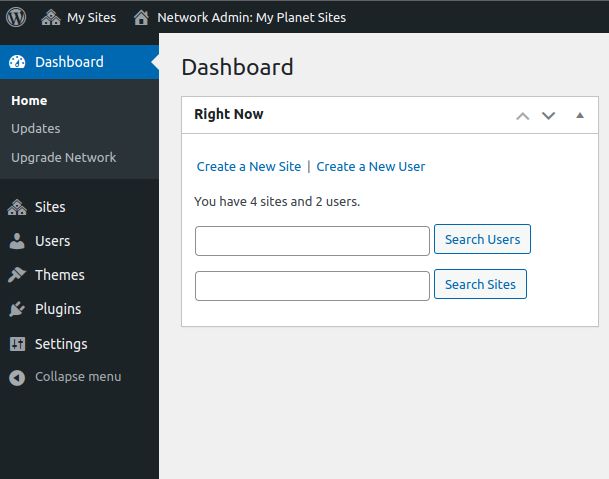
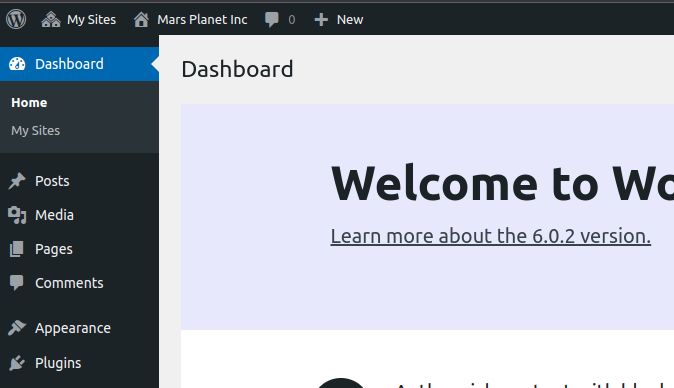
After logging into the wp-admin dashboard of the website, you will see a new menu option that displays as Sites on the admin toolbar. Go there and click the Network Admin > Dashboard option:

Step #2: Adding new sites using different domains in a WordPress multi-site setup
The WordPress multi-site setup is complete. Now, we can add new sites with custom domains. Click on the Sites > Add New menu option within the Network Admin Dashboard:

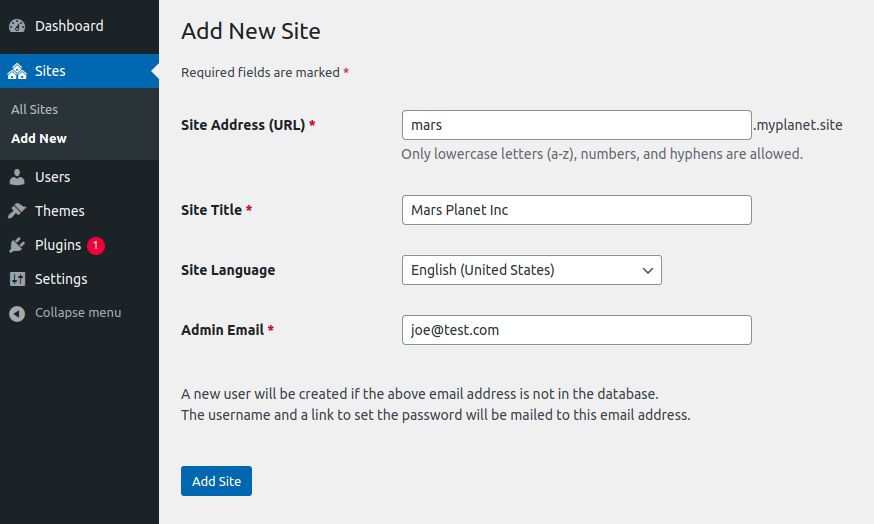
Please complete the Site Address (URL), Site Title, Site Language, and Admin Email fields for the website. At this point, you can add anything in the Site Address (URL) field because we will be changing it to your custom domain in the next step. Then, click the Add Site button to create the site.
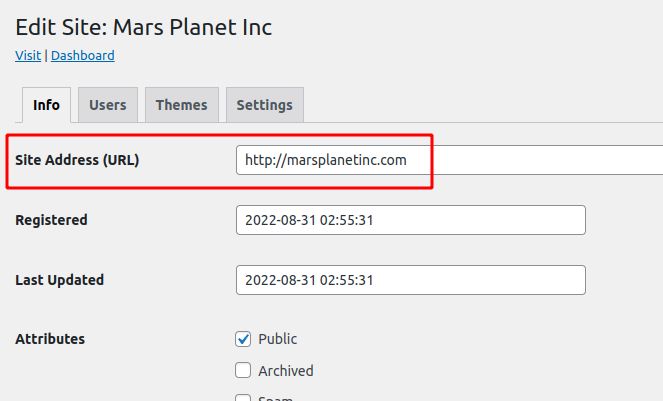
The next step is to navigate to the page found by selecting Sites > All Sites, and to click the Edit option next to the newly created site:


You will need to enter the custom domain name you wish to use for this website in the Site Address (URL) field. Your custom domains will be immediately mapped to your Site Address (URL) field using WordPress' built-in domain mapping feature:

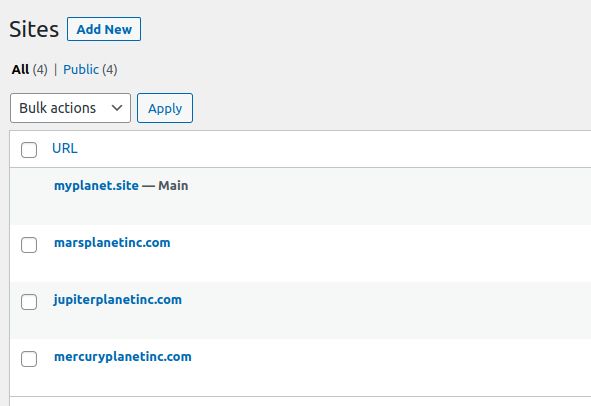
Click the Save Changes button to save your site details. Then, repeat the same steps to add any number of custom domains to your WordPress multi-site network. We have created a few sample sites with different domains in the following example:

Now, for the custom domains to be accessible, you need to configure the different custom domains added to the WordPress multi-site setup as pointer domains within the Nexcess Client Portal.
Also, you need to point the DNS of the custom domains to the Nexcess server where the website is hosted. In the next step, we will see how we can add the domains as pointer domains within your Nexcess Managed WordPress Hosting setup.
Step #3: Adding custom domains to your Nexcess Managed WordPress hosting plans
Now, you need to add the custom domains configured within the WordPress multi-site setup as pointer domains within your Nexcess Managed WordPress Hosting plans. Follow the steps below:
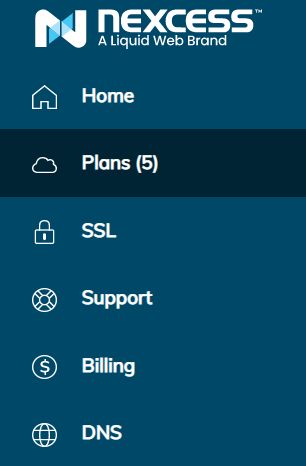
3a. Log in to the Client Portal. From the menu, click the Plans option:

3b. Choose the right plan. The website belonging the plan will show up when you click the corresponding plan.
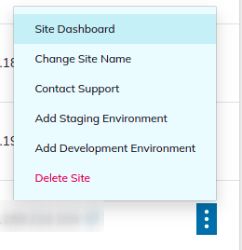
3c. Now, click the three-dot button corresponding to the plan you want to work with and choose Site Dashboard:

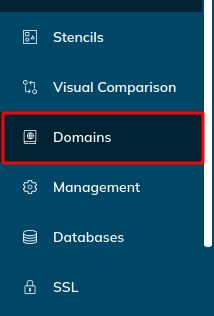
3d. Click the Domains option in the menu:

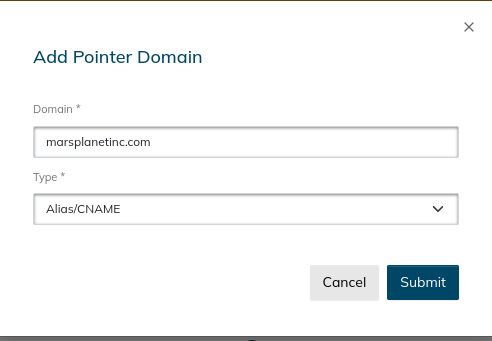
3e. In the pointer domain section, click the Plus (+) button and provide the domain name. Then, set the type as Alias/CNAME in the popup window:


Configure all the custom domains added within the WordPress multi-site setup as pointer domains in the Nexcess Client Portal:

You can repeat the same steps given above to add the different domains as pointer domains.
Now you need to update the DNS of the custom domains to point to the Nexcess DNS services.
Step #4: WordPress multi-site administration and custom domain management
You can manage the different domains added to the WordPress multi-site setup from the admin dashboard. You will be able to carry out administrative tasks like managing the plugins, themes, and updates from the dashboard:

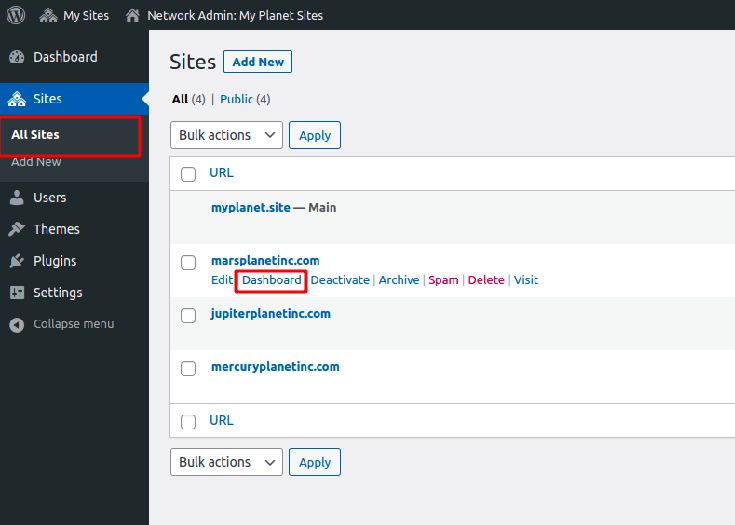
To work on specific sites, go to the page found by clicking the Sites > All Sites option and select the site you wish to edit by clicking the Dashboard link corresponding to that site's details:

You will then be sent to the admin area of that specific website, where you might need to log in again. You can control that particular site from here:

Consider managed hosting with Nexcess
A WordPress multi-site management setup has many benefits. Multiple websites can be controlled and managed from a single dashboard. It will save both the time and amount of work you have to do. Website monitoring is simplified.
Are you currently in search of a hosting company where you can host a WordPress multi-site configuration? Try our best fully managed hosting plans.
Find all the support you require using options with the Nexcess Client Portal
For 24-hour assistance any day of the year, contact our support team at support@nexcess.net or through your Client Portal.
Recent articles
- How to Find and Use WordPress 101 (WP101) Tutorials
- Website Backups and the Nexcess Data Backup Policy
- Enabling Redis object caching


