


How Nexcess clients on physical (non-cloud) servers can install ExpressionEngine.
What you need
- This method is intended for existing Nexcess clients on physical (non-cloud) servers. If you are not yet a Nexcess client, see the ExpressionEngine page on our website.
- This method requires SSH access. See How to enable SSH access for details.
Step 1: Download ExpressionEngine
- Navigate to the EllisLab ExpressionEngine website.
- Log in to your EllisLab account by clicking Sign In > Buy Now.
- Scroll down the EllisLab store page, find your corresponding ExpressionEngine download link and click Download.
Step 2: Configure SFTP credentials to transfer ExpressionEngine files
If you already have Nexcess SFTP credentials, you may skip this section. Otherwise, see How to reset your SSH password and add SSH keys in SiteWorx.
Step 3: Prepare files for transfer
- Navigate to the ExpressionEngine download.
- Right-click on the ExpressionEngine zip file and select Extract All….
- Select the destination directory for the extraction and then click the Extract button.
- After the files have extracted, open the new folder.
Step 4: Use SFTP to connect to your Nexcess server
If you do not have a preferred SFTP client, see How to transfer files to a server with SFTP.
- Launch your preferred SFTP client and in the Host, Username, and Password fields, type the Nexcess server name, username, and password you created earlier in SiteWorx.
- In the local computer pane of your FTP client, locate the unzipped ExpressionEngine file.
- The remote computer pane is the Nexcess server. Click the appropriate folders to navigate to the target directory for ExpressionEngine installation.
- Click-and-drag the ExpressionEngine file from your local computer window to the Nexcess server window. This will start the file copying process to your site.
Step 5: Configure your database
- Log in to your SiteWorx account.
- If you do not know your password, click Forgot your password on the login page.
- If you do not know the web address for your SiteWorx login page, either refer to your Welcome Email or contact our 24-hour Support Team for assistance.
- In the SiteWorx main menu, click Hosting Features > MySQL > Databases.

- In the MySQL Database Management panel, in the Database Name field, type a name for your ExpressionEngine database and select the Create User check box.

- Enter a name for your database and username. We recommend both names to be the same as the database for the sake of consistency.
- Within the Password and Confirm Password fields, either provide your own password, or click Generate.
- Verify all of the MySQL User Permissions check boxes are selected and click Add.
Step 6: Configure ExpressionEngine
- Navigate to your domain with the path of your ExpressionEngine installation. For example, if your domain name is yourdomain.com, and your ExpressionEngine installation is EE, navigate to the following path: example.com/EE/admin.php. If your ExpressionEngine installation is at the top level of your domain, then navigate to yourdomain.com/admin.php.

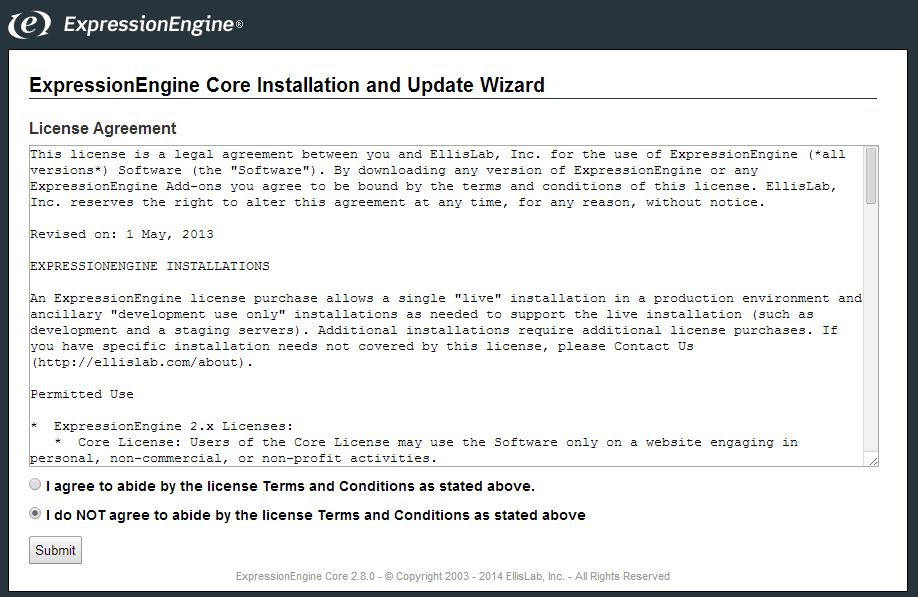
- The ExpressionEngine Installation and Update Wizard page will appear; click Click here to begin!.
- The next page is a pre-installation test that will check whether you are installing or upgrading the version of ExpressionEngine. Once the pre-installation test is complete, select Click here to install a brand new copy of ExpressionEngine Core,

- You will now see the ExpressionEngine License agreement. Read the agreement, and if you agree, select the I agree check box, then click Submit.
- The server settings window will appear. Type your email address in the Email address of webmaster field.

- The "Database Settings" window displays. Enter the database credentials created earlier.
- Type your username, password, and database name in the corresponding fields. Ignore all other settings.

- The “Create your Admin Account” window displays. Fill-in the fields with the appropriate information.

ATTENTION: For steps I to K, refer to the figure below.
- In the “Choose your Site Theme” section, choose a pre-existing theme or maintain it as a "None-Empty Installation."
- The “Optional Modules” section allows you to install various modules that are not included with ExpressionEngine. You may now choose to include any or all of those modules.
- In the Localization Settings fields, enter your country and city. Click Install ExpressionEngine.
- A message will display once the installation is complete. Launch your SFTP client, navigate to ExpressionEngine, and locate the /system/installer folder. Right-click on the folder and select Delete.

For 24-hour assistance any day of the year, contact our support team by email or through your Client Portal.


