


How to configure your content delivery network with WordPress installed by the W3 Total Cache plug-in.
Many businesspeople wonder how a CDN speeds up your ecommerce site, but they will discover that the reasons are remarkably straightforward. Review the content, resources, and links in this article to learn more about those reasons in full detail.
What you need
Login information for accessing the Client Portal. The login information for accessing the Client Portal is the username (email address) and password that you entered when you placed your order with Nexcess. If you do not remember your password, click Forgot Password? on the login page.
The latest version of WordPress, installed with the W3 Total Cache plug-in.
Configure WordPress
Select Performance > General Settings.
Scroll down to the CDN section, and then select the Enable check box.

For the CDN Type, select (Origin Pull) Generic Mirror.
Click Save All Settings.
in the W3 Total Cache plugin menu in wp-admin, under Performance, select CDN.

Scroll down to the Configuration panel. Under SSL support, select Disabled (always use HTTP) unless you are on a live site domain. If that is the case, instead select Enabled (always use SSL).
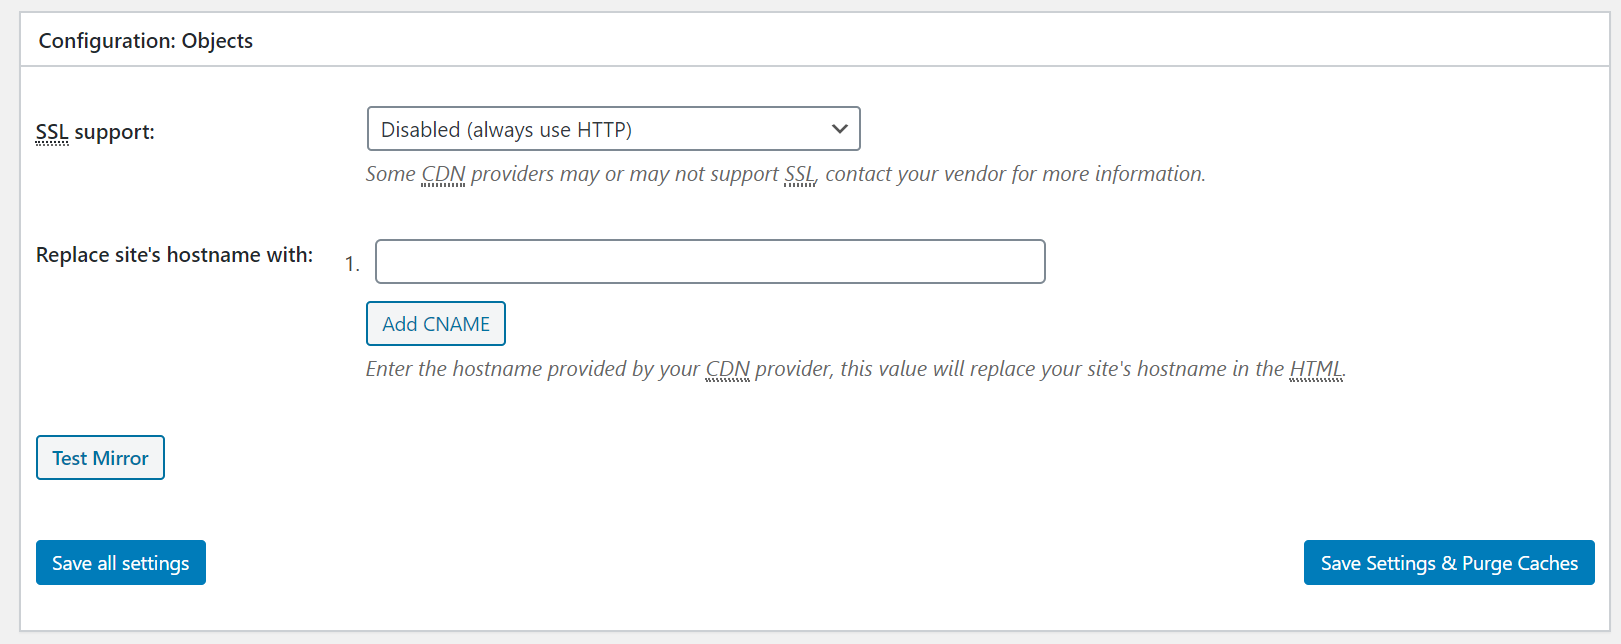
- In the Replace site's hostname with: field, enter your CDN Origin URL. The CDN origin can be found in the performance tab of the Nexcess portal. You will need to enable the Nexcess CDN in order to be able to use it. Click on Configure CDN on Your Site and then follow the steps.


Click Save all settings to deploy your W3 Total Cache configuration. The CDN takes approximately one hour to cache the content. Also, it can take one hour to re-cache any time the cache is flushed. You do not need to have to add a HTTPS to the CDN settings in the W3 Total Cache plugins setting. Please use the Nexcess CDN URL without HTTPS or any protocol in it.
Load your website to be sure that there are no missing elements on your page. If there are missing elements, check to make sure all your settings are correct.
Once everything is working correctly, check the source code for the HTML page to ensure that your images, javascript, and stylesheets are being loaded from the CDN. You may also want to consider using a tool that tests the load time of a page, such as Pingdom Tools.
Site Speed Testing
When you are testing the site using the Nexcess CDN using GTmetrix or WebPageTest it should be tested from multiple continents, if you're testing from a geographical region close to the origin server, the performance benefit will not be as apparent as it would to a test done in a different region.
Troubleshooting
If any elements on your site appear to be missing, it could be due to either of the following:
The CDN has not fully cached all of your website's content. It takes approximately one hour for the CDN to cache content. Also, it will take approximately one hour to re-cache.
The CDN configuration settings are not properly defined. Follow the steps provided in this article to verify that you have entered the correct settings.
If you do need to purge the content being stored in the Nexcess CDN you can purge the CDN directly from the portal in the performance tab.

For 24-hour assistance any day of the year, contact our support team by email or through your Client Portal.


