


How Nexcess clients in dedicated or cluster environments can configure reverse DNS records from their Client Portal.
What you need
- Your Client Portal username and password. If you cannot locate this information, click Forget password? on the Client Portal login page or contact our 24/7 support team.
- A dedicated server solution (non-cloud), or a Cloud solution of size L or larger. For more information about our hosting solutions, please see our website.
Definition
Rerverse DNS are chiefly used by servers to verify email messages. Many servers will reject email messages from domains or IP addresses that lack a reverse DNS record from the associated IP address.
Creating reverse DNS records
- Log in to your Client Portal.
- From the dashboard, click DNS > Reverse DNS Records. If this option does not appear, then it is unavailable for your IP address.

- Click Add Zone.

- From the IP drop-down list, select an IP, then complete the Host/Domain field. When done, click Add Record.
Editing reverse DNS records
- Log in to your Client Portal.
- From the dashboard, click DNS> Reverse DNS Records.

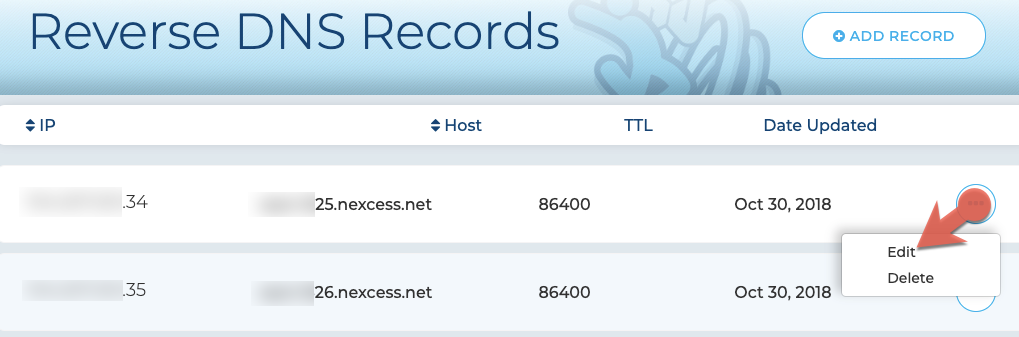
- On the Reverse DNS Records page, you will see all current reverse DNS records with this account. To edit one, locate your desired record and, from the menu toggle, click Edit.
- Edit the information as desired, then click Save.

For 24-hour assistance any day of the year, contact our support team by email or through your Client Portal.


