Selling courses online is a great way to monetize your brand. It allows you to earn passive income and serve more people without increasing your client workload. Plus, selling courses online is profitable.
According to SkillScouter, the eLearning industry has grown more than 900% since 2000. Not to mention, 42% of companies who use eLearning generate more income, according to TechJury.
Therefore, if you’re knowledgeable about a particular topic, there’s never been a better time to create your course. And thanks to platforms like WordPress, you can easily create a course website, even if you’re a beginner.
In this tutorial, we’ll walk you through the step-by-step process of how to build a course website so you can start selling your online course.
How To Build a Course Website
- Choose a domain name.
- Sign up for a web hosting plan.
- Install WordPress.
- Install an LMS plugin.
- Promote your courses.
Let’s go over those steps more in-depth below.
Step 1: Choose a Domain Name
The domain name is what your visitors will type into their browser's address bar to reach your site. If you’re launching a single course, it makes sense to use the course name as the domain name.
But if you plan on selling multiple courses or setting up a small business for eLearning, you might opt for a more general or unique name.
A few tips for choosing a good custom domain name include:
- Keep it short if possible.
- Make it easy to spell.
- Make it easy to remember.
Step 2: Sign Up for a Web Hosting Plan
Once you’ve decided on your domain name, the next thing you’ll need is a web hosting plan. Hosting refers to the disk space where your website files will live. It’s what makes it possible to access your domain and the content of your website.
There is no shortage of hosting companies out there, so it’s easy to get overwhelmed. But it’s crucial to choose a hosting company that offers plans designed with speed and security in mind.
Both of these options are crucial for course websites as you’ll want to ensure your visitors have an easy time accessing and viewing your course lessons. You’ll also want to ensure that their financial and other sensitive information is protected.
Nexcess has hosting plans optimized for faster speeds and better WordPress security. Take a look at our pricing plans and choose one that fits your budget. Then go through the process of creating your account and submitting payment.
Step 3: Install WordPress
After you have bought your domain name and hosting plan, the next step is to install WordPress. WordPress is the best open source ecommerce platform to create your course website for several reasons.
For starters, it’s easy to use. Secondly, there are numerous high-quality themes for WordPress that make it easy to create the web design you want without having to code everything in HTML, CSS, and JavaScript from scratch.
Thirdly, there are thousands of plugins that empower you to add different functionality and features to your site, like Yoast for SEO, Easy Digital Downloads or WooCommerce for ecommerce, and Jetpack for on-page optimization. Thanks to these plugins, you can easily create a course website.
Fourth, there’s a robust WordPress community to lean on should you ever have questions about the setup. Some of these WordPress resources include forums, the WordPress Codex, full WordPress news websites with the latest happenings, and WordCamps, which are local events where WordPress experts gather to learn from one another.
Lastly, WordPress is so popular that many hosting providers pre-install WordPress when you purchase a hosting package.
However, if your host doesn’t offer pre-installed WordPress, WordPress offers a one-click installation process — or you can go to WordPress.org and download it yourself. All you have to do is provide your desired username, site title, password, and the installer will take care of the rest.
When the WordPress installation process is complete, log into your WordPress dashboard. Then, go to Appearance > Themes.
You can search for a theme designed with an online course or eLearning websites in mind. Or, you can opt for a more general theme. Once you’ve found a theme you like, install it, and activate it.
Step 4: Install an LMS Plugin
To sell your course or courses, you’ll need an LMS plugin to serve as an online course platform for your WordPress site. LMS stands for Learning Management System.
An LMS plugin will give you the necessary custom features for creating modules and lessons for your course, applying whatever customization you’d like, and controlling who can access the course materials.
Here are the top course plugins for WordPress users:
1. LearnPress

LearnPress makes it easy to create a course curriculum with lesson and quiz templates included. It has an intuitive interface. You can use it to create an online course website, sell a single course, and create a full-blown online school.
2. LifterLMS

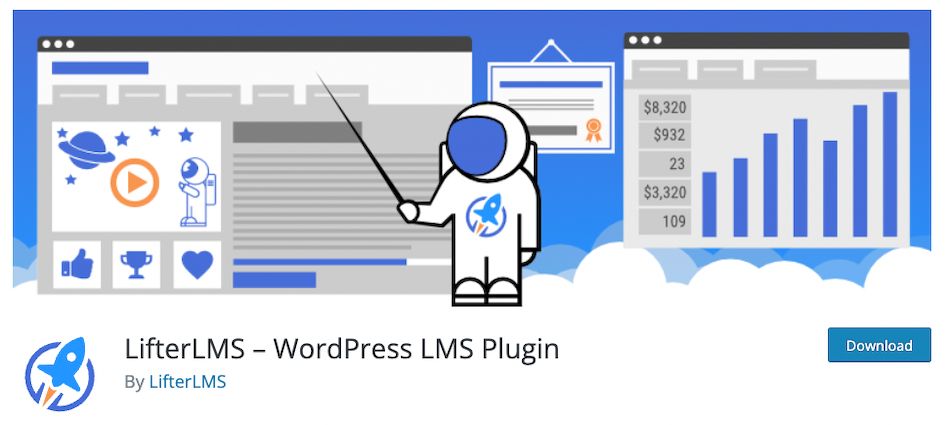
LifterLMS is one of the most popular LMS plugins for WordPress websites. It works with any WordPress theme and makes it easy to create online course websites and membership websites.
LifterLMS also works with other popular WordPress plugins for even more features for your course website.
3. TutorLMS

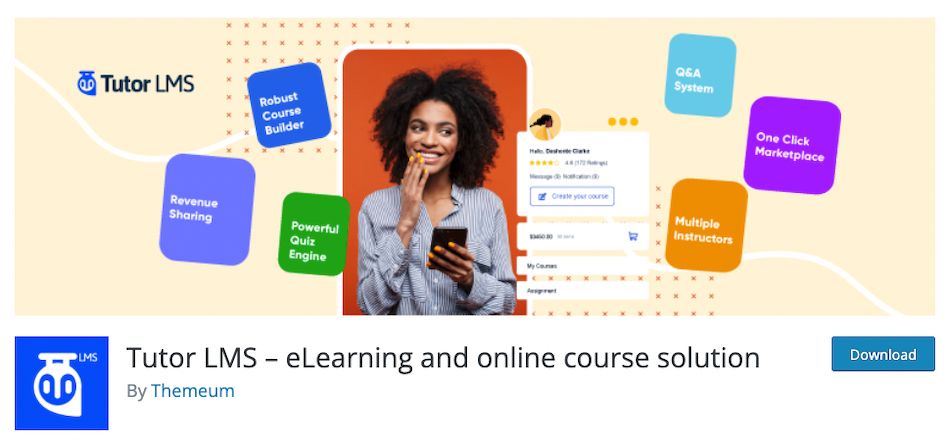
Next, we have TutorLMS. It allows you to create an online course website and use quizzes, challenges, and other gamification features to make online learning fun and enjoyable.
4. LearnDash

Lastly, we have LearnDash. This award-winning plugin is the only WordPress LMS created by e-learning experts. It allows you to easily create an online course website with user management tools, drip feed content options, and plenty of payment methods to offer.
Step 5: Promote Your Courses
Once you’ve created a website and added course material, the last step is to spread the word and enroll potential students.
A few marketing ideas include:
- Promoting your course on social media platforms where your target audience spends time.
- Offering a small part of the course in exchange for an email address to build your list and inviting them to sign up for the full course. That can help build up your email marketing strategy over time.
- Offering a discount code or a limited-time sale price for the course.
- Becoming a blogger and posting content related to your course topic to get people interested.
- Investing in paid ads such as Google AdWords or Facebook Ads.
- Optimizing your site for search engine optimization (SEO) with keywords related to your course.
Final Thoughts: How To Build a Course Website: A Quick-Start Tutorial
Learning how to build a course website is not an easy task. But once you know what is involved and have the right tools for the job, it’s a lot easier to get started.
In this post, we’ve shared the necessary steps to build a course website and the top three LMS plugins to facilitate the process.
The only thing left to do now is to get started to sell your online courses.
Get started with a WordPress hosting plan from Nexcess to ensure your course content is secure, accessible, and ready to serve new students.

