
While we covered the blocks that WooCommerce has available in Gutenberg not that long ago, much has changed in a short amount of time. My initial look at the WooCommerce blocks only covered two, and one of them duplicated a specific feature of the main useful block. Today we’re going to look at the new Gutenberg blocks that WooCommerce provides for your WordPress site.
In the past, I’ve built shortcodes that would accomplish many of the functions that are found in these blocks. The thing about shortcodes is that they were never user-friendly. My clients would have to figure out category IDs or product IDs, and then put them into the shortcode to get it working without getting any of the brackets wrong. Plus they’d have to remember the parameters available or look up in my documentation.
Luckily, that is no longer the case. We now have eight wonderful blocks for Gutenberg-enabled WooCommerce stores that will help to create a much smoother user experience for a Gutenberg frontpage.
Handpicking WooCommerce Products with Gutenberg
Let’s start with the new handpicked block available for WooCommerce.
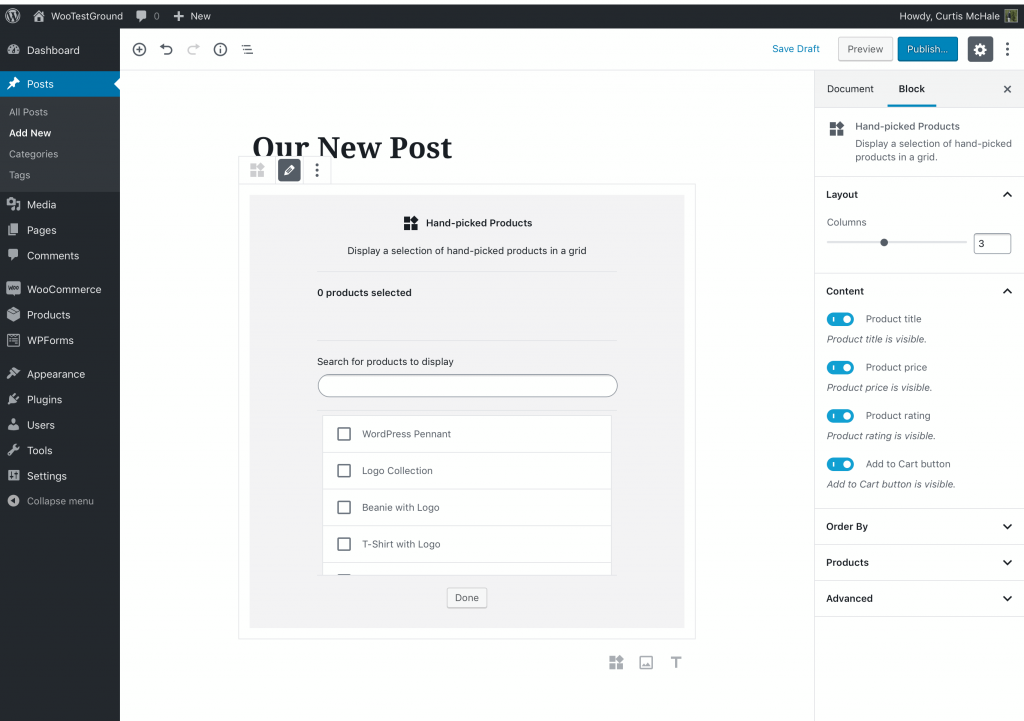
Once you select the block, you can start typing in the name of the product that you want to have displayed on your page. When you find the product you want, click done underneath the product selector and your chosen products will show up on your post. You could use this to build a custom clothing set on a fashion site so that users can get the exact look that you’re talking about.
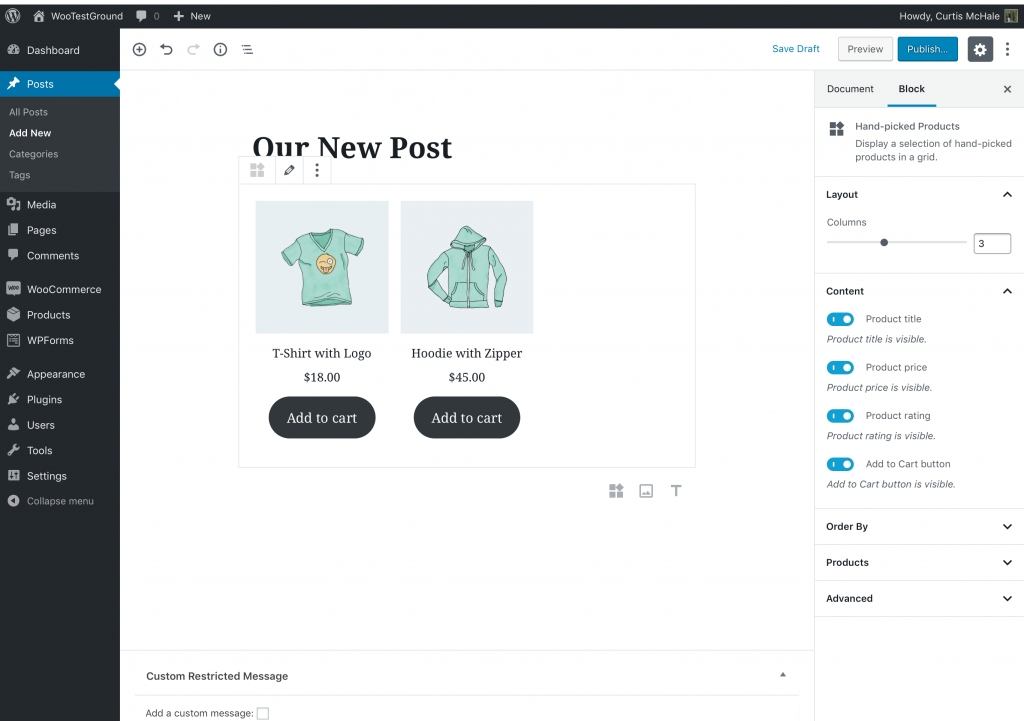
From the right-hand side, you can also choose what you want to display with your handpicked products. To remove ratings, simply click the toggle to turn off the display of ratings from your selected products. In fact, these display options are available for all of the blocks that WooCommerce provides in Gutenberg.
For your handpicked product block you also have the option of changing how the products are ordered on your page and how many columns are used to display the products. While the default is three columns, you could change it to four to make sure that you don’t have a straggling product when you handpick four WooCommerce products.
Choosing Products by Attribute
Another interesting block is the Products By Attribute one available by default. A camera site could use this to show all the lenses that are compatible with the new camera they’re reviewing or a fashion site could use it to show all the products of a certain color in their current inventory.

The only drawback currently in the product attribute block is that it doesn’t let you choose two attributes to filter your products by. In clothing, that would mean you can’t choose to filter by both size and color. You’ll have to stick with a single attribute, though you could choose to show products across many different colors in the block.
In addition to the display customization options that you have with handpicked products, this block allows you to set the number of rows that are displayed. By choosing two rows as your setting you’d display six products with the out of the box block.
A very similar block to this is the Products by Category block. It provides the same option but allows you to display products based on the category they’re in. I’d love to see a block that allows filtering by product category and by product attribute to give the user maximum control.
Feature a Single Product
The Featured Product block is one that many of my clients have asked for in the past. This block allows you to find a specific product and give it a unique visual display to highlight it.
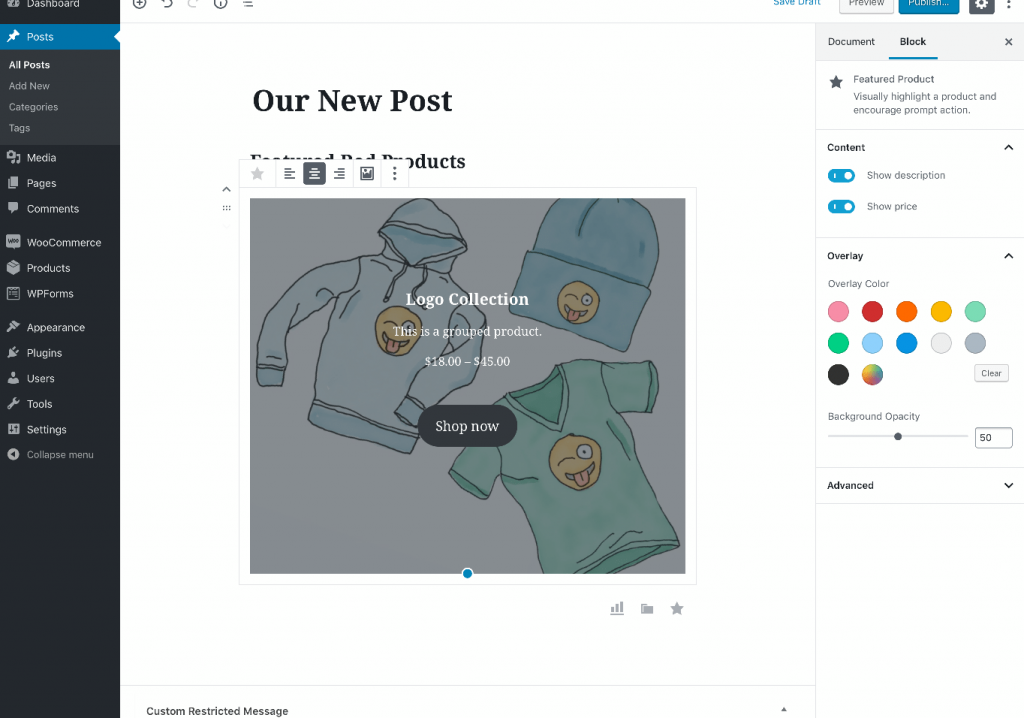
Aside from the large thumbnail, you can change the color of the overlay, and choose the alignment of the text on your featured product. You can also choose to display the price and the description if you want or remove them with the toggle on the right side of your product.
Other WooCommerce Blocks in Gutenberg
The other blocks that are available by default with WooCommerce share the same theme, they’re preset filters based on different product metadata that WooCommerce applies to products.
You can choose from:
- Best Selling Products
- Newest Products
- On Sale Products
- Top-Rated Products
All of these blocks can be changed quickly between each other.

To change these blocks, click the arrow beside the block icon and you’ll get a drop-down with the other options available. Each of these blocks allows you to adjust the column or row settings. Choose to display the title, price, rating, and add to cart button. Finally, you can filter the products that display by category, if you want to only display products that are on sale in a particular category.
Building Your Gutenberg WooCommerce Frontpage
While all these blocks are great, what can you do with them? For many stores, the addition of all these blocks means that to get a custom front page, you no longer have to have your template customized by a developer to achieve a good look. I’ll show you how to build a custom Gutenberg frontpage using the Twenty Nineteen theme.
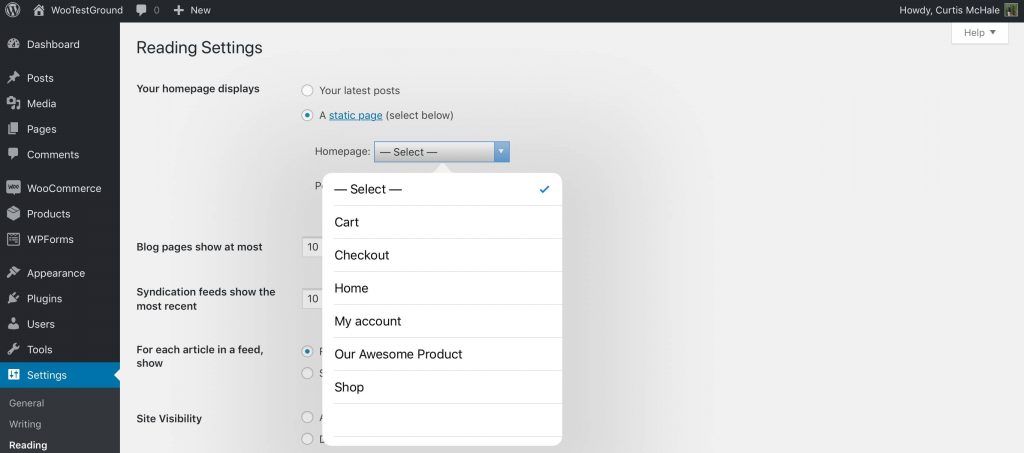
Start by adding a new page to your site and titling it ‘Home’. Then we need to go to Settings->Reading and change our homepage display to a static page. Then choose our new ‘Home’ page as the Gutenberg frontpage to our site.
If you also have a blog on your site, you’ll need to have a page set aside for your blog. Under the setting for your homepage, you’ll see a similar setting to set the location of your blog.
Now, we can head back to our new custom home page and start adding content. Let’s start by adding a section for the most popular products in our store. Use the heading block to add a heading to the page. Next, choose the Best Selling block and use it’s display settings to make the block full width. See the arrow below for which setting to use.
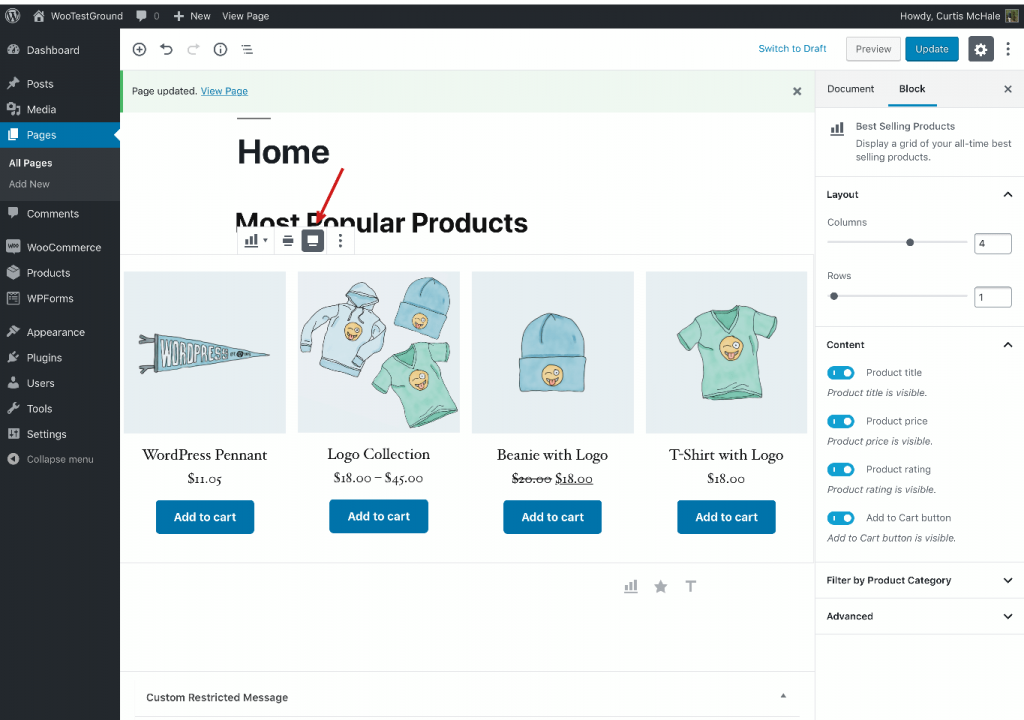
You should end up with something like this.

Now let’s get a bit fancier and add some text and an email opt-in form to entice our site users to join our email list. Start by choosing the Column Block, which can be found by searching or inside the layout block types.
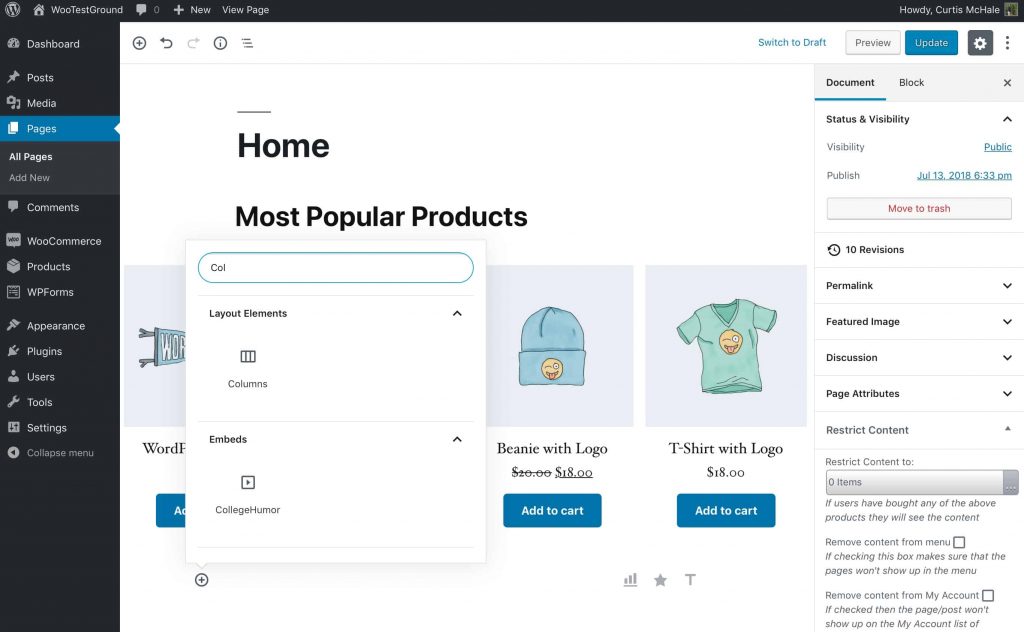
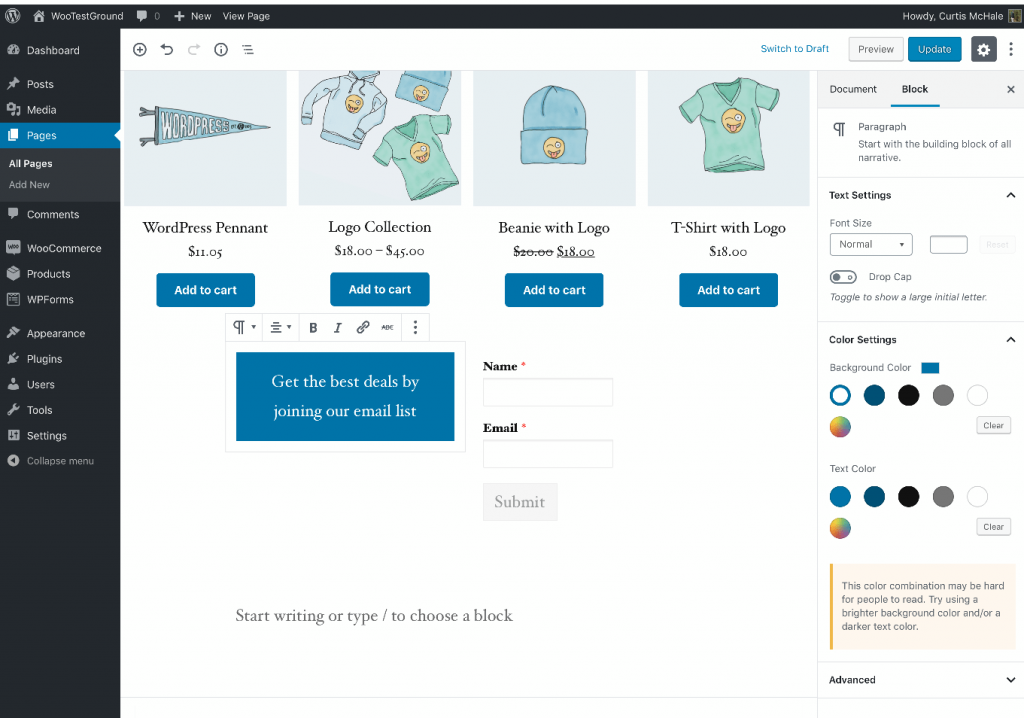
This block will give you two different columns by default, but you can adjust the number of columns to suit your needs. Each of these columns can have a different block inside if that’s what your site design calls for. Today we’ll put our email opt-in form on the right side and our text on the left side. I’m using WP Forms Lite, which includes a widget that works inside a block.
As you can see above, I made the text a dark background so that it draws the eye towards the content on our mostly white default page. This will increase the chance that your users will notice your form and then join your email list. Make sure you set your column block to be full width on your page to keep the look consistent.
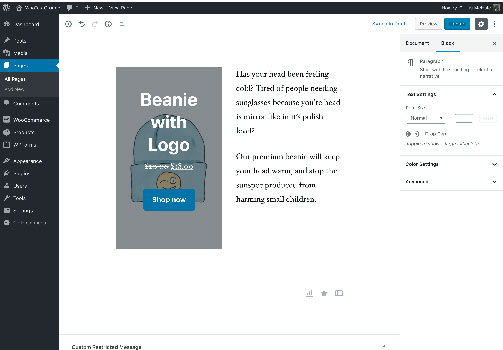
Next, let’s feature another single product. We’ll use the Featured Products block and put it inside a column block again so that we can write some custom sales text for the product we want to feature. I’ve also used the settings inside the Featured Product block to remove the description so that it doesn’t distract from my custom sales text. Remember to set it to full width so our blocks match up.
With Twenty Nineteen, our last two blocks feel like they’re crowded together, so let’s take a moment to break them up with a quote from a happy customer. Go to our email block and use the Insert After option to add a block after our email opt-in.
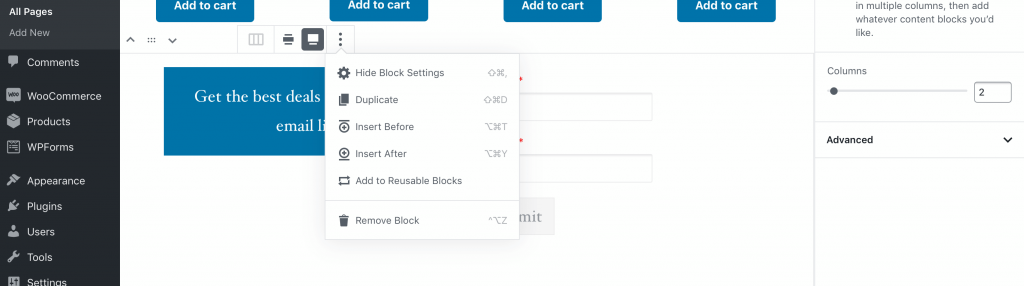
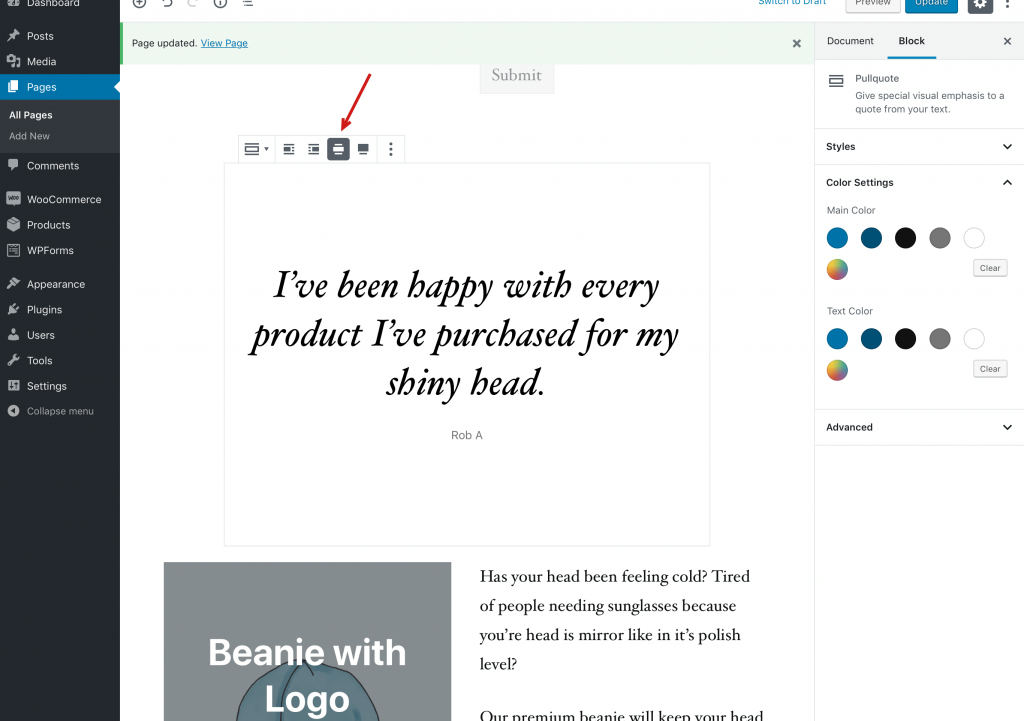
Now choose a Pullquote block and add our text from the happy user. Make sure you choose the display option to make the quote full width on your page.
With that done, we’ve got a fairly respectable custom home page for our WooCommerce site. We didn’t need to talk to a developer or figure out specific product IDs that would then need to be copied and pasted into a shortcode. We didn’t have to hunt for a special plugin that would let us build a custom page, or invest in a theme with a page builder built in.
With only the available blocks in WooCommerce and the Twenty Nineteen theme, we were able to achieve this look.
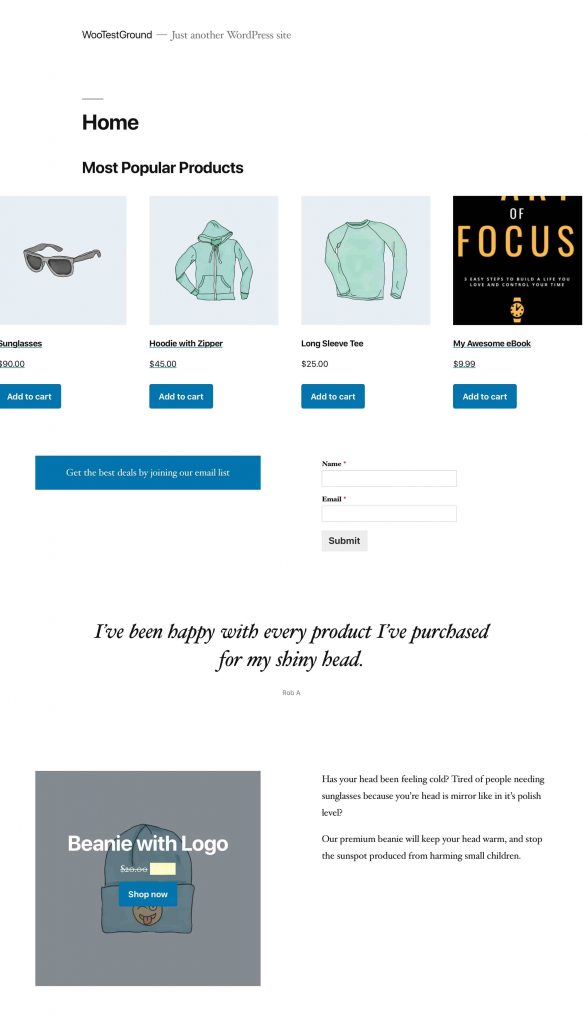
Clearly, there is some styling to clean up the page. Specifically, our featured product is on sale and in this design, you can’t really read the sale price of the product due to the yellow color overlay. Twenty Nineteen also leaves our products just a bit close to the left edge of the screen by default, so we’d need to fix that before launch.
The point is that these changes are minor items that we could use a service like Fiverr or Upwork to fix, instead of hiring a developer to build us a custom homepage from scratch. The addition of these awesome WooCommerce blocks to Gutenberg has put much more power in the hands of store owners and lets developers spend their time on other parts of a store build, instead of typing out lots of PHP code to produce the same result with less flexibility for the end user.
Build a High-Performing WooCommerce Store
Create a store that converts traffic with Nexcess’ Managed WooCommerce Hosting solution. It comes standard with Jilt to help you recover abandoned carts, performance tests whenever you need them, and the platform reduces query loads by 95%, leading to a faster store.

