


Learn how to repoint your domain name to Nexcess nameservers; this incurs no additional charge.
Overview
If you are a Nexcess client, repointing your domain name to our nameservers provides you with a Domain Name System (DNS) service that is safe, fast, and reliable. This service is incurs no additional charge. See our website for more information about our DNS service.
What you need
- A registered domain name. If you do not have one, you may register one at our website, or use another domain registrar of your choice.
- The identity of your registrar, and the login credentials for your registrar account. If you do not know your registrar, perform a WHOIS lookup.
- If Nexcess registered your domain name, this account is OpenSRS and details are in the next bullet point.
-
If it was another company, locate their email containing this information, or contact them for assistance.
- The new nameservers. If you were directed to this article by our Migrations team, these were provided to you. Otherwise:
- If you are on a shared server on a physical (non-Cloud) account, you need the nameservers we provided in your Welcome Email or the nameservers provided to you by our Migration team. If you cannot find your Welcome Email, please contact our Support Team by email or through your Client Portal.
-
If you are on a dedicated server or cluster or using our Nexcess DNS services, use the nameservers provided below:
- ns1.nexcess.net
- ns2.nexcess.net
- ns3.nexcess.net
- ns4.nexcess.net
Prep your Nexcess account
These instructions apply if your DNS Zones are not already set, and are also found here.
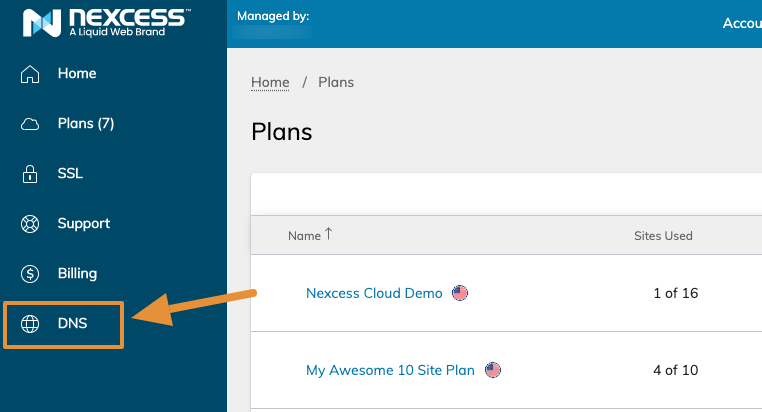
- In the left-side navigation menu, navigate to DNS.
- Once on the DNS Zone page, click "Add Zone" and enter the domain name you will be pointing. Click "Add" to save.

- Click the domain name for the newly created zone, or in the left-hand menu, click "View."

- If your domain name is present under A/AAAA Records and CNAME records, you may skip the rest of these steps to the next section.
- If your domain name is not already present under A/AAAA Records, click "Add A/AAAA Record," then re-enter the domain name. Add your IP address, which can be found in your Plan Dashboard's view of all your sites (go to Home > Plans, then click the plan name or right side menu to navigate to the Plan Dashboard). Confirm your preferred TTL. When complete, click "Add" to save.

- Repeat Step 3 for CNAME records, if records are not already present. Set your hostname to "www.yourdomainname.com" and the alias to "yourdomainname.com"
- If planning on using webmail, also configure MX records by clicking the corresponding button and configure SPF records as outlined in this article.
- Move on to the next step to set nameservers.
If another company registered your domain name…
ATTENTION: If have difficulty performing Steps 1 or 2, contact your domain registrar for assistance.
- Using the credentials that were provided by your registrar, log into your registrar account. If you cannot locate this information, contact your domain registrar for assistance.
- Find the section for custom name servers. This will vary, but many registrars use “DNS Settings,” “Domain name server Setup,” or something similar.
- In that section, replace the current nameservers with Nexcess nameservers you identified in the What you need section.
- Save your changes. Allow up to 48 hours for your changes to take effect.
If Nexcess registered your domain name...
ATTENTION: Your OpenSRS login information can be found in your domain registration email, but only if Nexcess registered your domain name. If you cannot locate this information, contact our Support Team, who can reset your credentials.
- Log in to the OpenSRS control panel.
- Scroll down the page and click Domain Locking.

- If your domain is currently set to Enable, select the Disable radio button, then click Submit.

- Near the top of the page, click Name Servers.

- In the Server Hostname column, replace the current nameservers with the Nexcess nameservers provided in the What you need section.
-
If you are on a shared server, add nameservers we provided to you in your Welcome Email. If you cannot locate this information, please contact our Support team for assistance.
-
If you are on a dedicated server or cluster, use the nameservers provided below:
- ns1.nexcess.net
- ns2.nexcess.net
- ns3.nexcess.net
- ns4.nexcess.net
-
If you are on a shared server, add nameservers we provided to you in your Welcome Email. If you cannot locate this information, please contact our Support team for assistance.
-

- Click DomainLocking, then select the Enable radio button and click Submit.

- When finished, click Save Configuration. Allow up to 48 hours for your changes to take effect. To check its progress, use the Nexcess Global DNS Checker.
For 24-hour assistance any day of the year, contact our support team by email or through your Client Portal.


